How to Get a Mistral API Key: A Step-by-Step Guide
On this page
In this guide, you'll learn how to get your Mistral API key. You'll create a Mistral account, set up billing, generate your key, and make your first API call. We'll also show you a simpler alternative if you want access to hundreds of AI models without managing multiple accounts.
Prerequisites
- An email address or a Google/GitHub/Microsoft/Apple account
- A payment method — Mistral's API requires an active billing plan
- Basic familiarity with code (we'll show simple JavaScript examples)
Step 1: Create Your Mistral Account
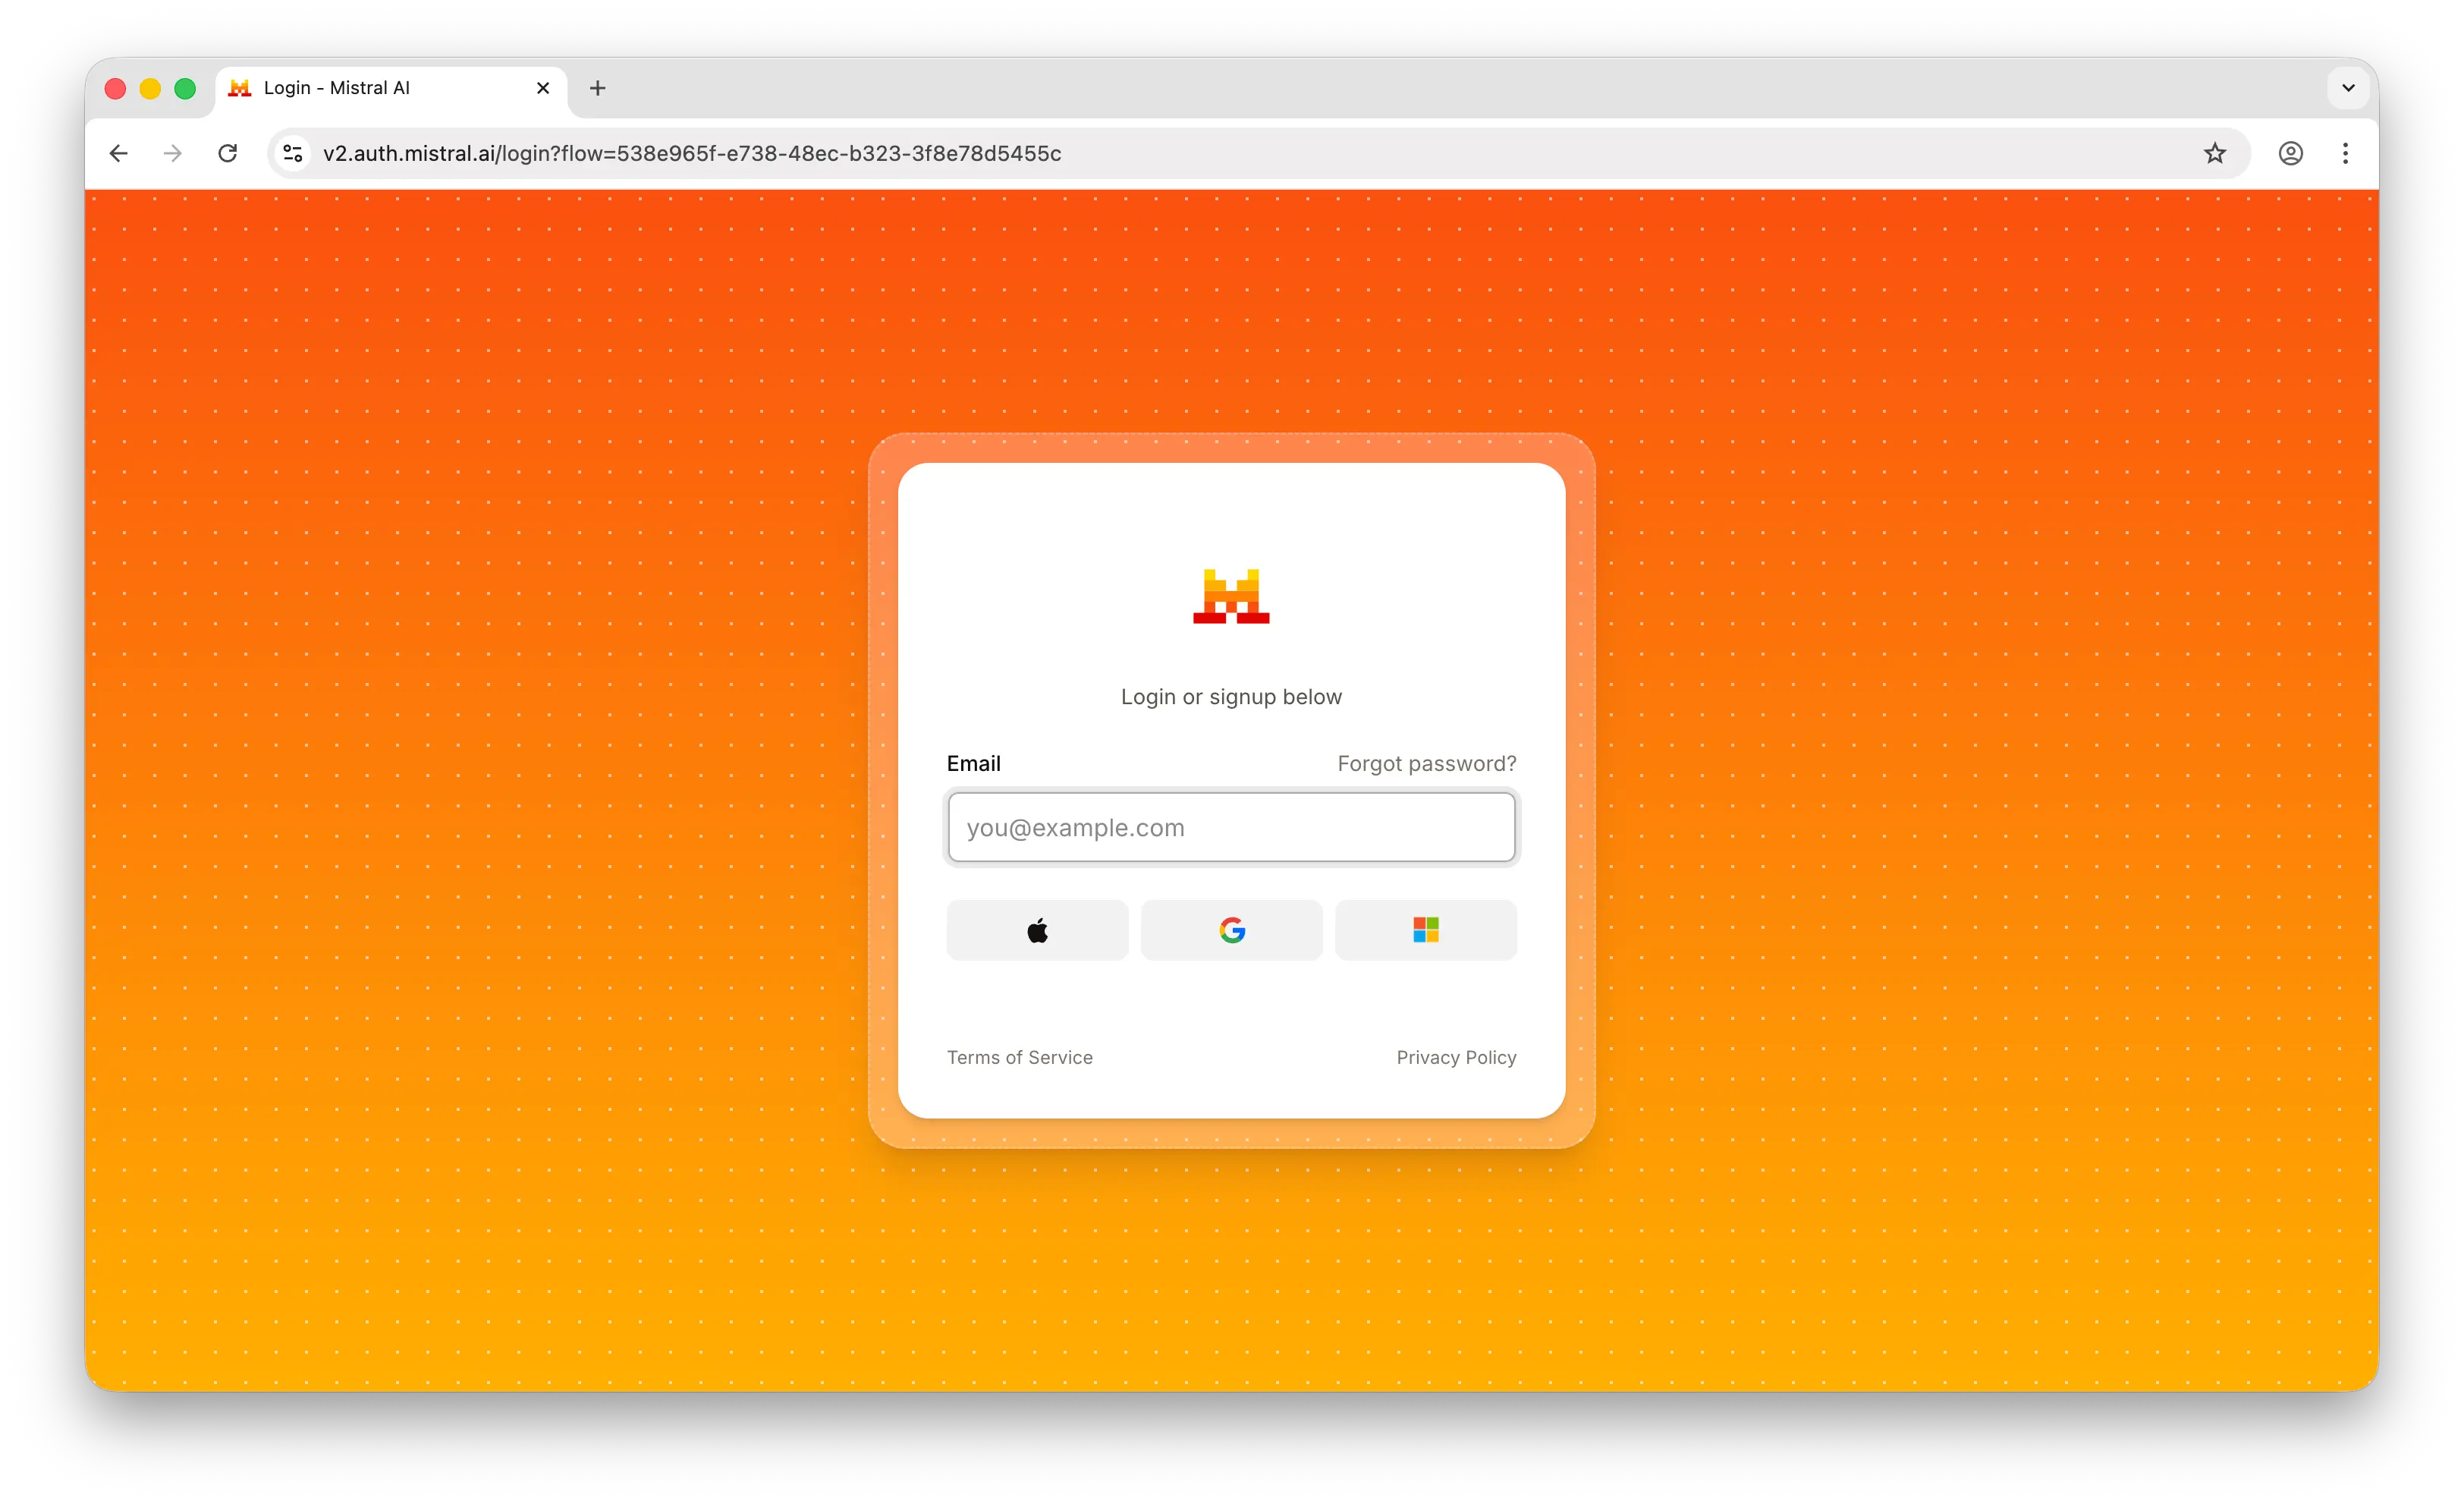
Go to console.mistral.ai. Sign up with your email or use one of the available sign-in options (Google, GitHub, Microsoft, or Apple).
After signing up, you'll be asked to complete your setup by providing an organization name.
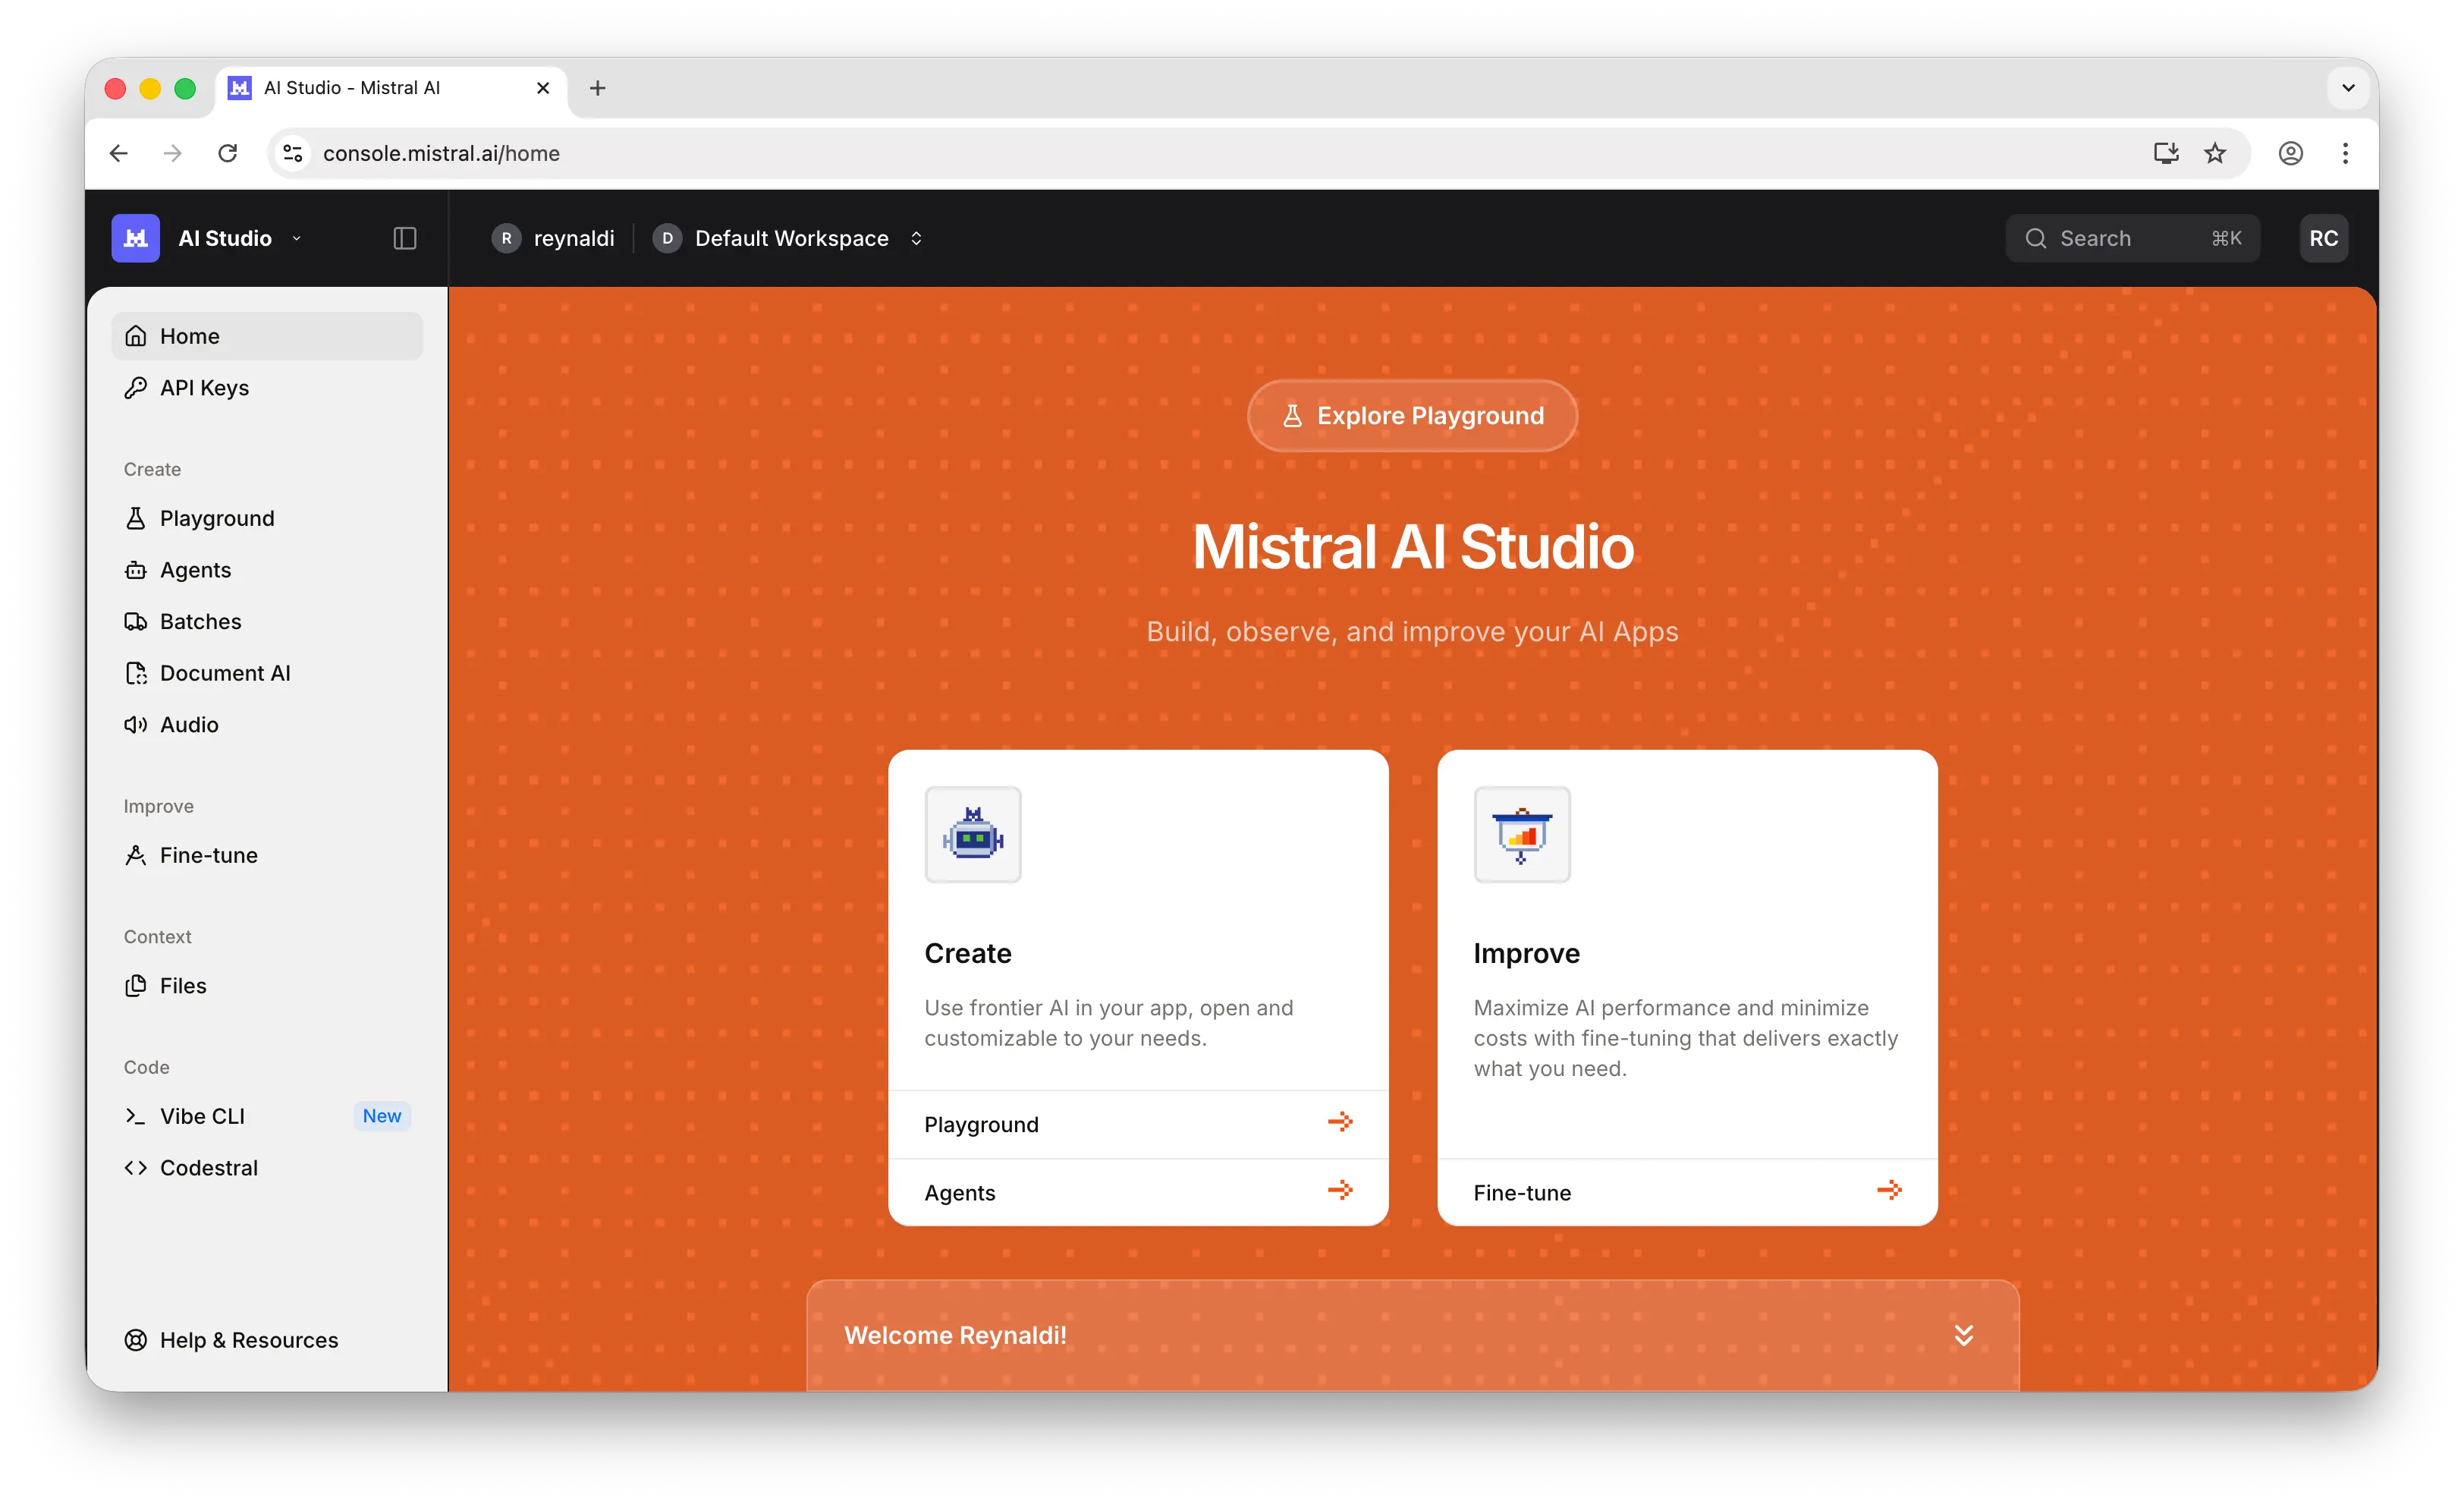
Once you're in, you'll land on the dashboard.
Step 2: Activate Billing
Before you can create an API key, you need to activate billing. Mistral offers two plans:
- Experiment — for testing and prototyping
- Scale — for production workloads
Choose the plan that fits your needs and add a payment method to activate your account.
Step 3: Generate Your API Key
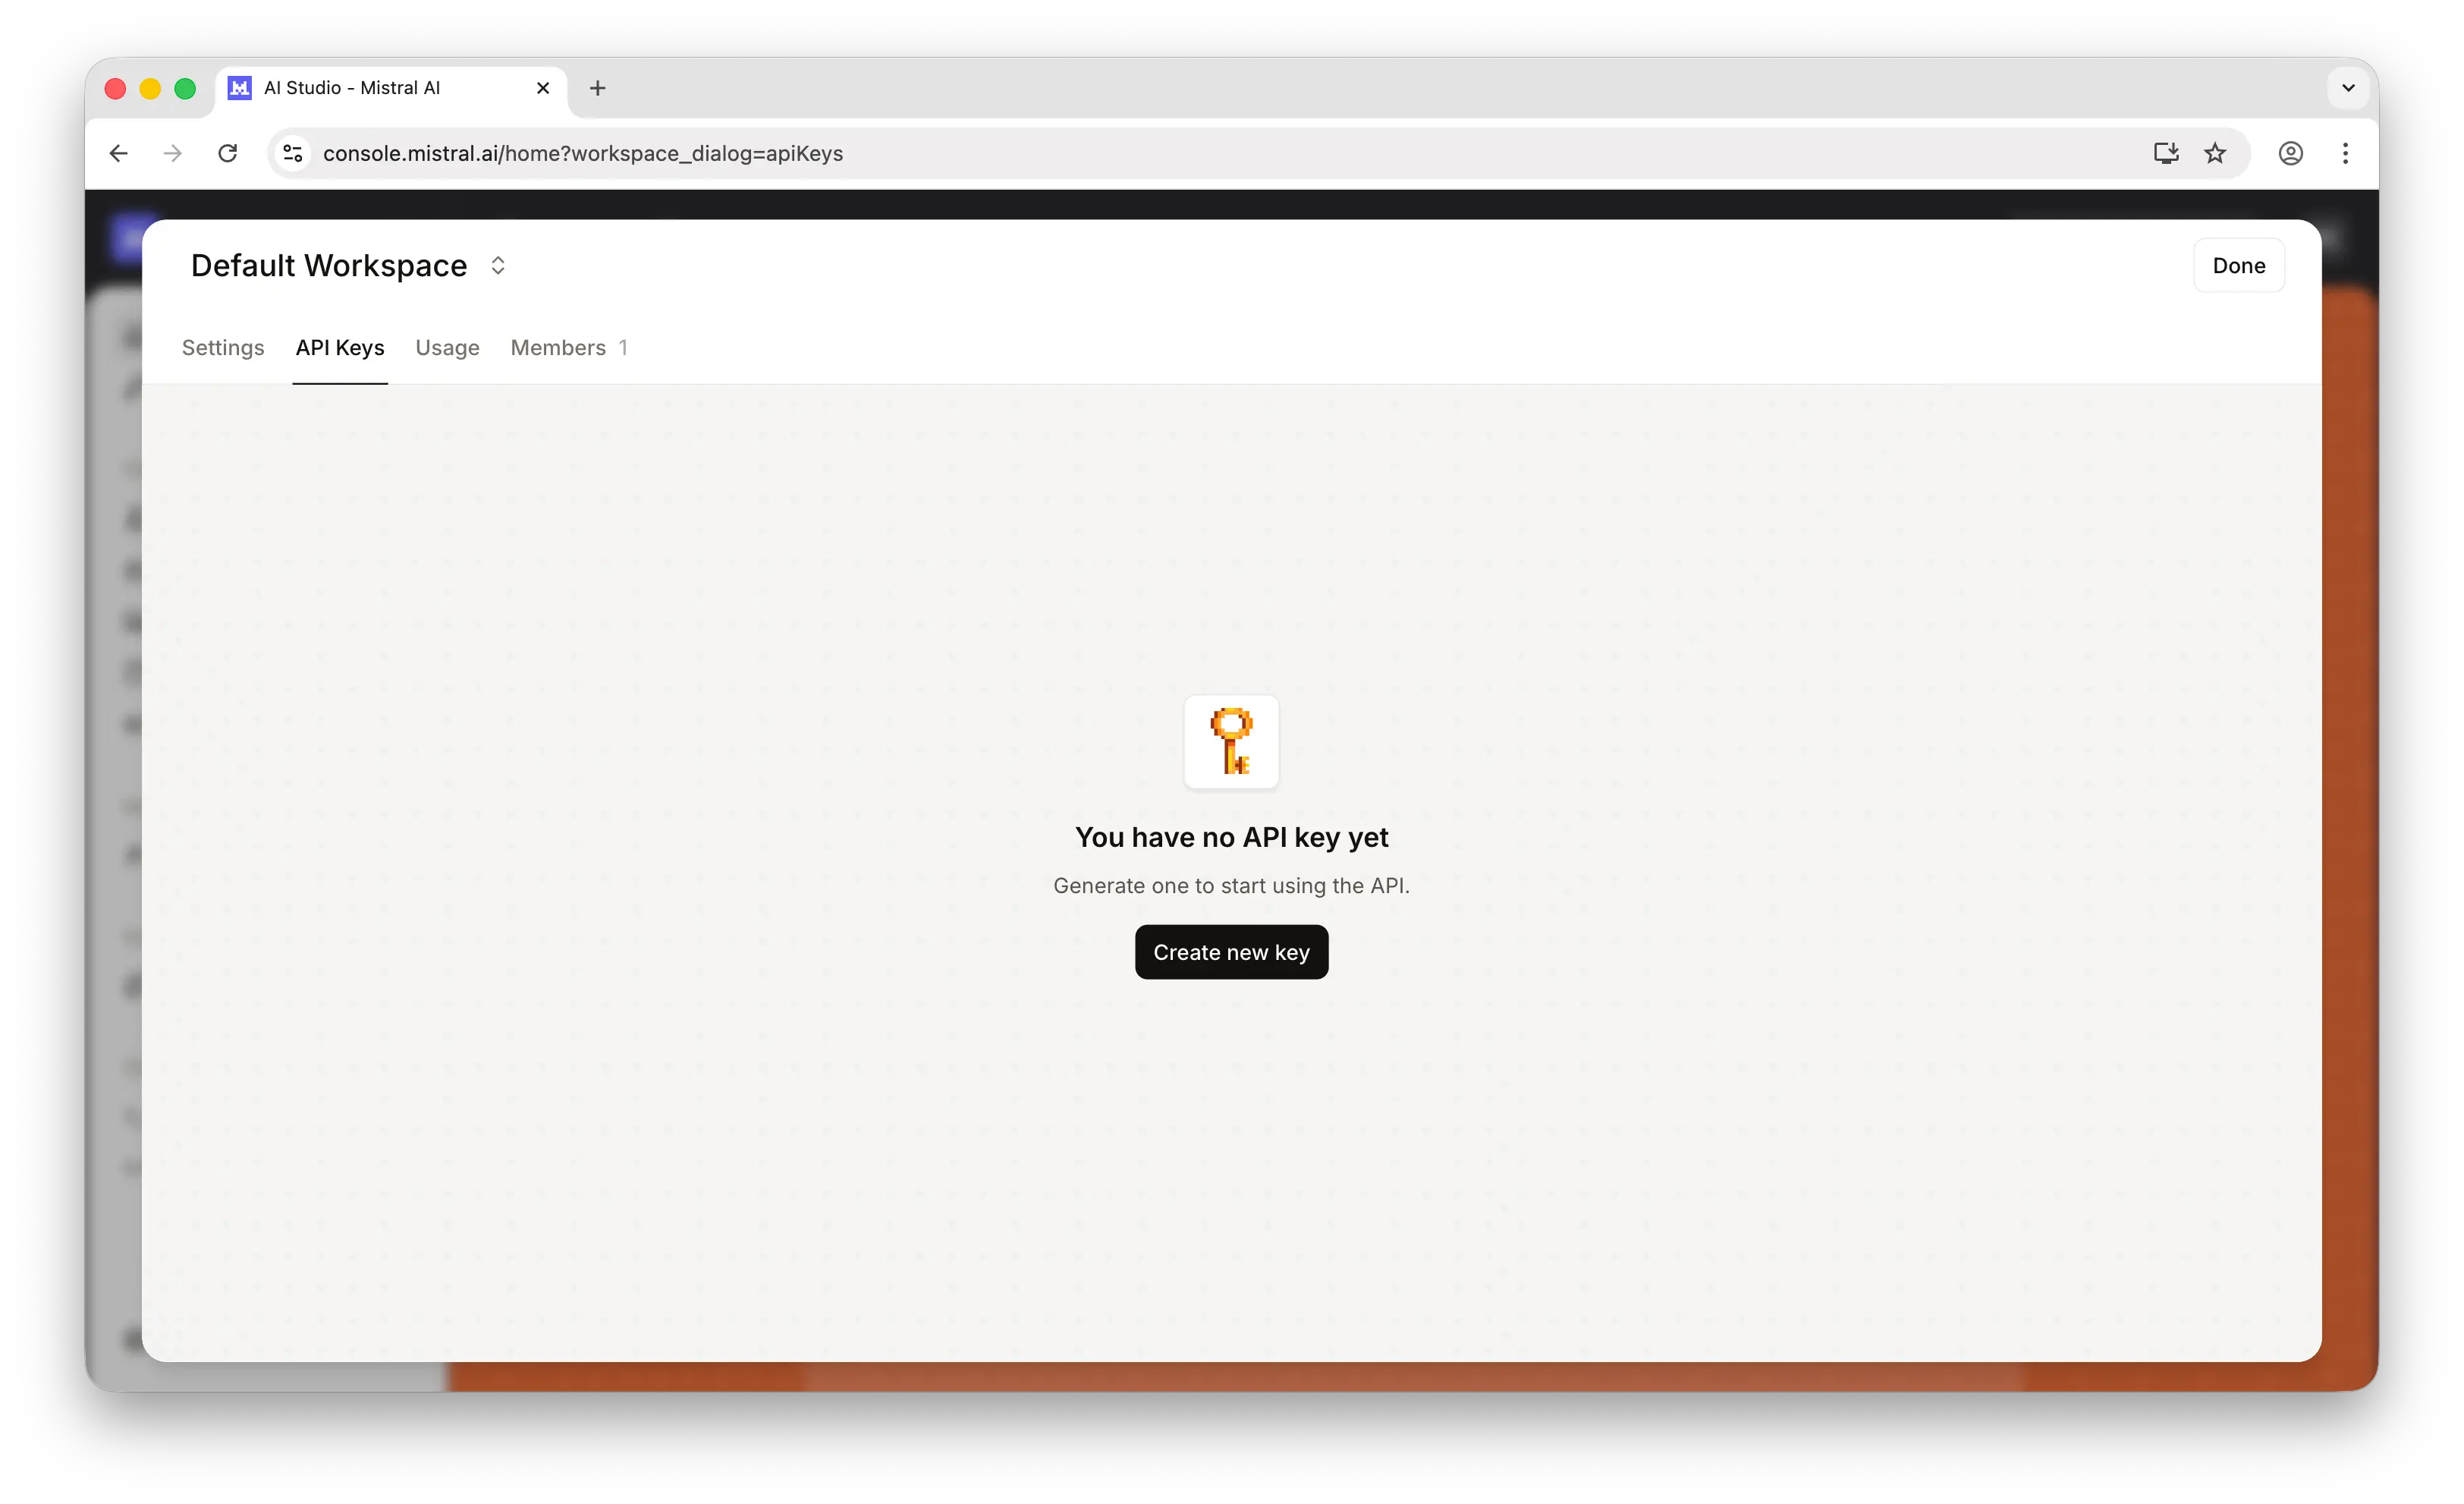
In the left sidebar, click API keys, then click Create new key.
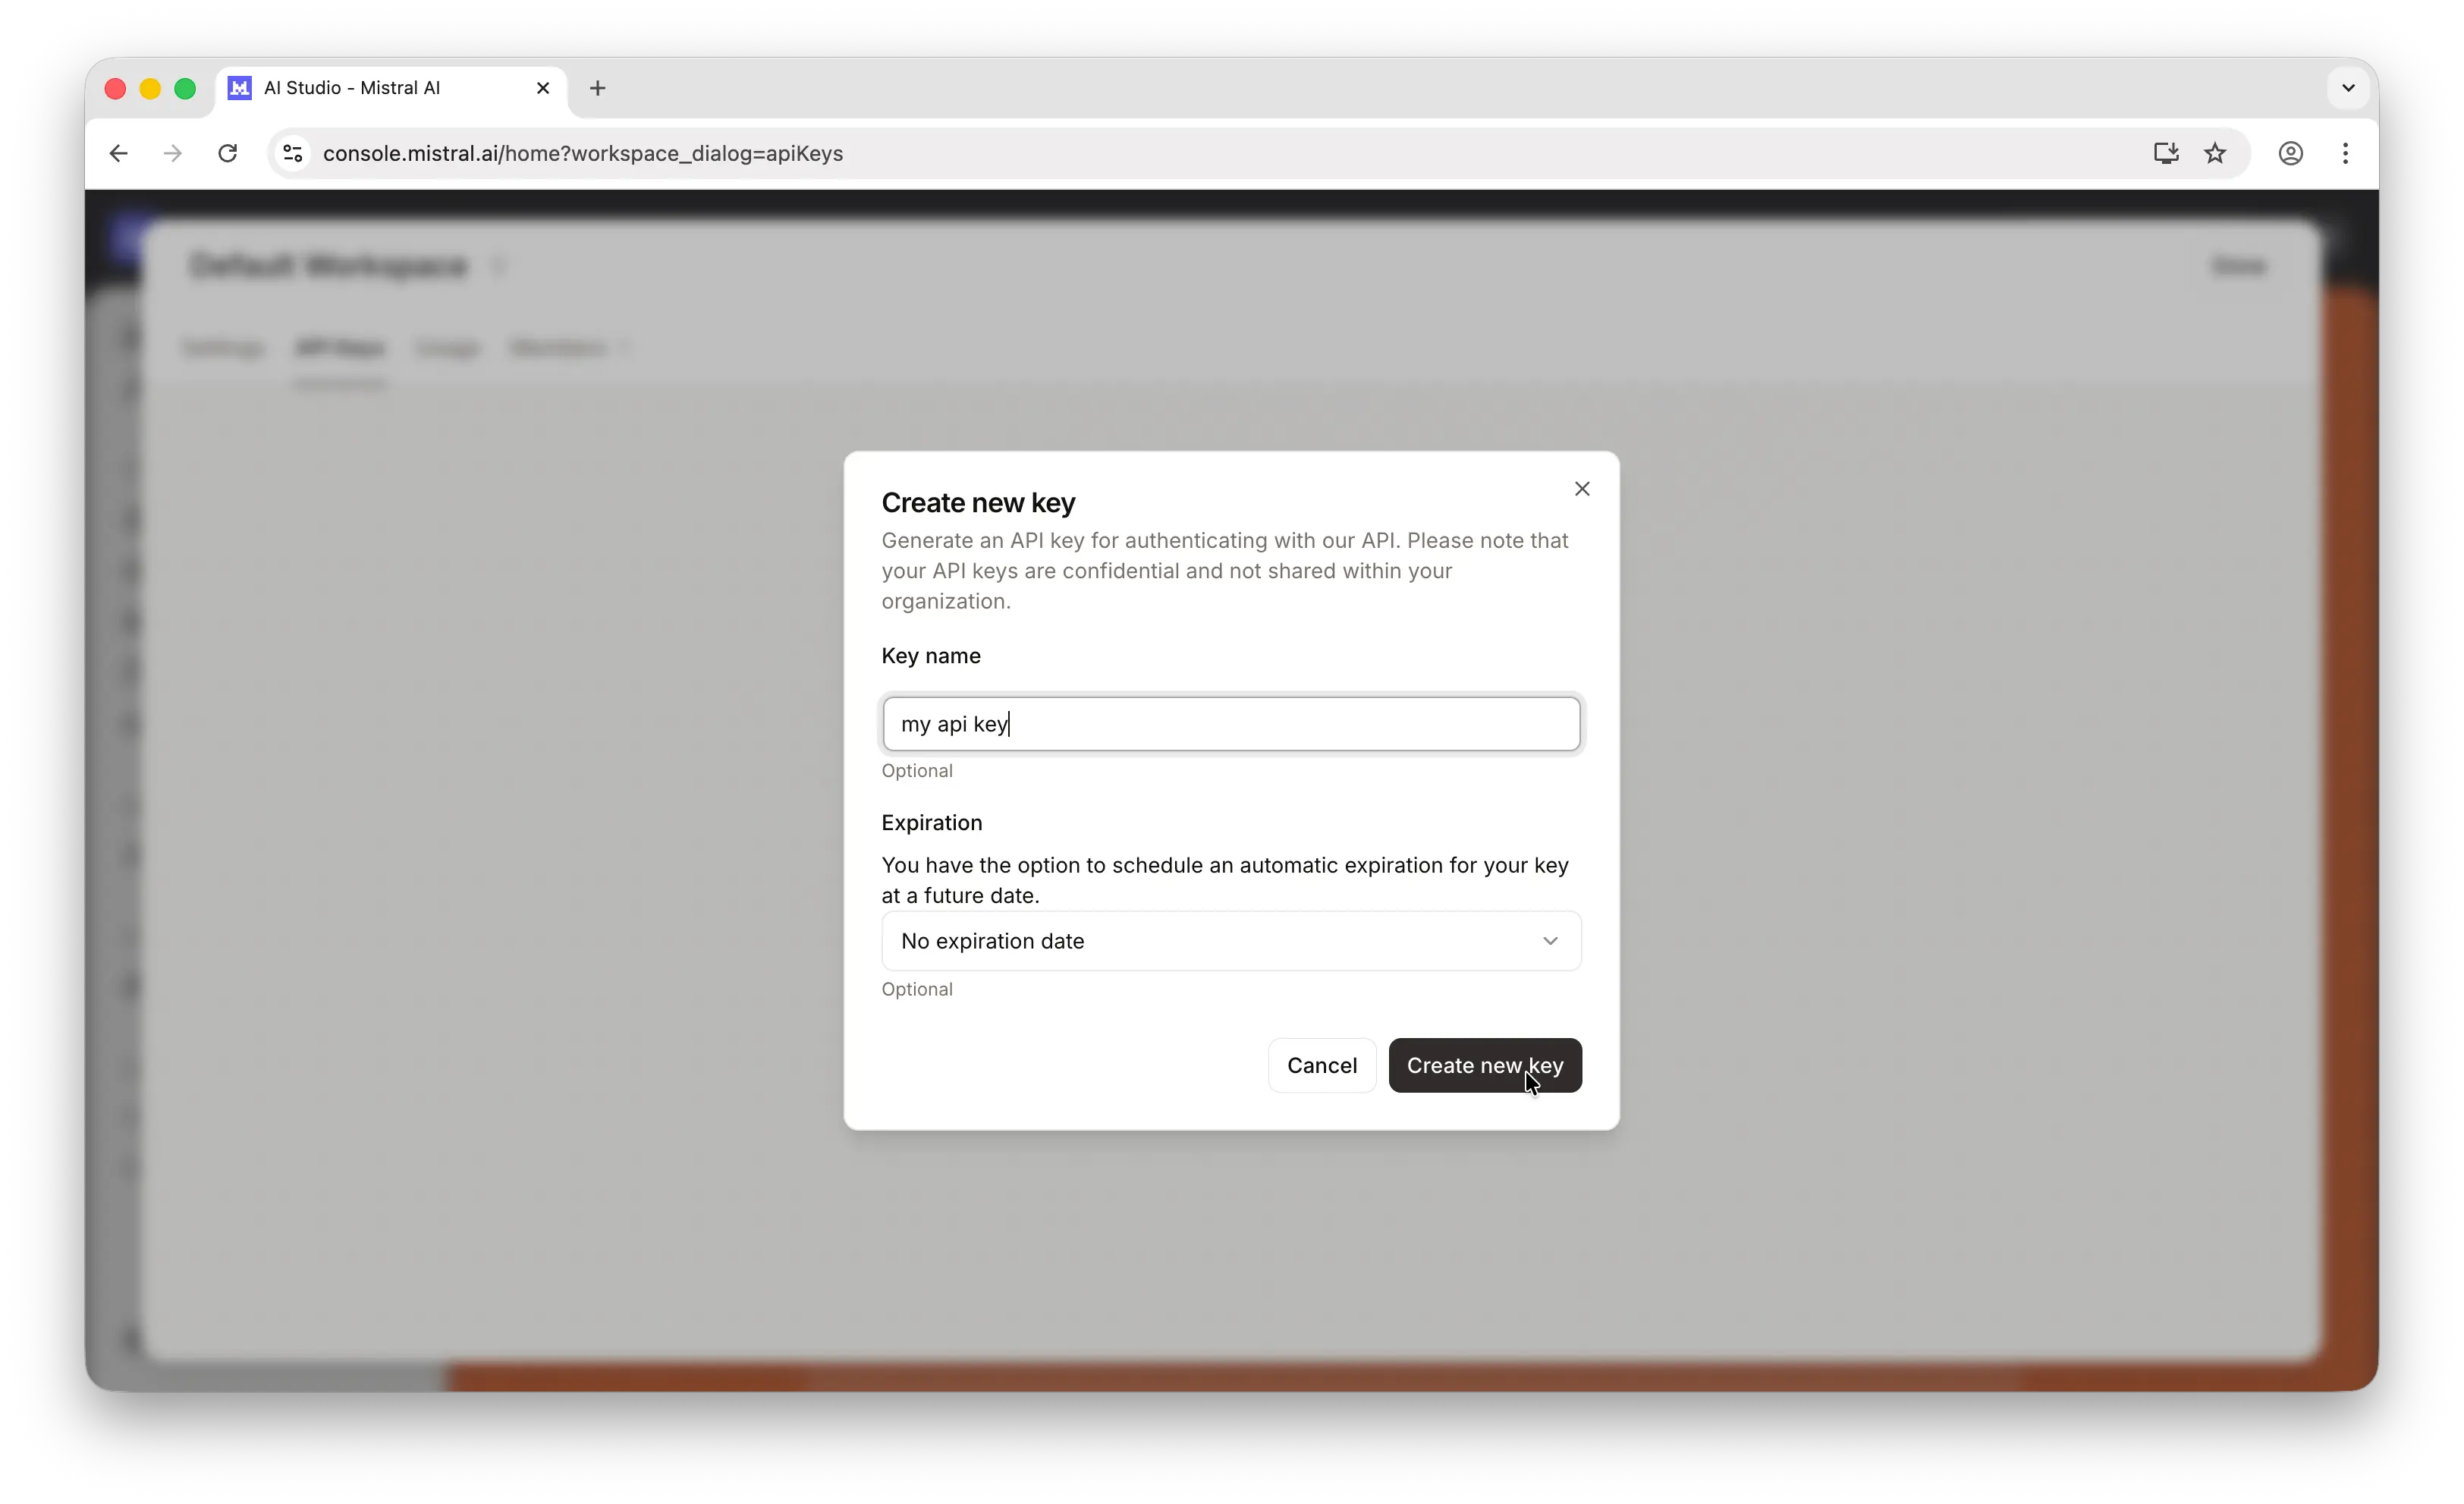
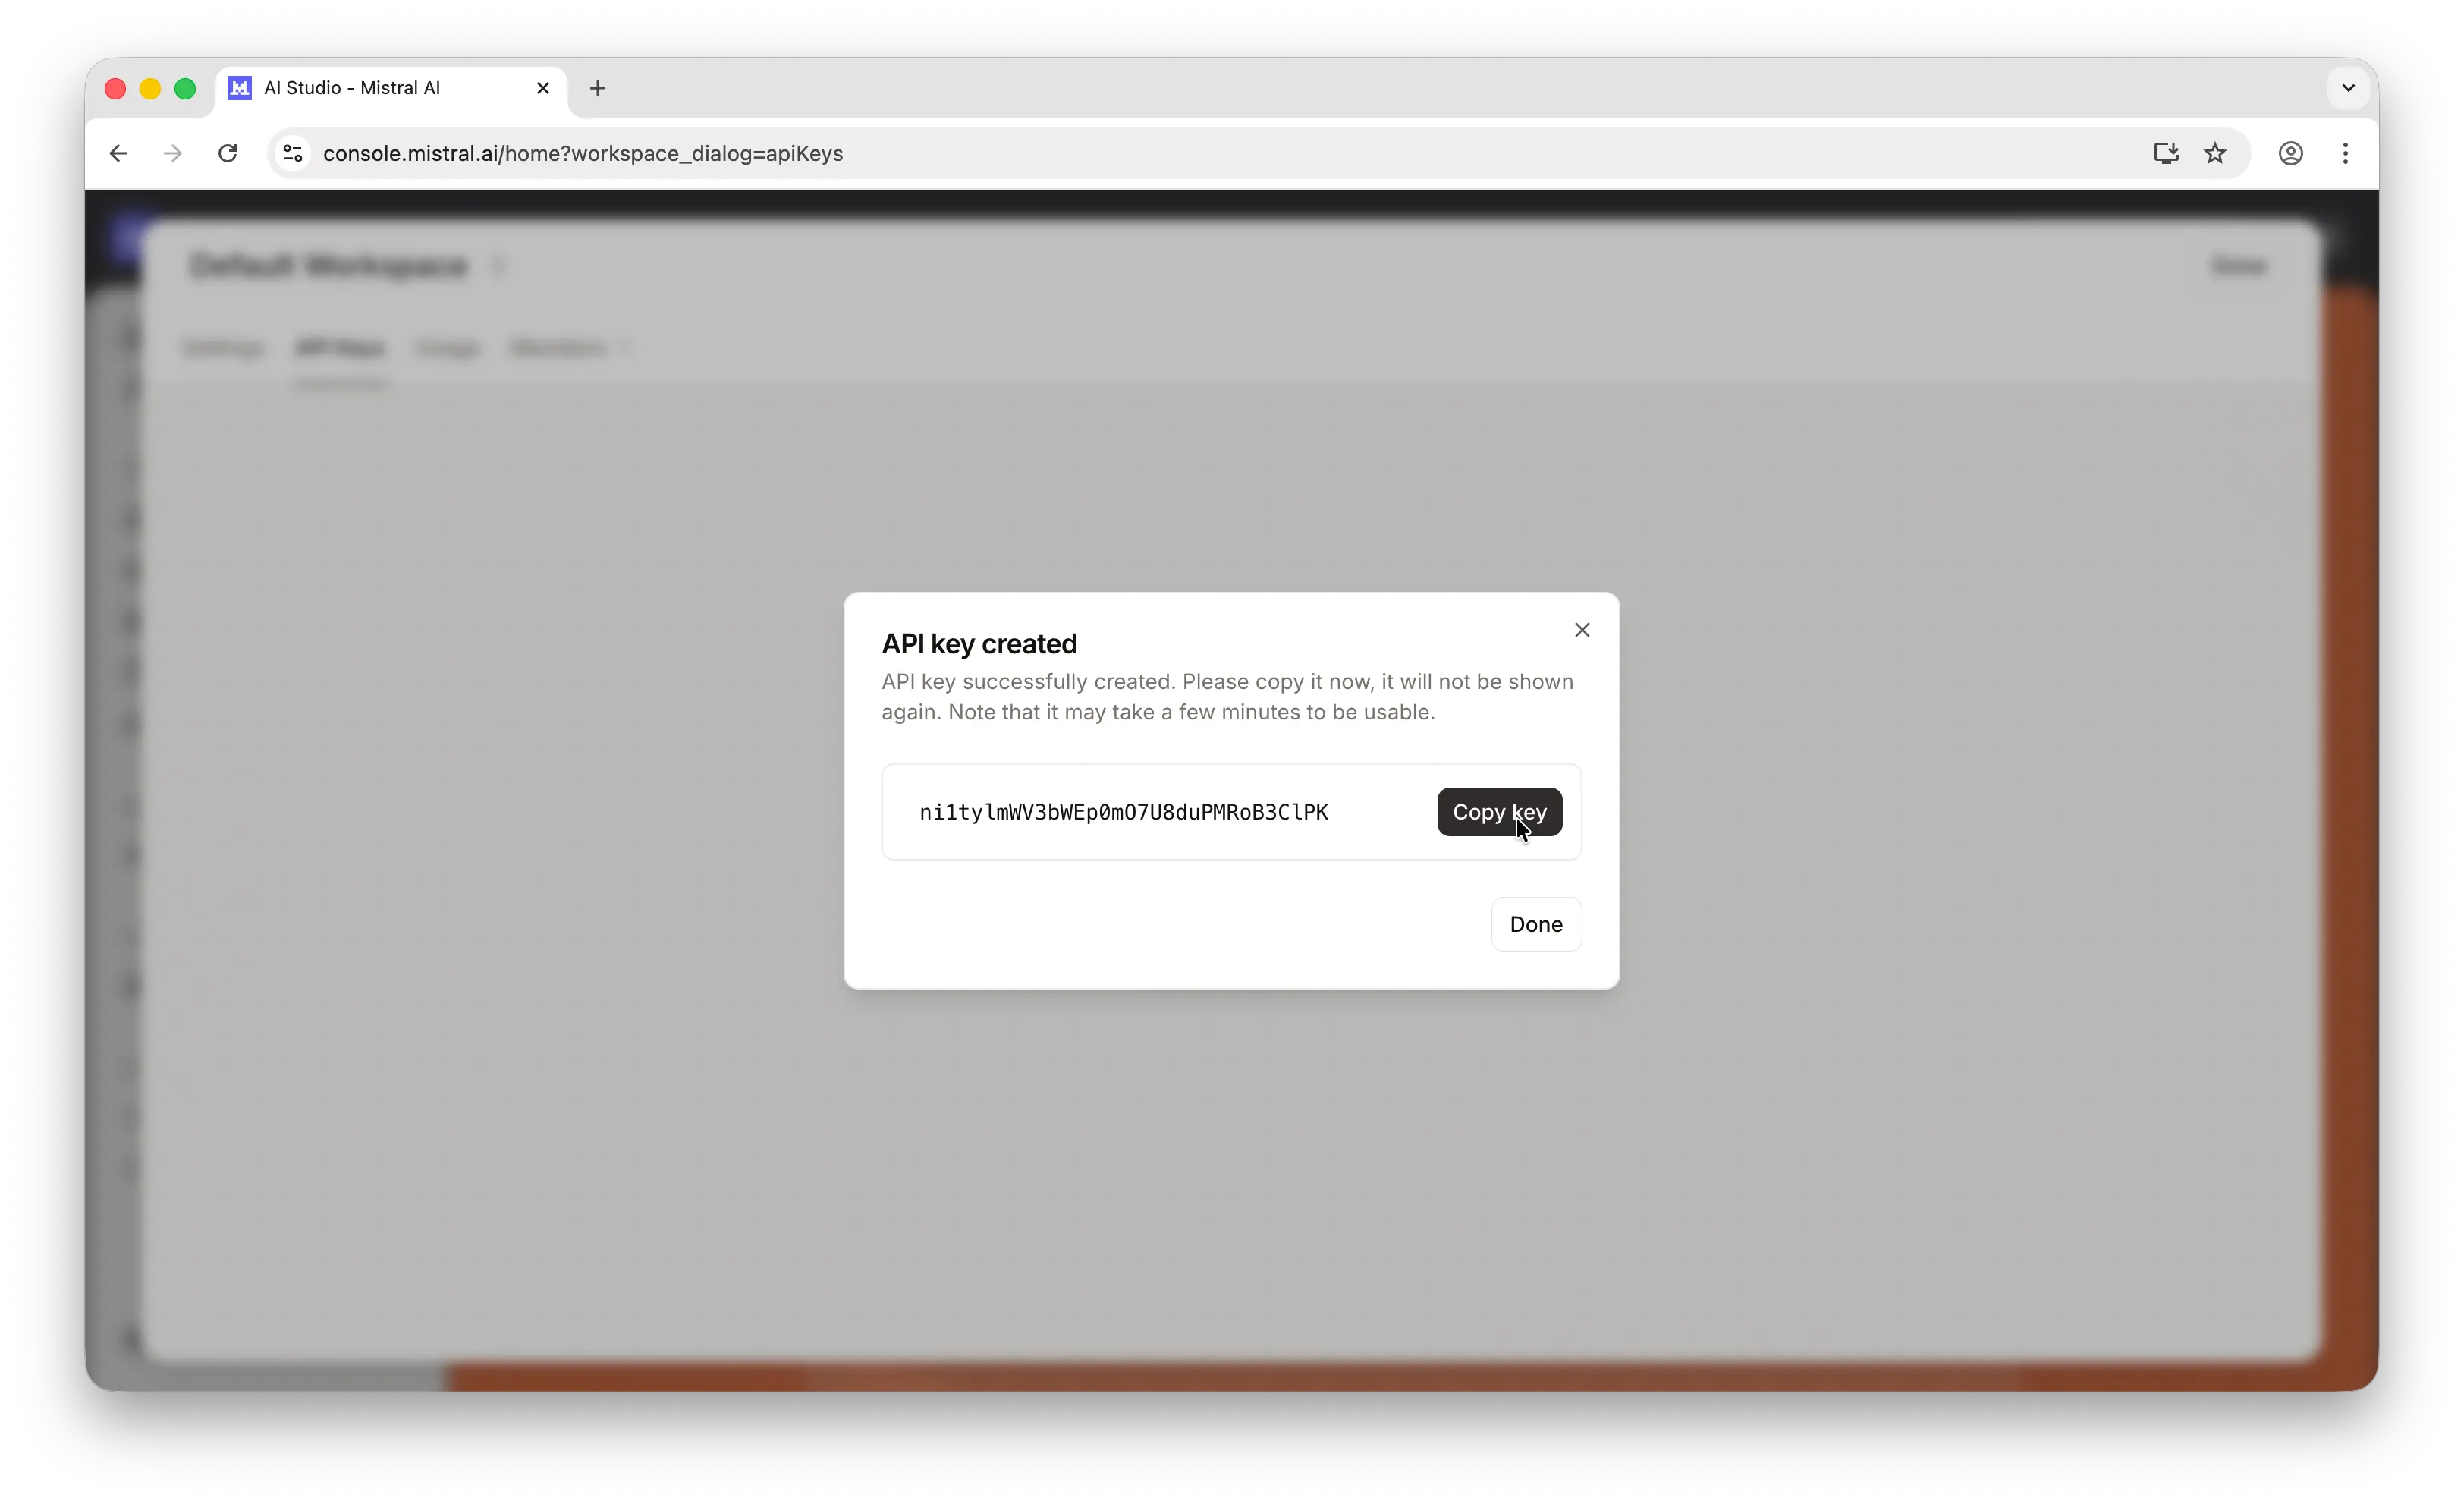
Give your key a name and set an expiration date, then confirm.
Important: Copy the key immediately. Mistral only shows it once. If you lose it, you'll need to generate a new one.
Store it somewhere safe — a password manager, an .env file, or your platform's secrets manager. Never commit API keys to a public repository.
Step 4: Make Your First API Call
Mistral provides an official client library. Install it first:
npm install @mistralai/mistralai
Then make your first call:
import { Mistral } from "@mistralai/mistralai";

const client = new Mistral({
  apiKey: process.env.MISTRAL_API_KEY,
});

const response = await client.chat.complete({
  model: "mistral-small-2506",
  messages: [{ role: "user", content: "Hello, world!" }],
});

console.log(response.choices[0].message.content);
If you get a response back, everything is working. For more details, check out Mistral's API documentation.
One API Key, Hundreds of Models
The process above works well for Mistral specifically — but what happens when you want to use GPT, Claude, Gemini, DeepSeek, Llama, or any of the other major models?
You'd need to repeat the entire process for each provider: create an account, set up billing, generate and manage a separate key. That's a lot of overhead, especially if you're experimenting or building something that uses multiple models.
Puter offers a simpler approach: one account, one auth token, access to hundreds of models across providers.
Instead of managing five different API dashboards, you point your existing code to Puter's OpenAI-compatible endpoint and use your Puter auth token:
import OpenAI from "openai";

const client = new OpenAI({
  baseURL: "https://api.puter.com/puterai/openai/v1/",
  apiKey: "YOUR_PUTER_AUTH_TOKEN",
});

const response = await client.chat.completions.create({
  model: "mistral-small-2506", // or claude-sonnet-4-6, gpt-5-nano, gemini-2.5-flash-lite, etc.
  messages: [{ role: "user", content: "Hello, world!" }],
});

console.log(response.choices[0].message.content);
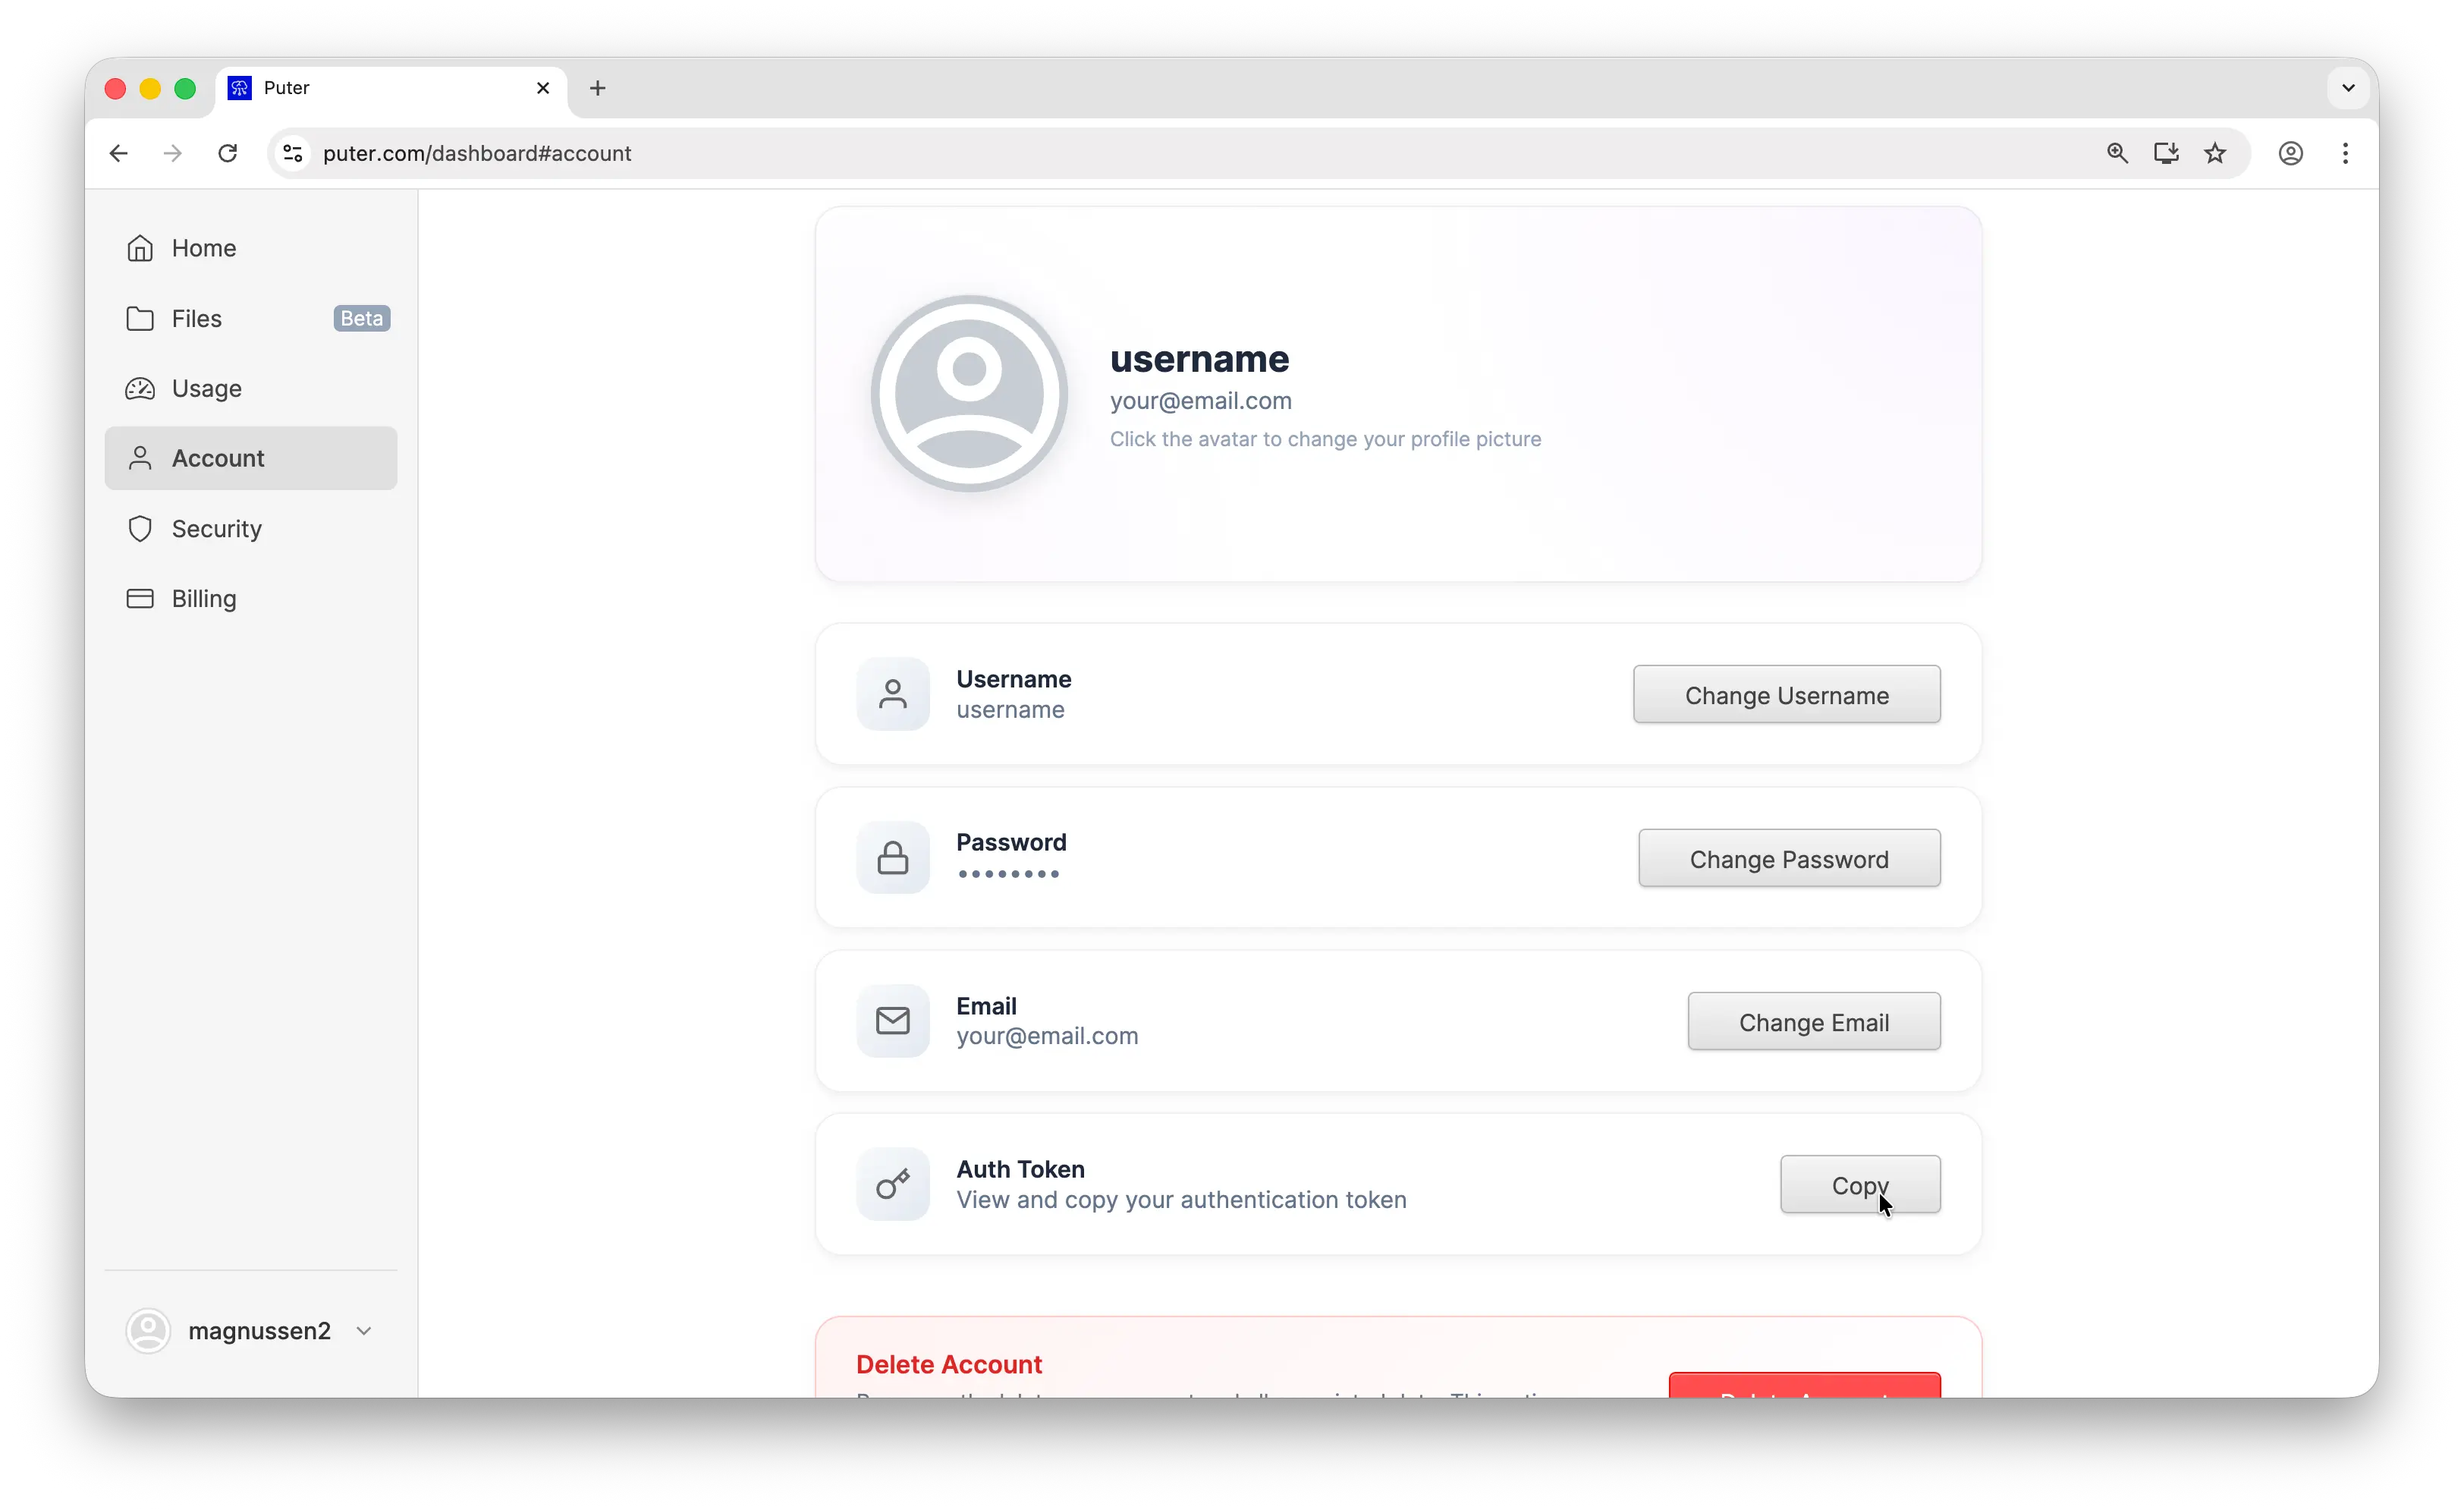
To get your Puter auth token, create a free account at puter.com, then go to puter.com/dashboard and click Copy to grab your token.
Conclusion
You now know how to create a Mistral account, set up billing, generate an API key, and make your first API call. For a deeper dive, check out Mistral's official API docs.
Related
- Free, Unlimited Claude API
- How to Get an OpenAI API Key
- How to Get an Anthropic (Claude) API Key
- How to Get a Gemini API Key
- How to Get a DeepSeek API Key
- How to Get a Grok (xAI) API Key
- How to Get a MiniMax API Key
- How to Get a Moonshot AI (Kimi) API Key
- How to Get a Z.AI (GLM) API Key
- How to Use OpenAI SDK with Puter
- Free, Unlimited OpenAI API
- Free, Unlimited Gemini API
- How to Use LangChain with Puter
- How to Use Vercel AI SDK with Puter
Free, Serverless AI and Cloud
Start creating powerful web applications with Puter.js in seconds!
Get Started Now