How to Get a Moonshot AI (Kimi) API Key: A Step-by-Step Guide
On this page
In this guide, you'll learn how to get your Moonshot AI (Kimi) API key. You'll create a Moonshot account, generate your key, and make your first API call. We'll also show you a simpler alternative if you want access to hundreds of AI models without managing multiple accounts.
Prerequisites
- A Google account — Moonshot uses Google sign-in
- A payment method — Moonshot's API is usage-based
- Basic familiarity with code (we'll show simple JavaScript examples)
Step 1: Create Your Moonshot AI Account
Go to platform.moonshot.ai. You'll see the landing page.
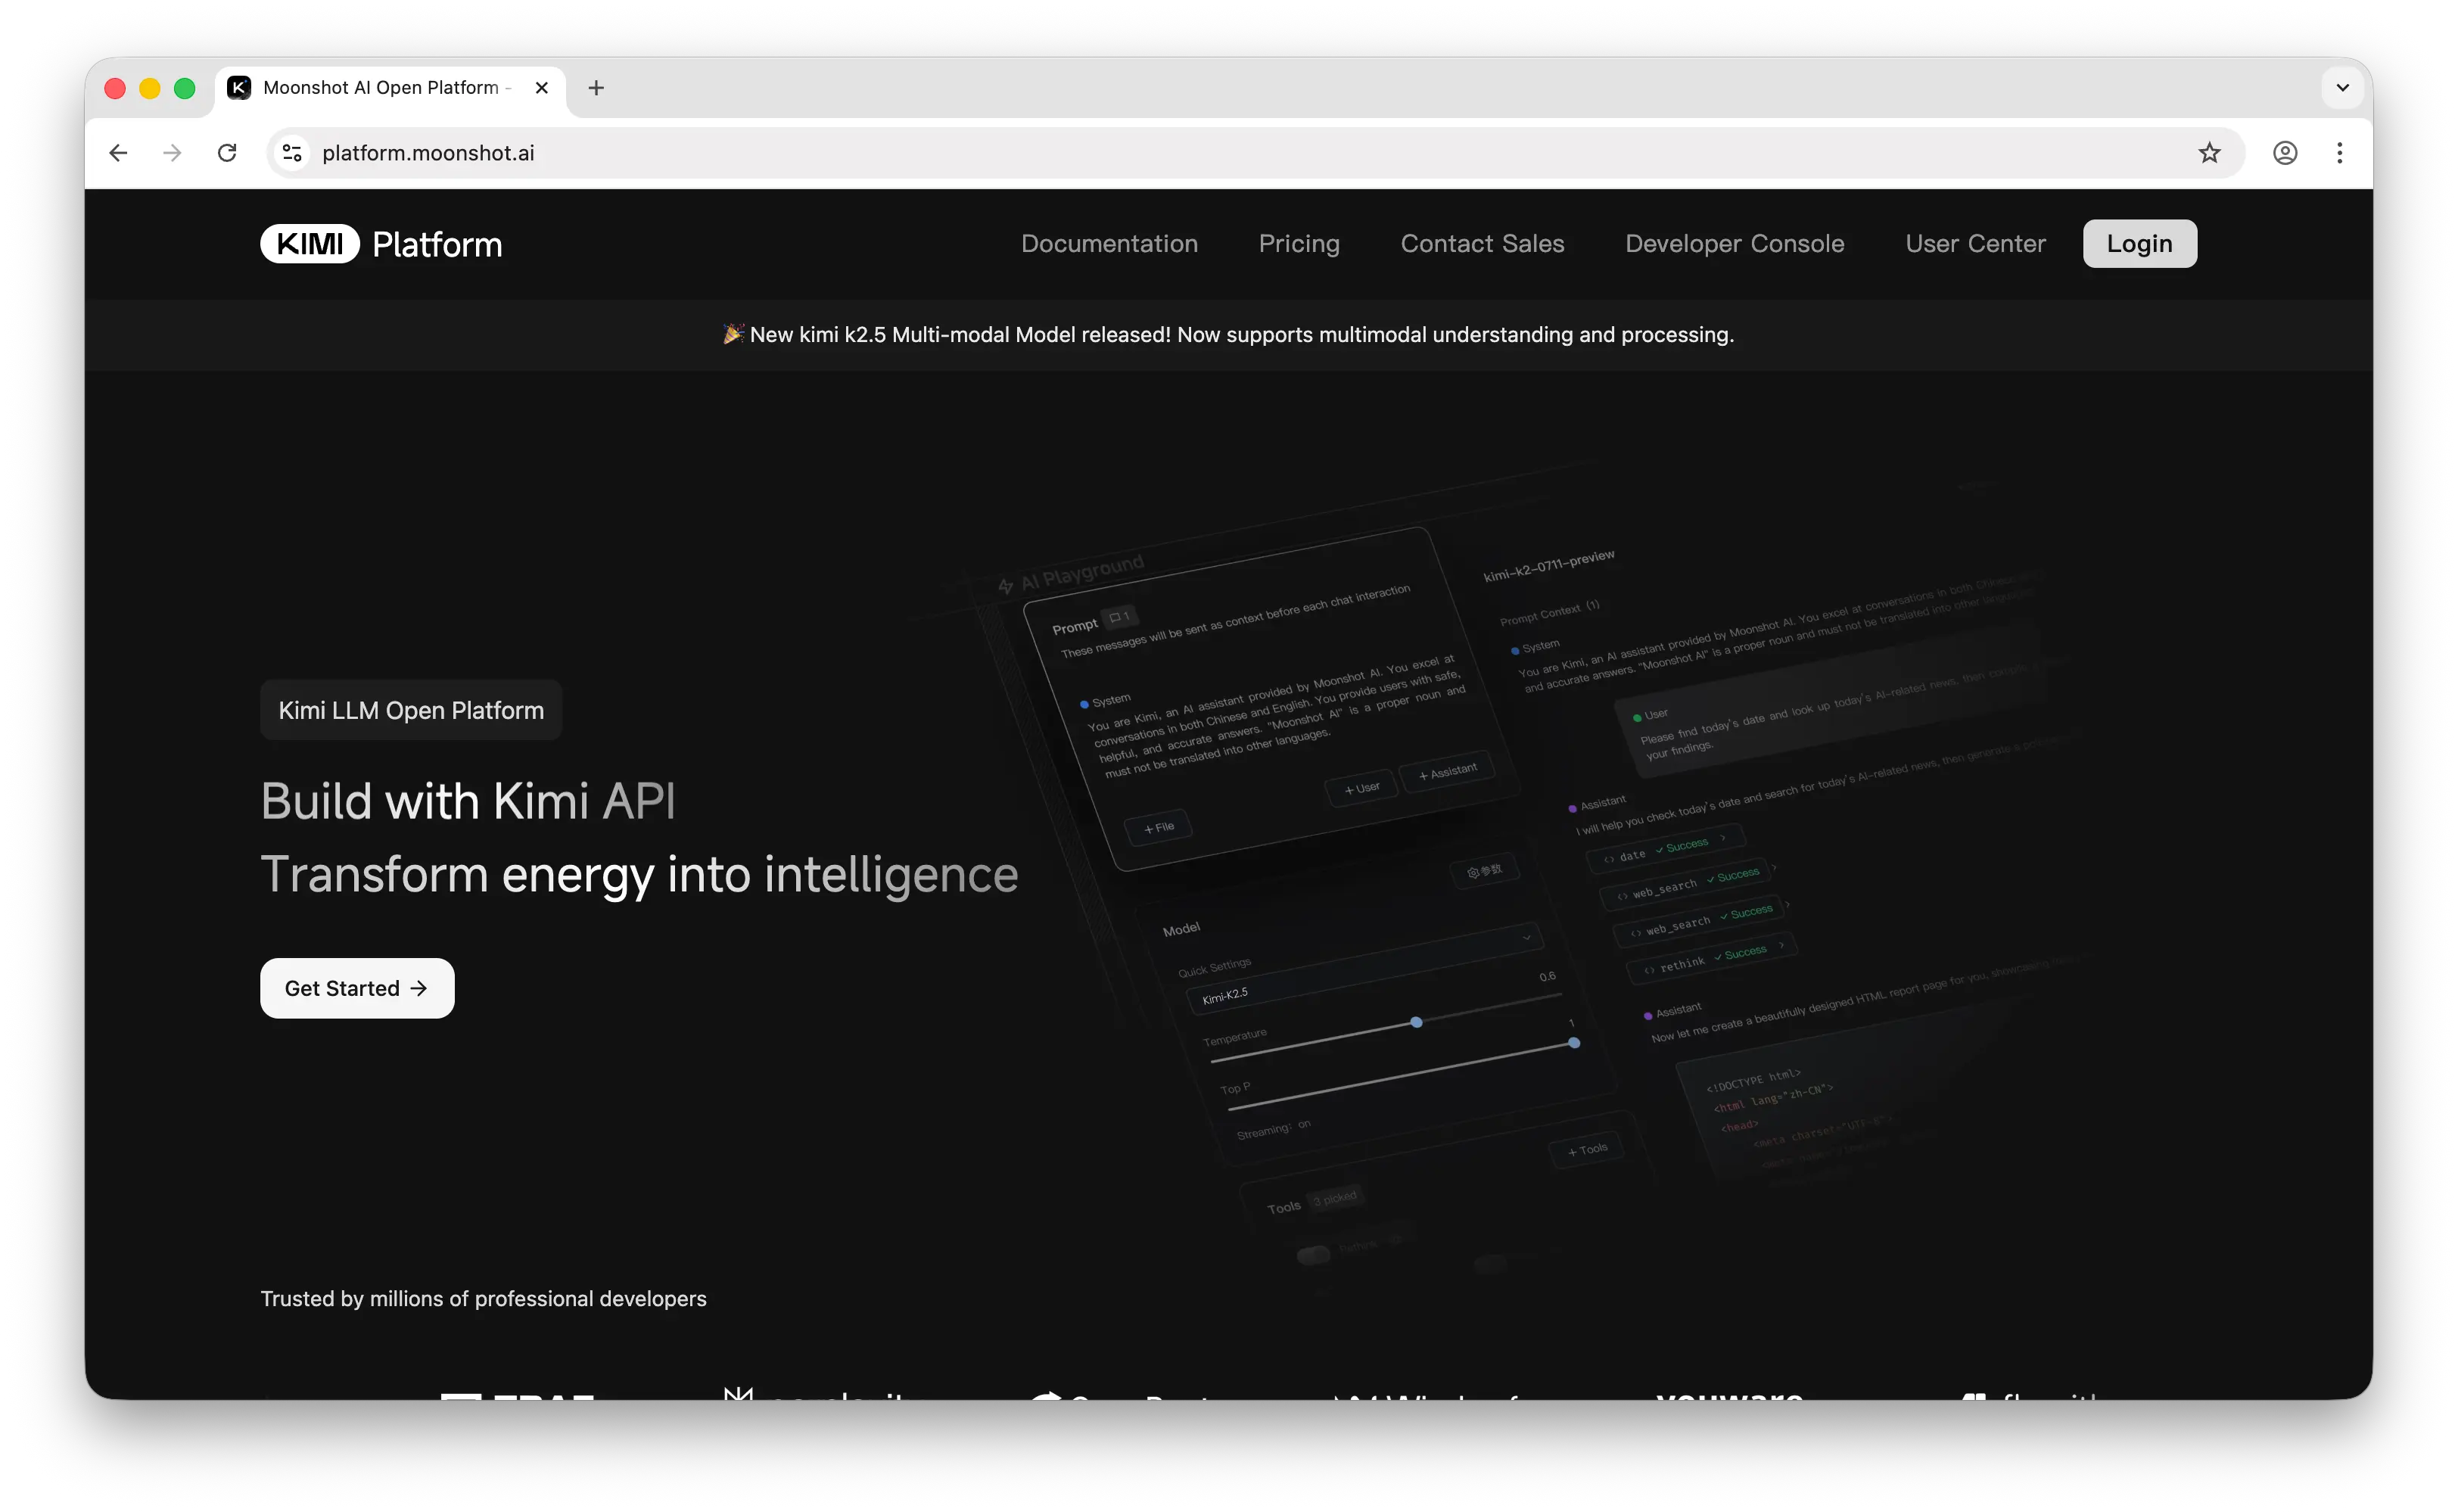
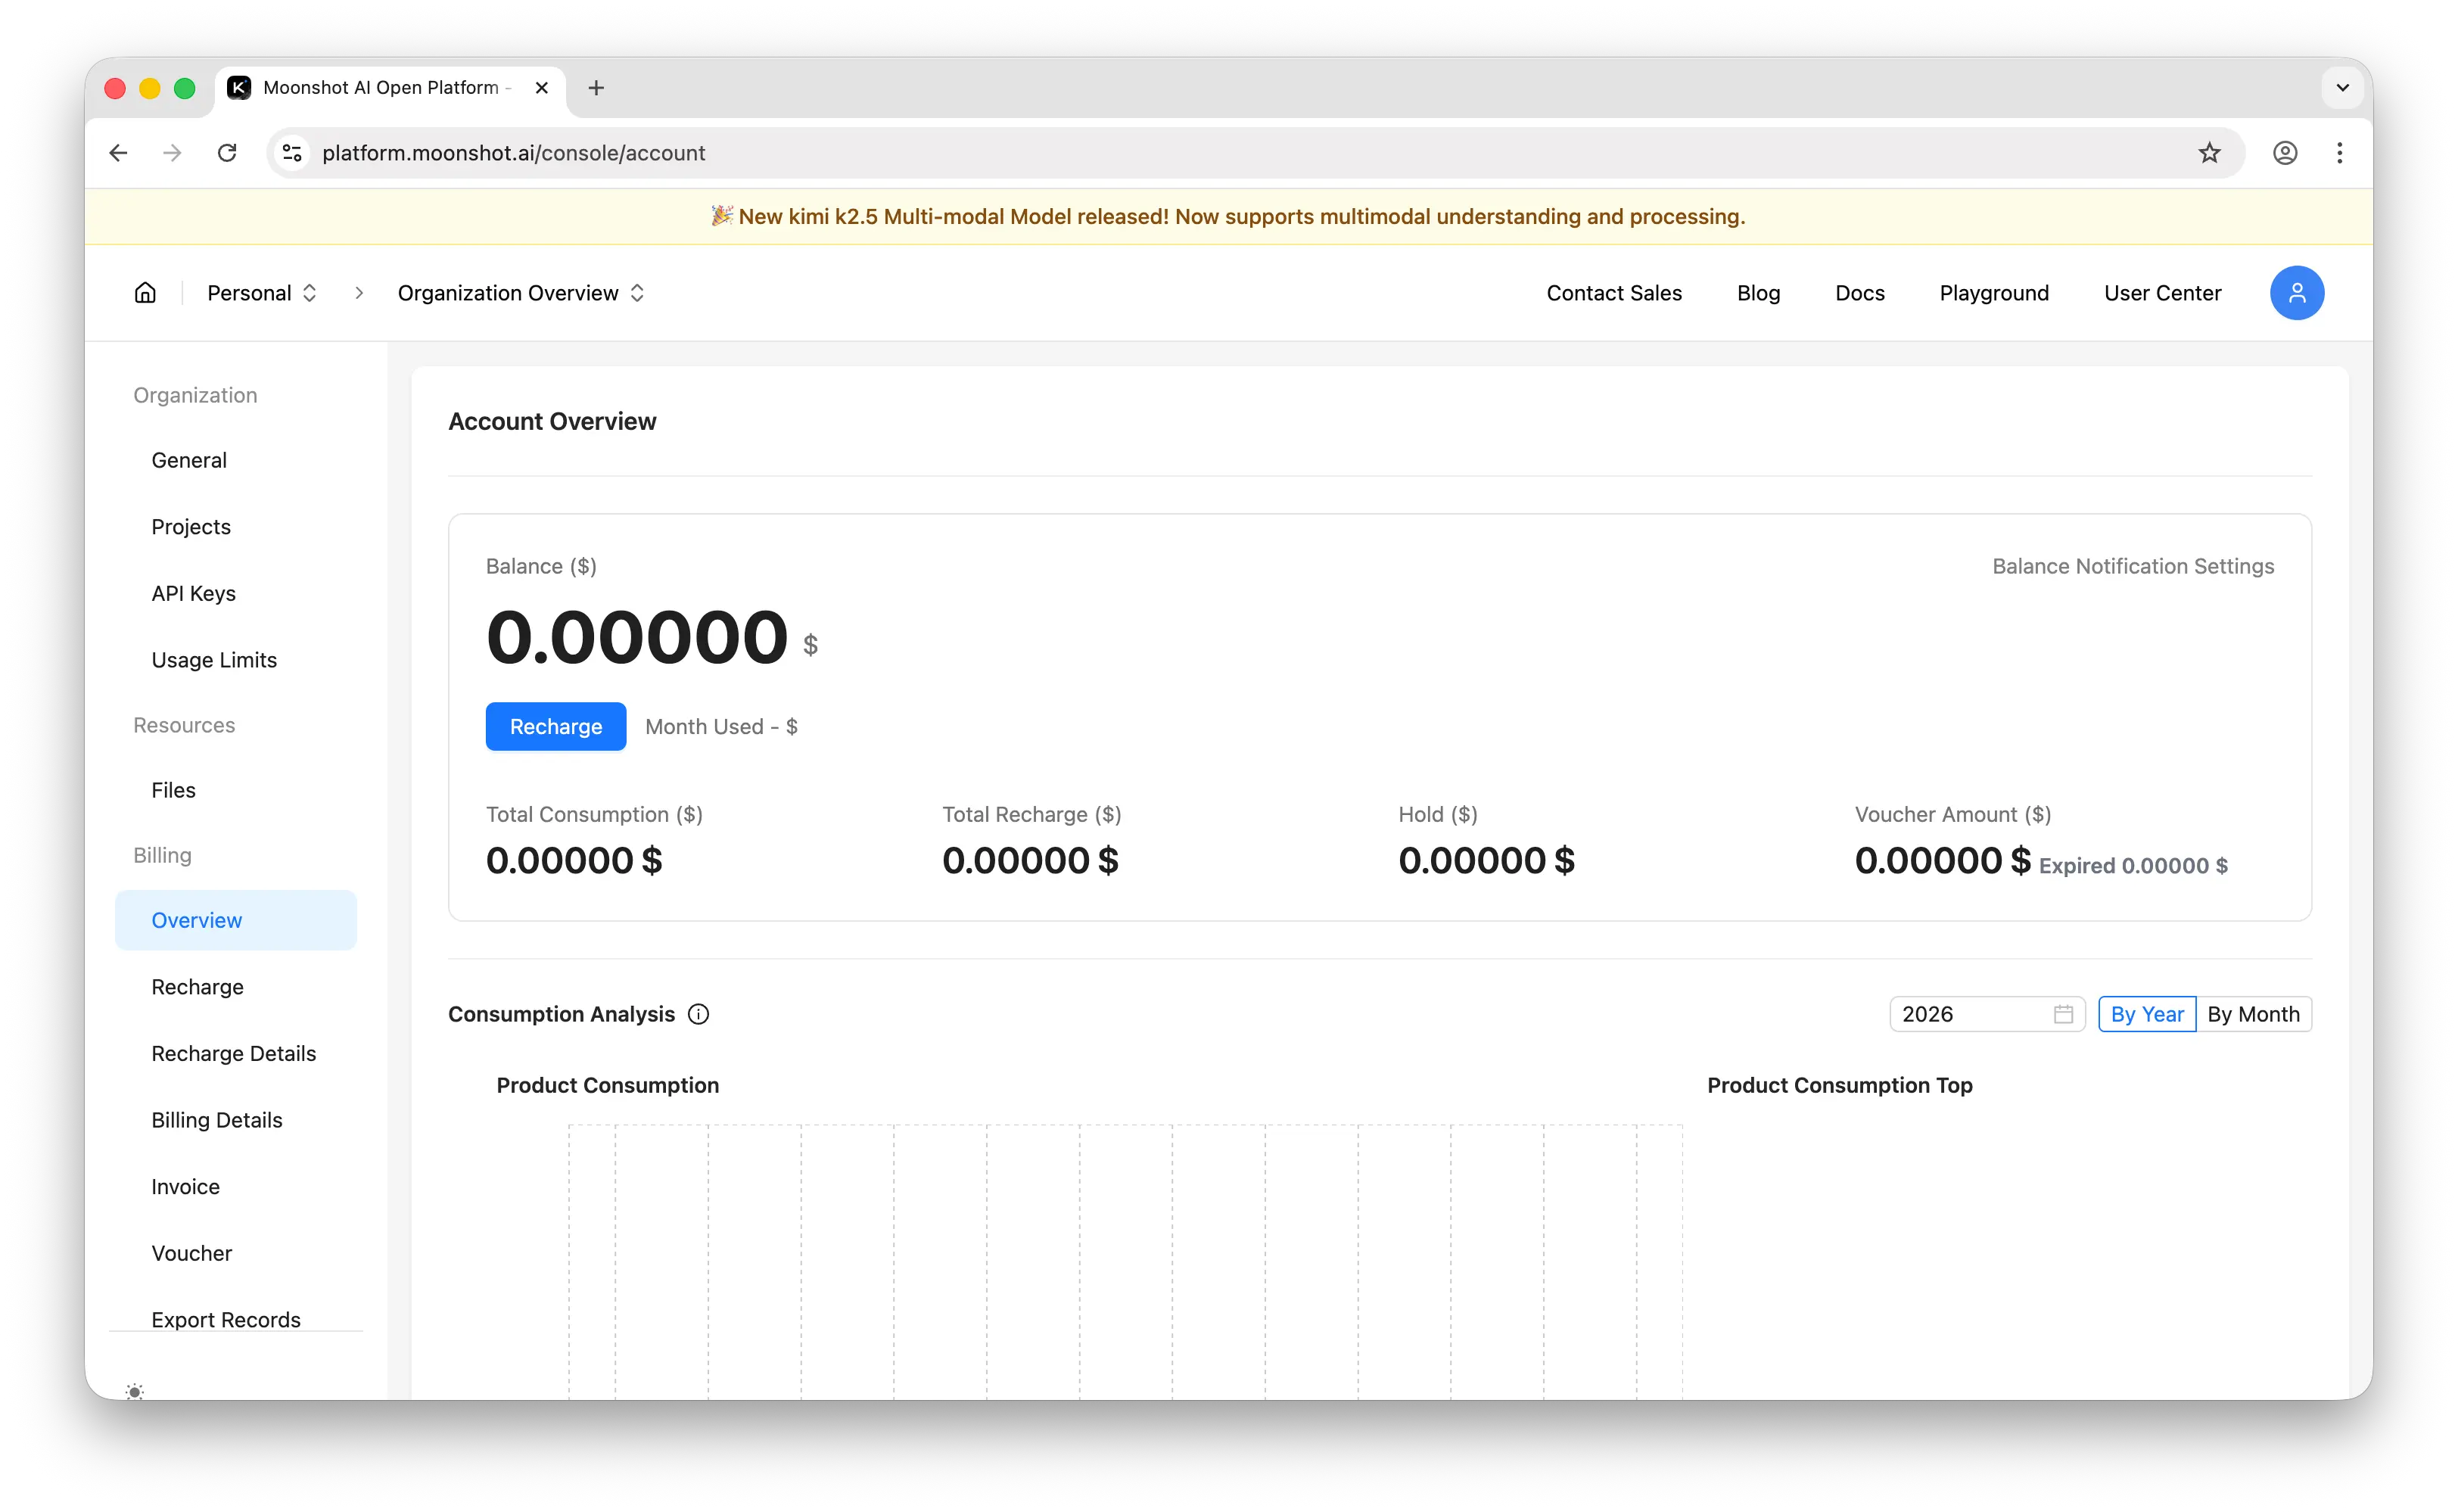
Click Get Started to sign in with your Google account. Once you're in, you'll land on the dashboard.
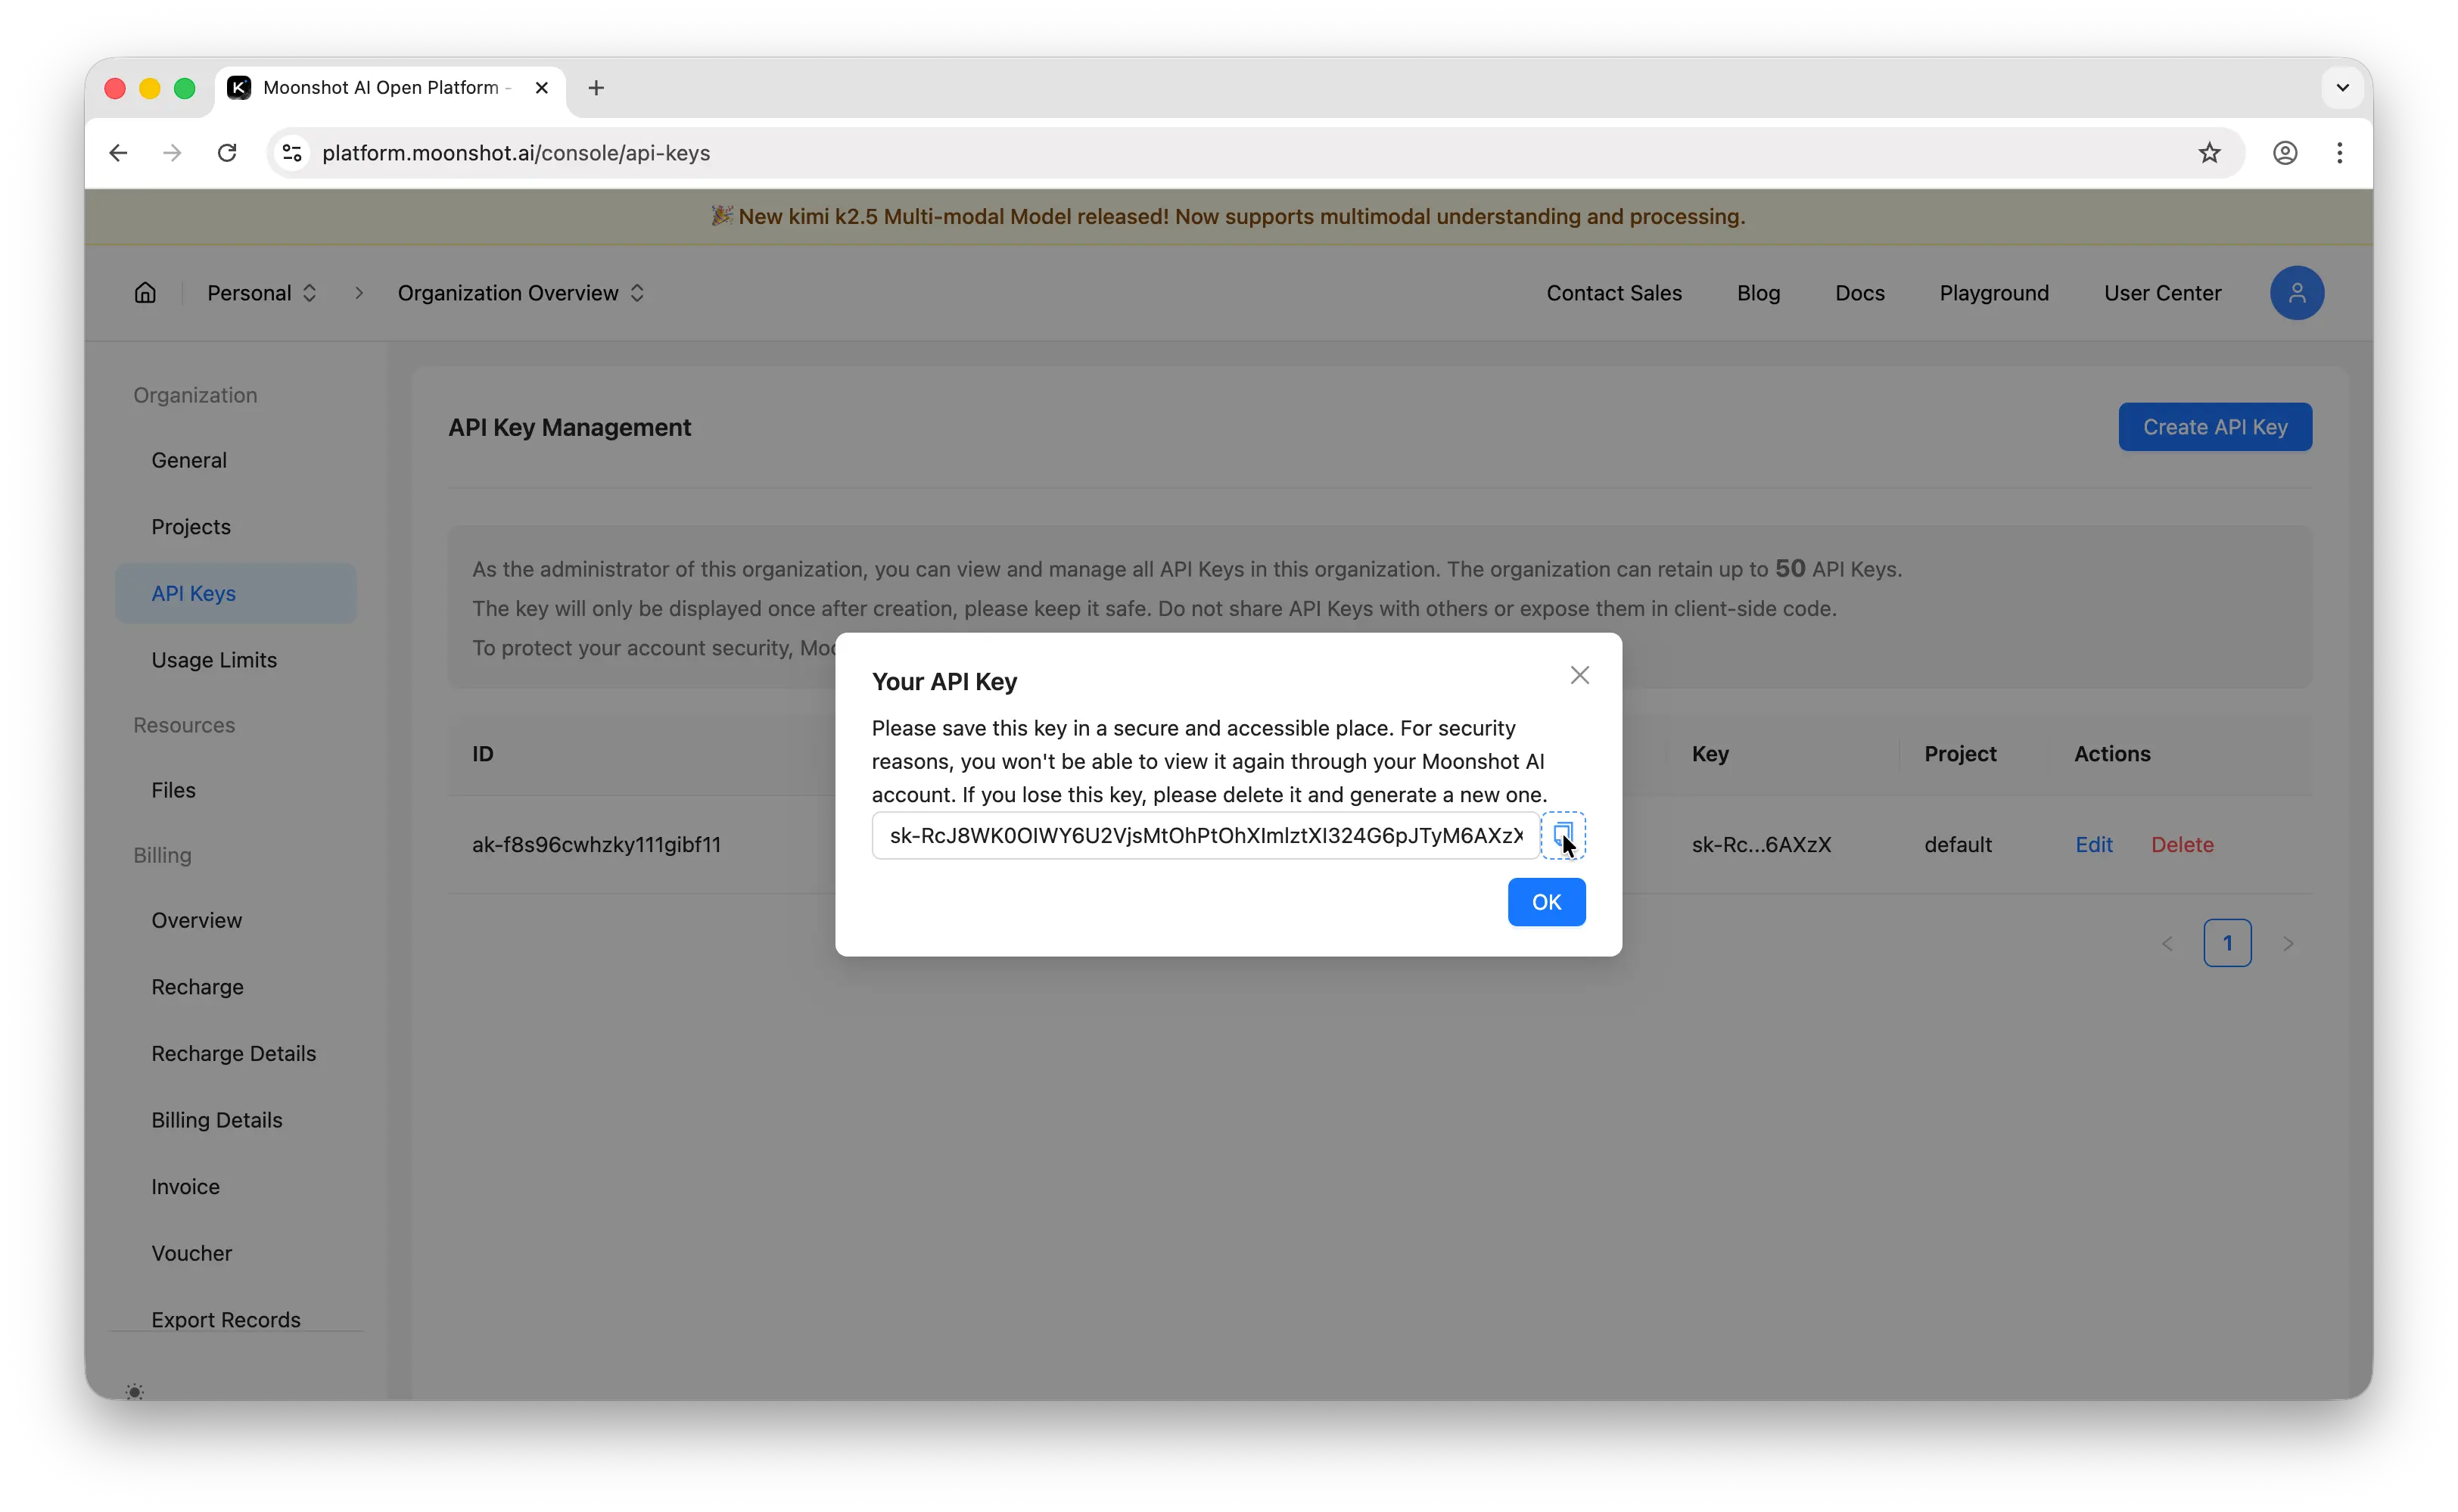
Step 2: Generate Your API Key
In the left sidebar, click API Keys. You'll land on the API key management page.
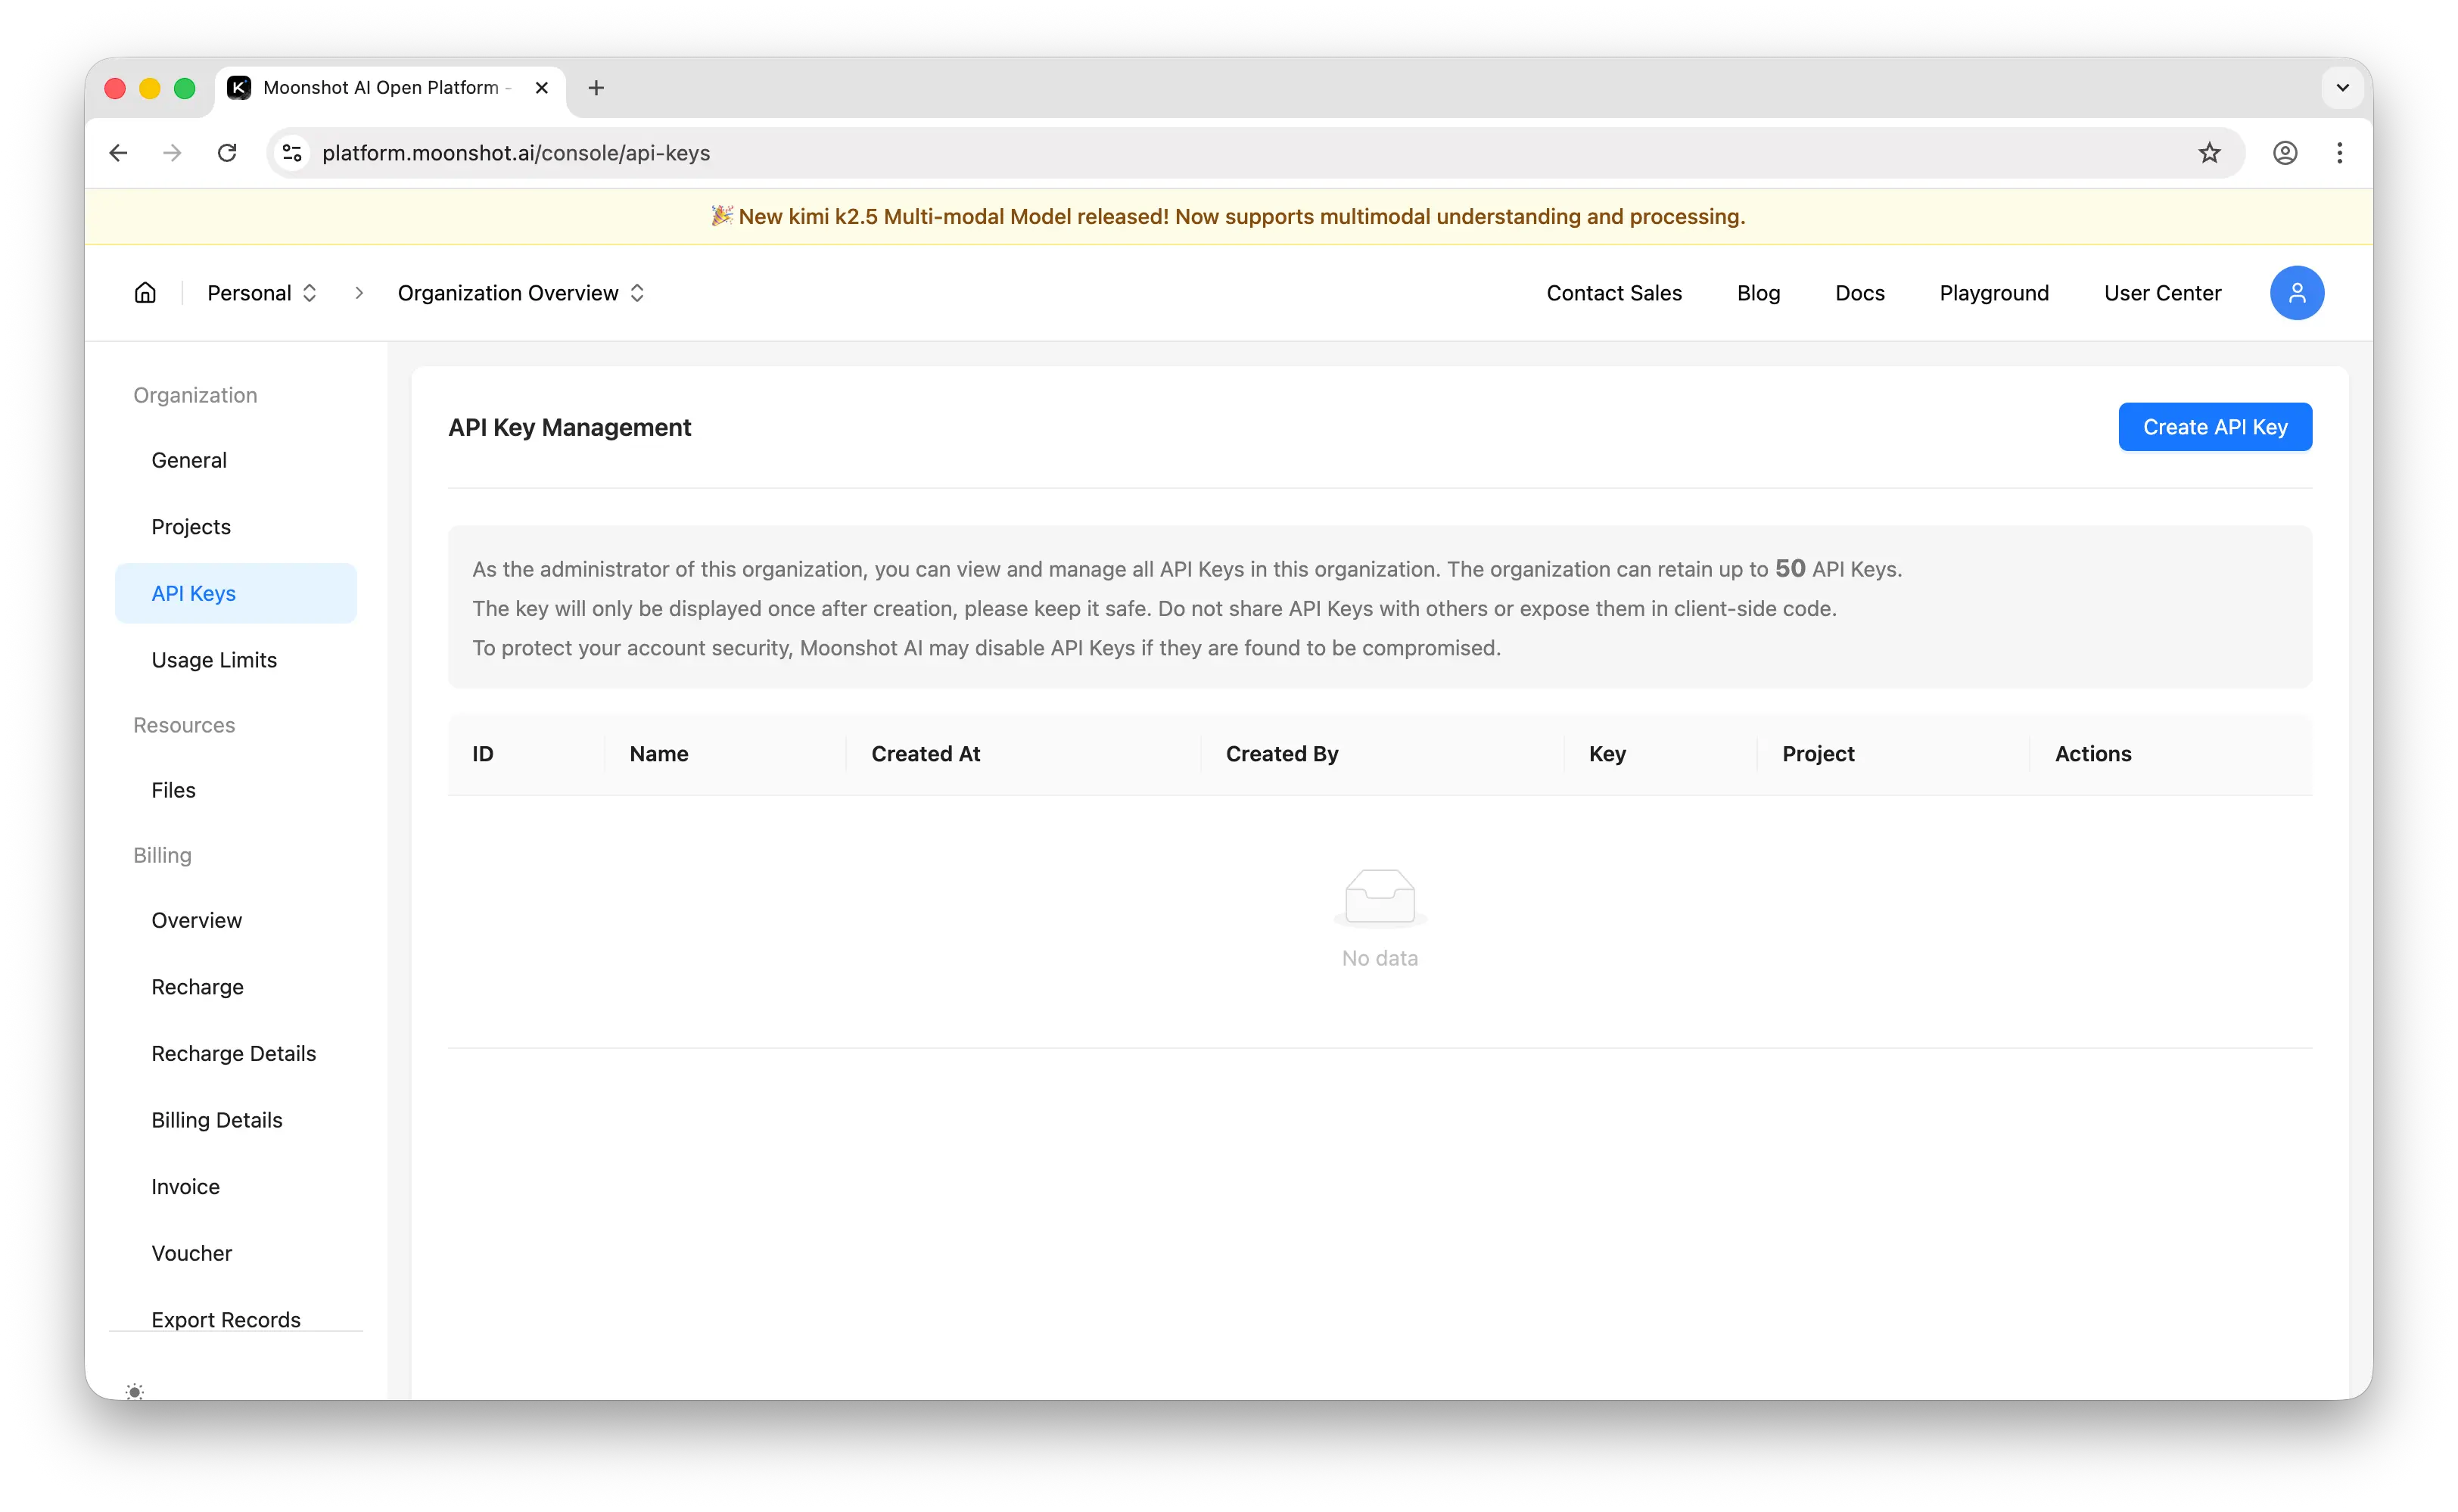
Click Create API Key. Enter a name and select the project for the key.
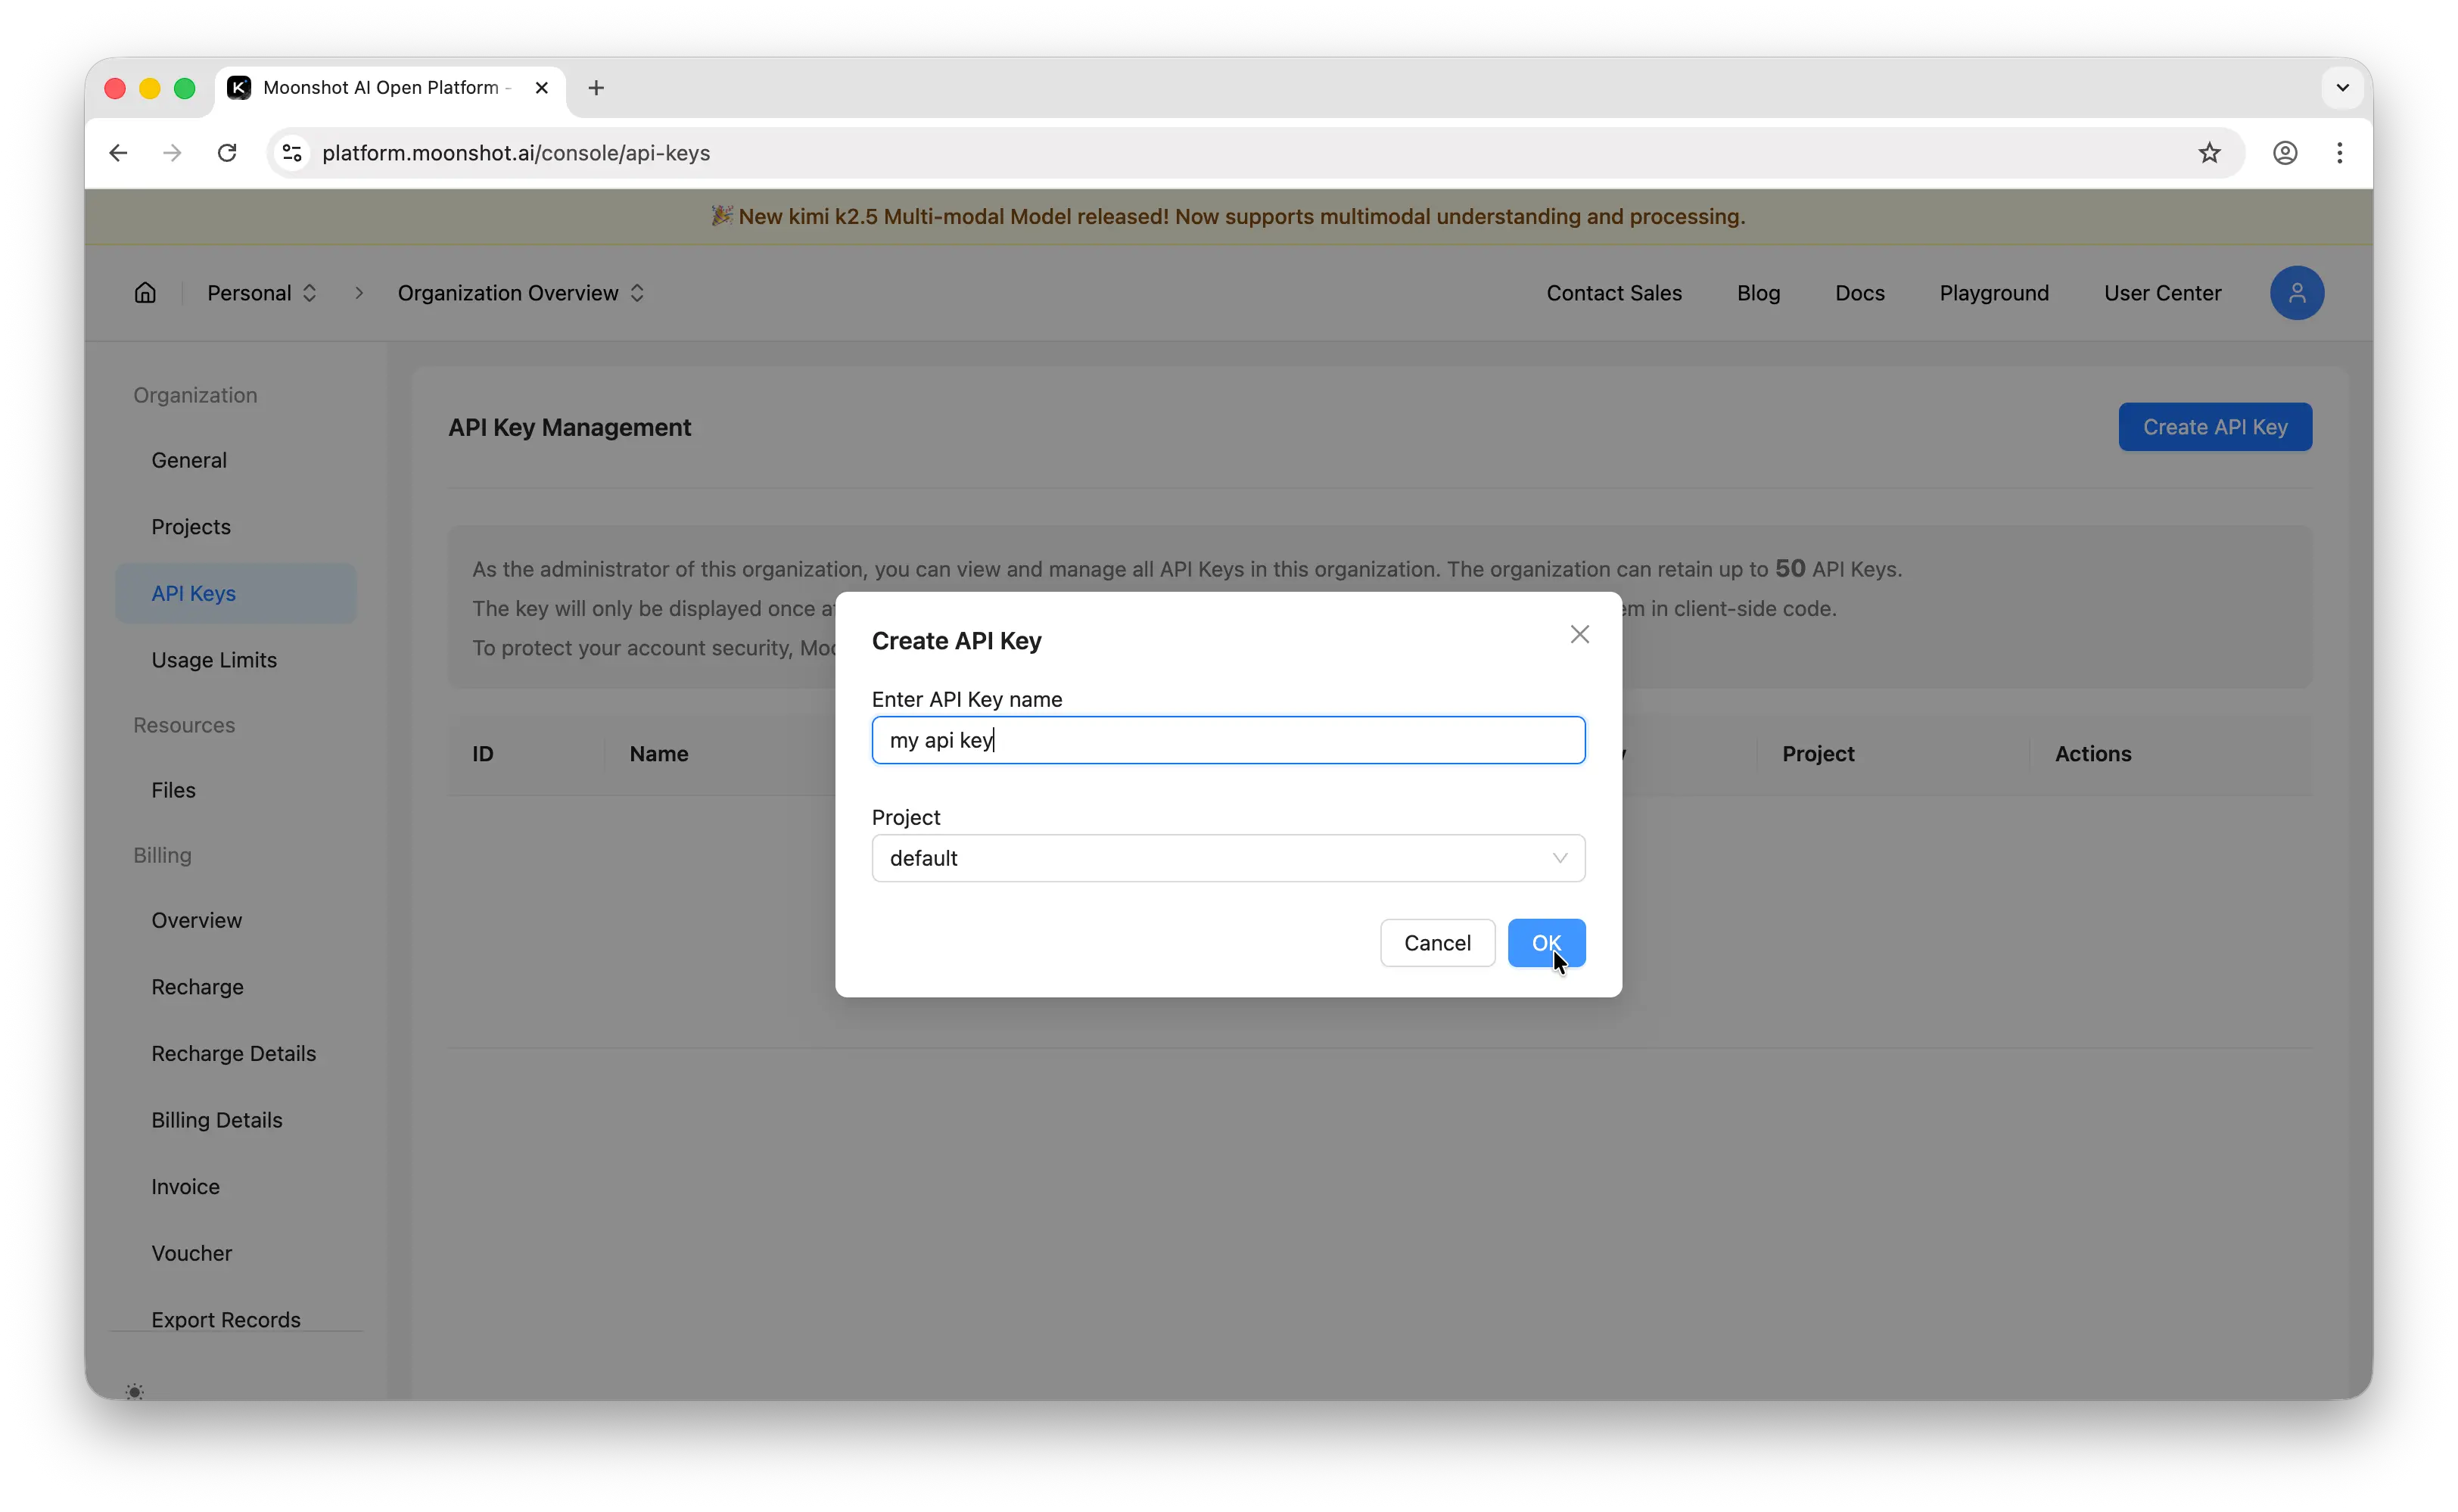
Important: Copy the key immediately. Moonshot only shows it once. If you lose it, you'll need to generate a new one.
Store it somewhere safe — a password manager, an .env file, or your platform's secrets manager. Never commit API keys to a public repository.
Step 3: Make Your First API Call
Moonshot uses an OpenAI-compatible API, so you can use the OpenAI SDK directly. Install it first:
npm install openai
Then make your first call:
import OpenAI from "openai";

const openai = new OpenAI({
  baseURL: "https://api.moonshot.ai/v1",
  apiKey: process.env.MOONSHOT_API_KEY,
});

const completion = await openai.chat.completions.create({
  model: "kimi-k2.5",
  messages: [{ role: "user", content: "Hello, world!" }],
});

console.log(completion.choices[0].message.content);
If you get a response back, everything is working.
One API Key, Hundreds of Models
The process above works well for Moonshot AI specifically — but what happens when you want to use GPT, Claude, Gemini, Llama, Mistral, or any of the other major models?
You'd need to repeat the entire process for each provider: create an account, set up billing, generate and manage a separate key. That's a lot of overhead, especially if you're experimenting or building something that uses multiple models.
Puter offers a simpler approach: one account, one auth token, access to hundreds of models across providers.
Instead of managing five different API dashboards, you point your existing code to Puter's OpenAI-compatible endpoint and use your Puter auth token:
import OpenAI from "openai";

const client = new OpenAI({
  baseURL: "https://api.puter.com/puterai/openai/v1/",
  apiKey: "YOUR_PUTER_AUTH_TOKEN",
});

const response = await client.chat.completions.create({
  model: "kimi-k2.5", // or claude-sonnet-4-6, gpt-5-nano, gemini-2.5-flash-lite, etc.
  messages: [{ role: "user", content: "Hello, world!" }],
});

console.log(response.choices[0].message.content);
Since Moonshot already uses the OpenAI-compatible format, switching to Puter is especially easy — just change the baseURL and apiKey.
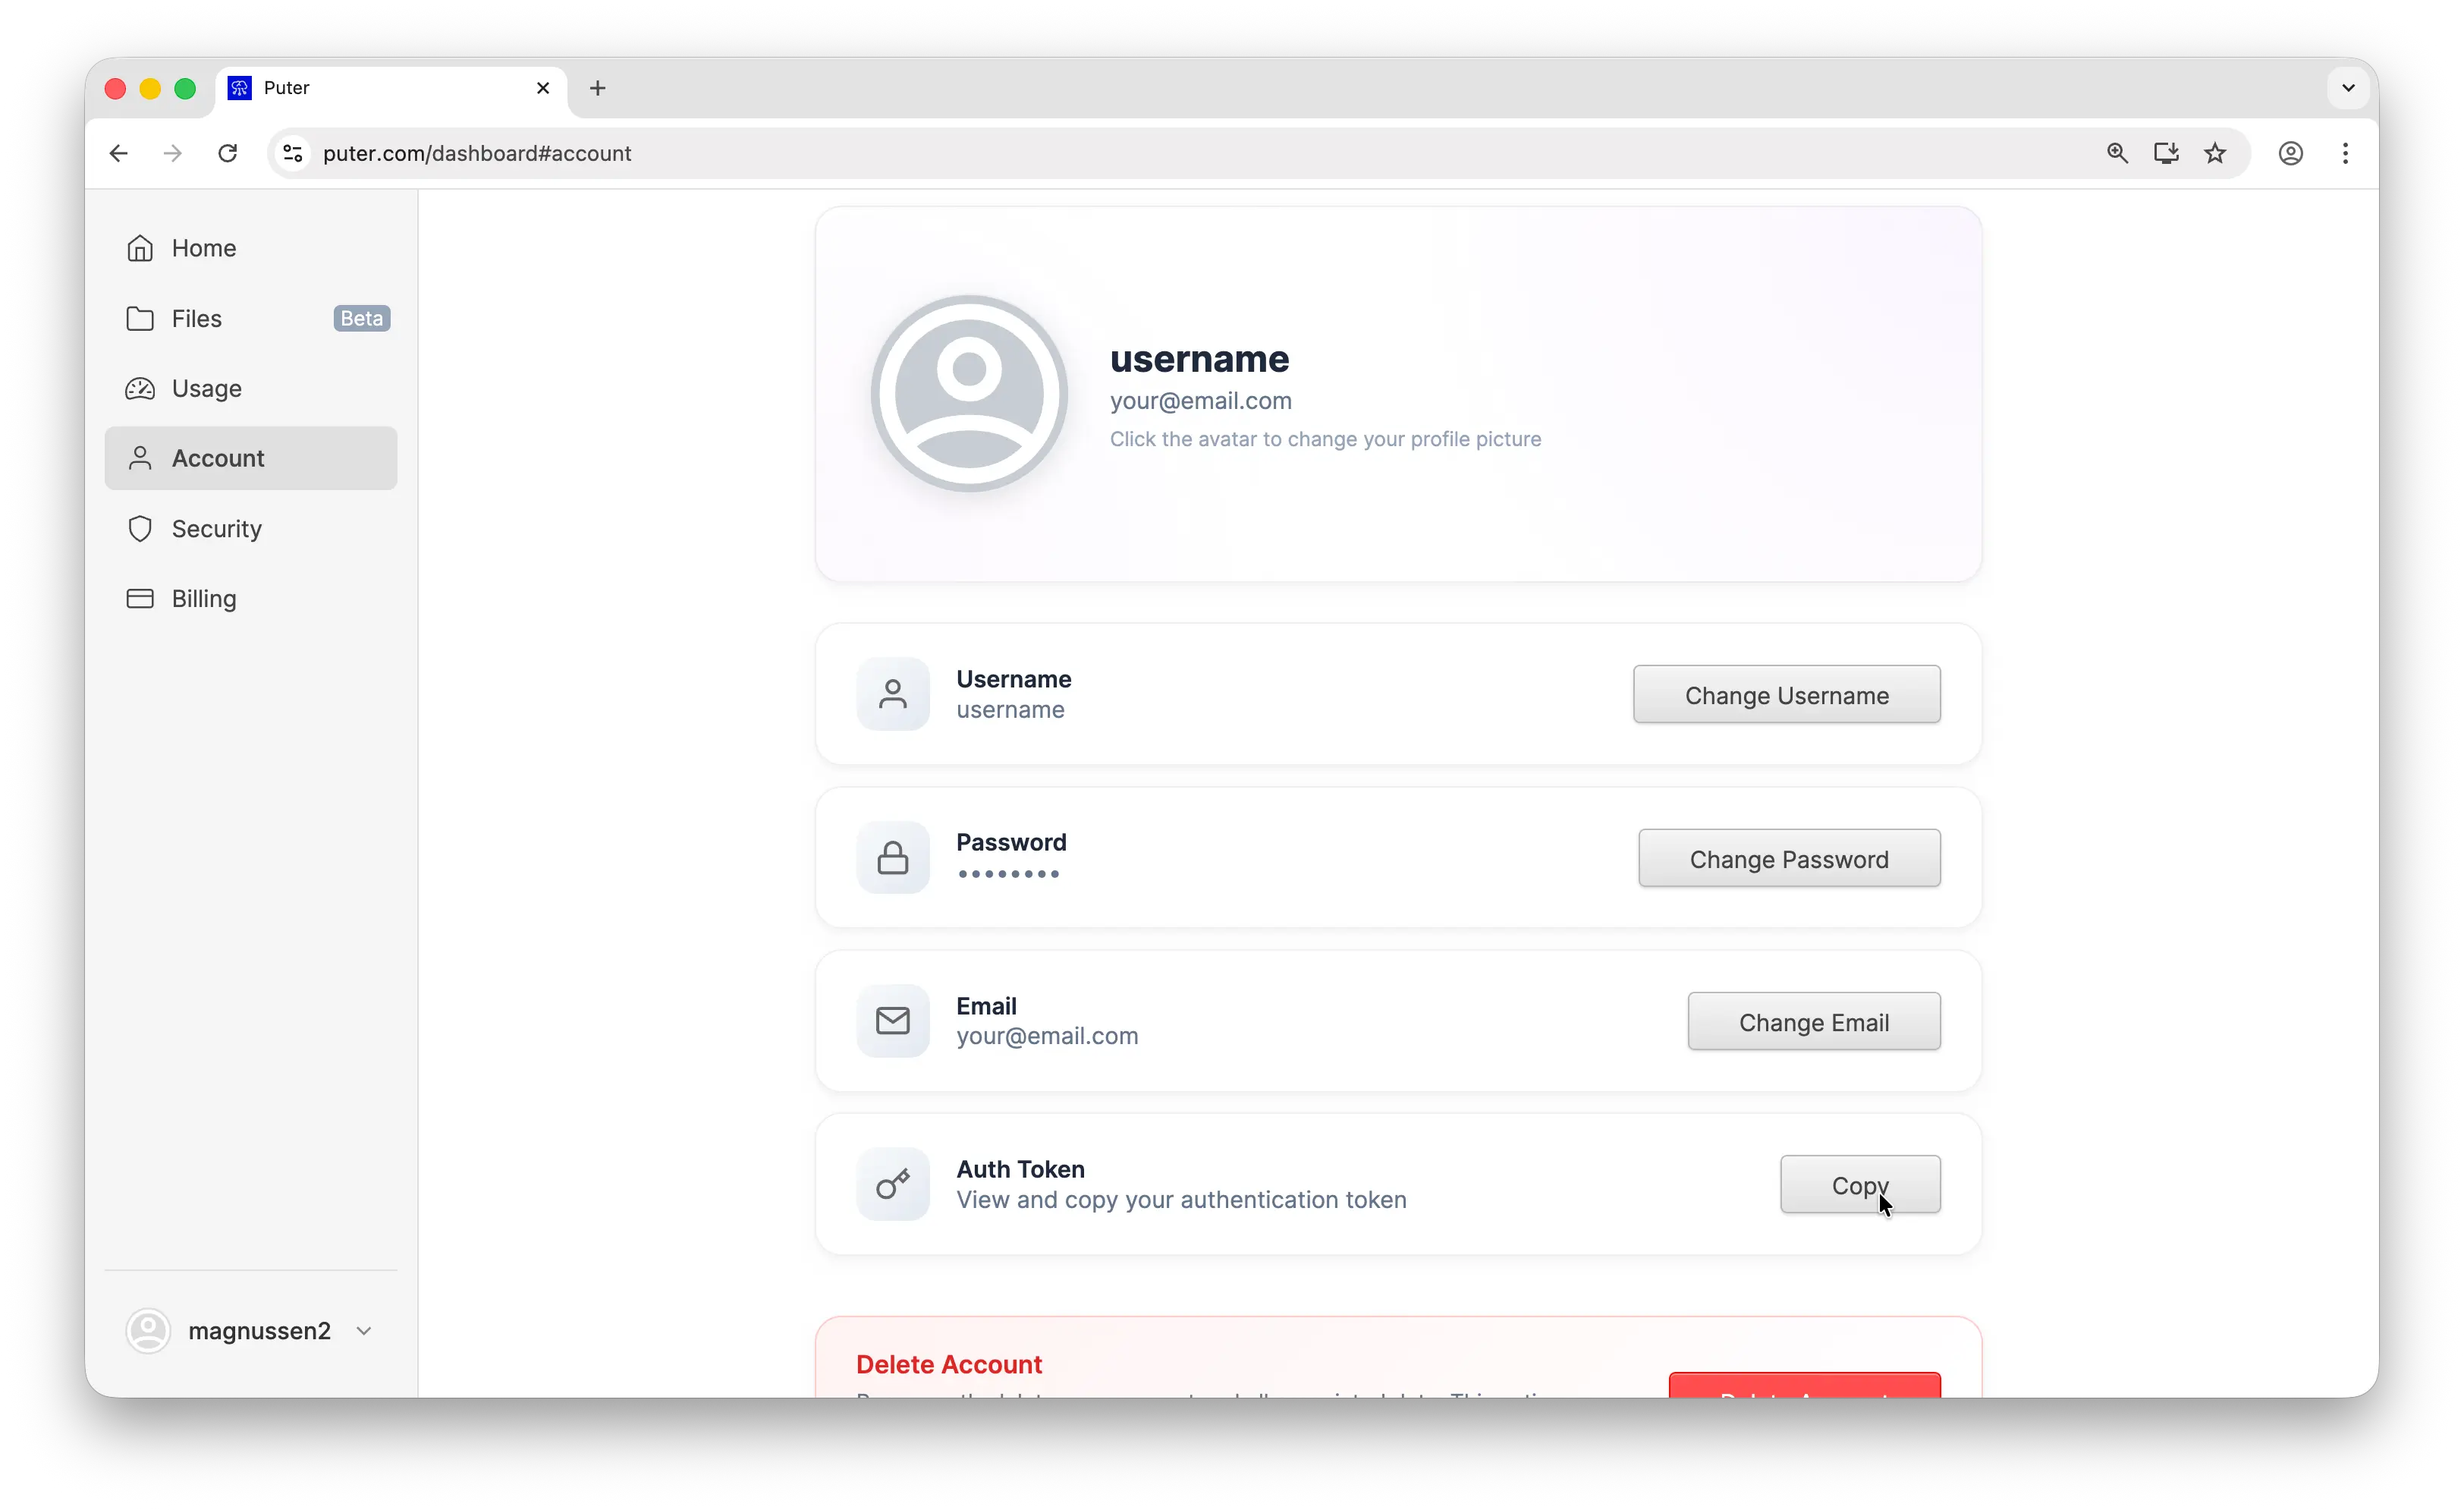
To get your Puter auth token, create a free account at puter.com, then go to puter.com/dashboard and click Copy to grab your token.
Conclusion
You now know how to create a Moonshot AI account, generate an API key, and make your first API call. For more details, check out Moonshot's official documentation. If you'd rather skip managing multiple API keys, Puter gives you access to Moonshot and hundreds of other models with a single auth token.
Related
- Free, Unlimited Moonshot AI API
- Free, Unlimited Kimi K2 API
- Free, Unlimited Claude API
- How to Get an OpenAI API Key
- How to Get an Anthropic (Claude) API Key
- How to Get a Gemini API Key
- How to Get a Grok (xAI) API Key
- How to Get a DeepSeek API Key
- How to Get a Mistral API Key
- How to Get a MiniMax API Key
- How to Get a Z.AI (GLM) API Key
- How to Use OpenAI SDK with Puter
- Free, Unlimited OpenAI API
- Free, Unlimited Gemini API
- How to Use LangChain with Puter
- How to Use Vercel AI SDK with Puter
Free, Serverless AI and Cloud
Start creating powerful web applications with Puter.js in seconds!
Get Started Now