Puter.js in Node.js: Quick Start Guide
On this page
In this tutorial, you'll learn how to use Puter.js in Node.js. While Puter.js is commonly used in the browser, it also works in Node.js for backend services, CLI tools, and automation scripts. The key difference is how you authenticate: either with an API token or through a browser-based login flow.
By the end, you'll have a working Node.js script that uses AI-powered text generation and persistent key-value storage, two features that would normally require separate services and API keys.
Prerequisites
Before you start, make sure you have the following:
- Node.js 24 or later. Puter.js requires Node.js 24+. You can check your version by running
node -vin your terminal. - A Puter account. Sign up at puter.com if you don't have one.
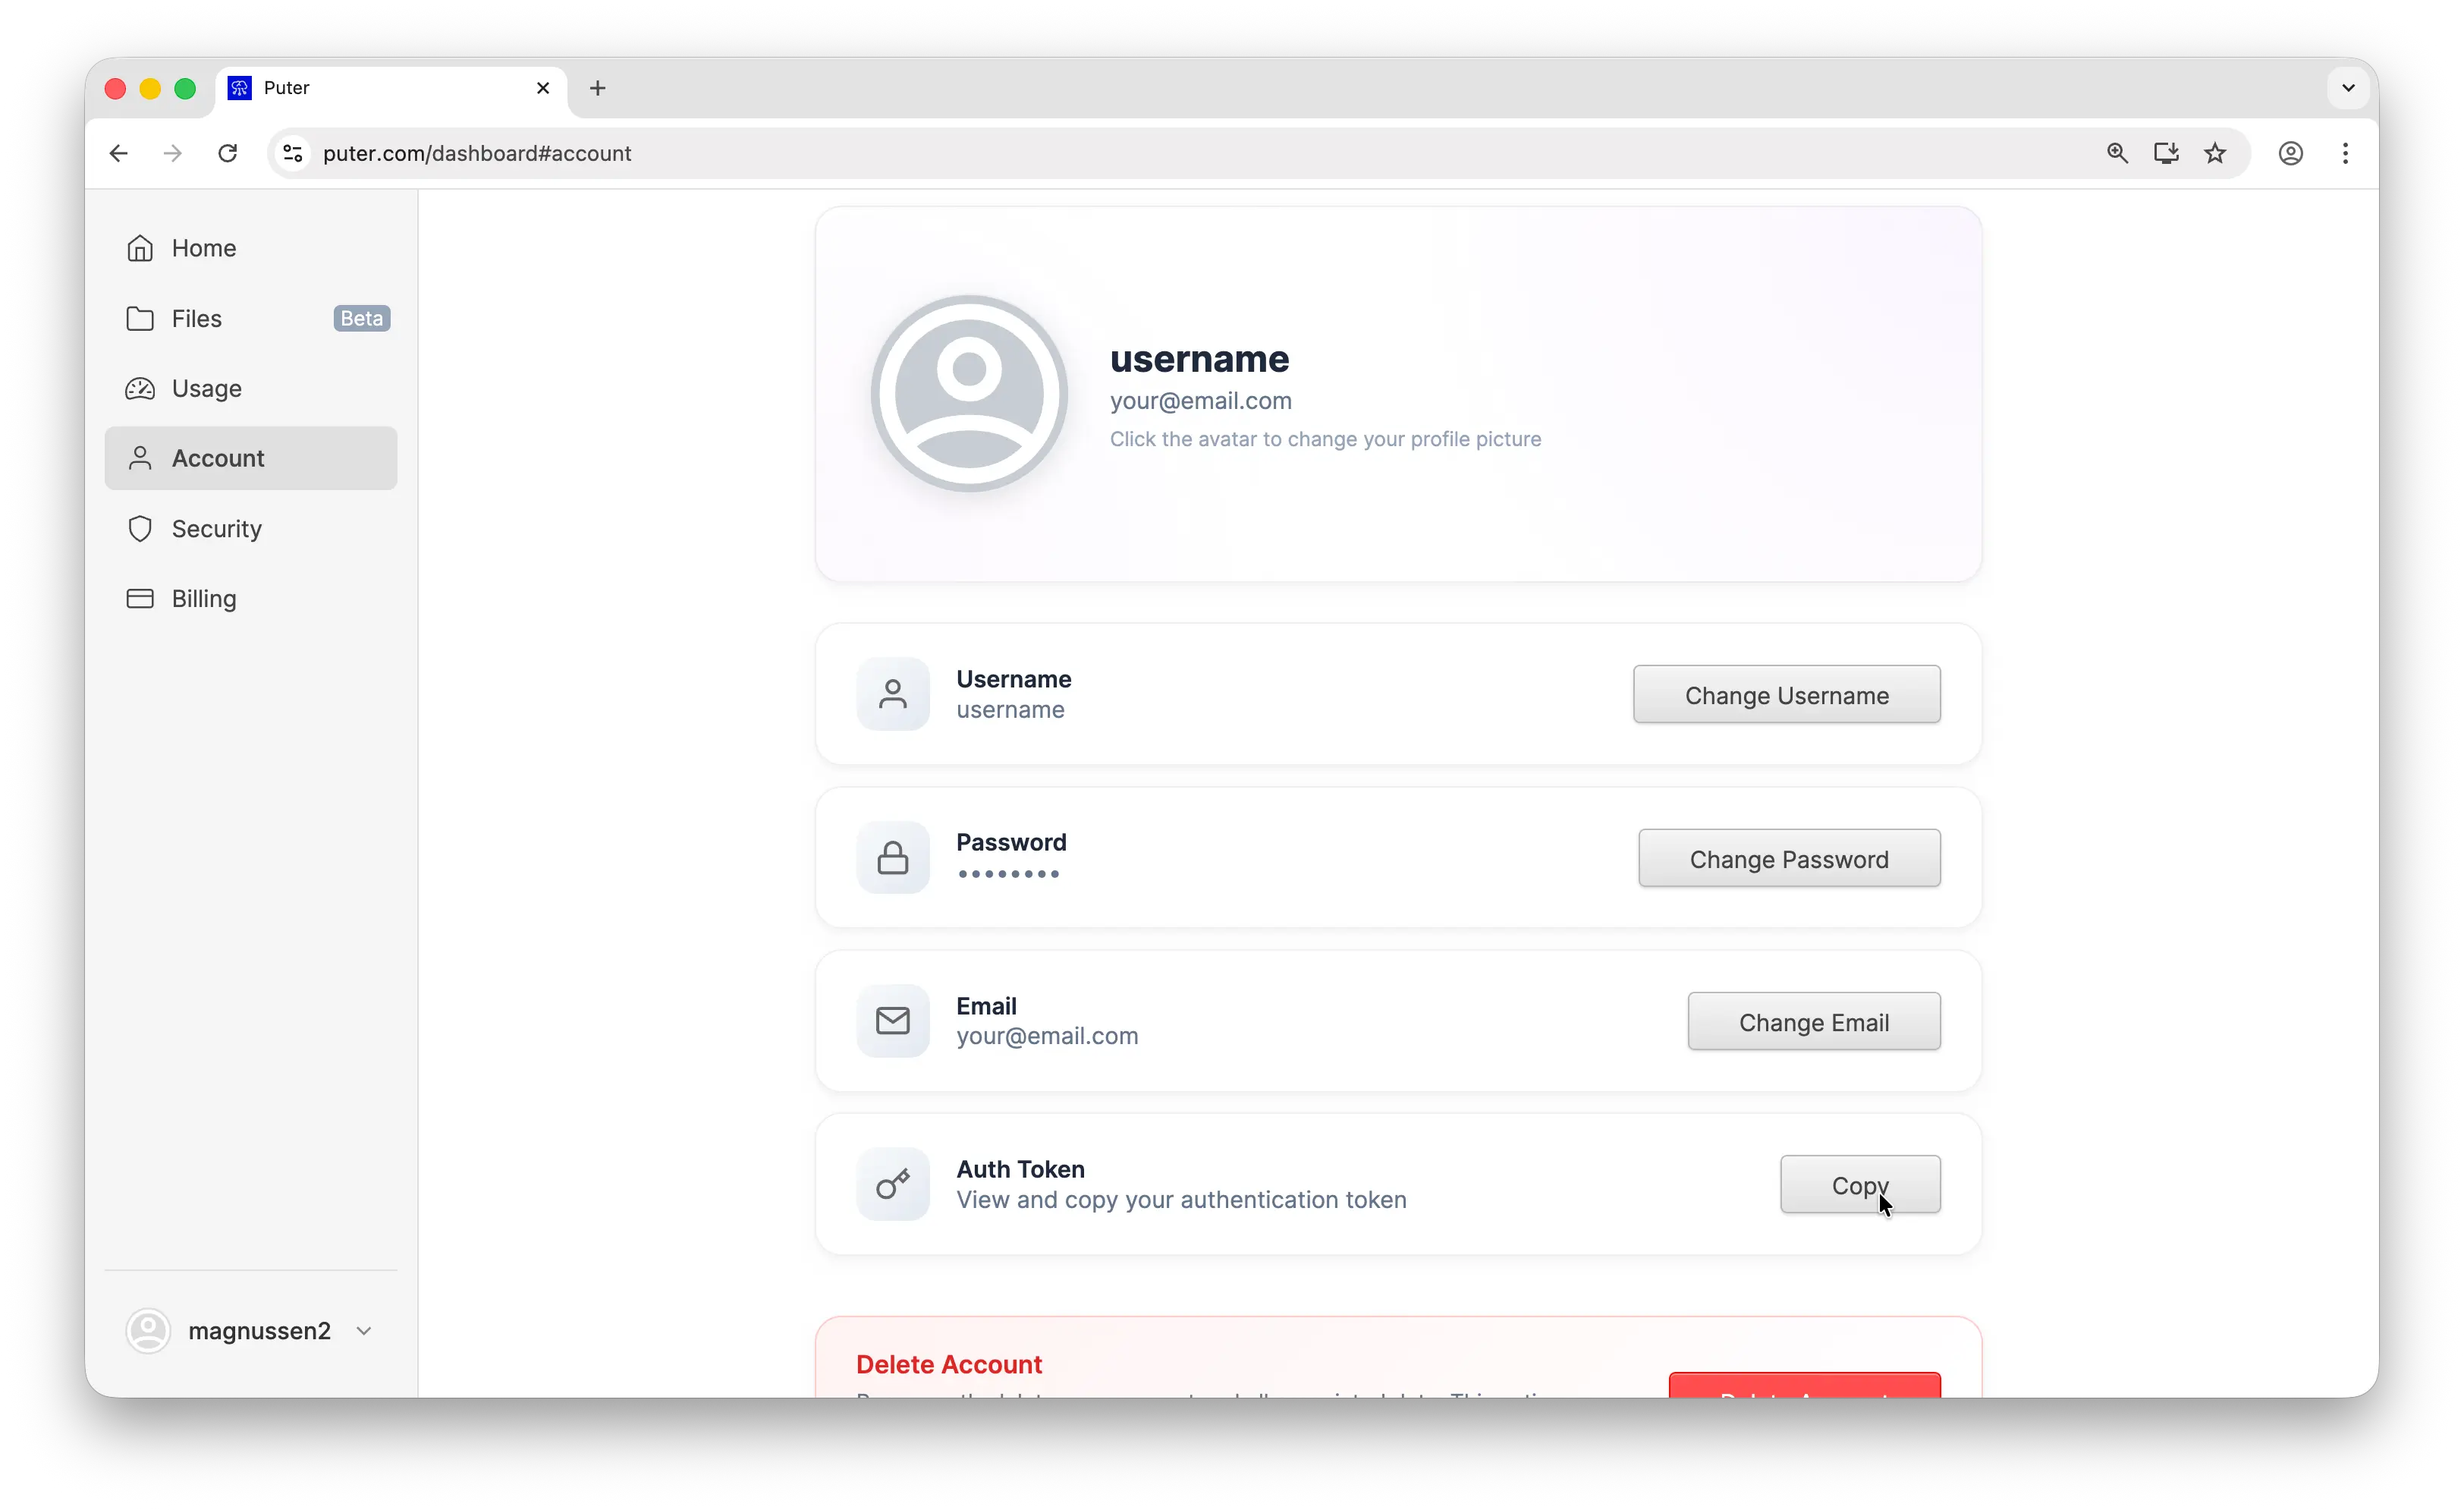
- (Optional) Your Puter auth token (for API token auth / Option A). If you plan to use the API token method, go to puter.com/dashboard and click Copy to get your auth token. If you plan to use browser-based auth (Option B), you can skip this step.
1. Set Up Your Project
Create a new directory and initialize a Node.js project:
mkdir puter-node
cd puter-node
npm init -y
Enable ES modules by adding "type": "module" to your package.json:
{
  "name": "puter-node",
  "type": "module"
}
Next, install Puter.js:
npm i @heyputer/puter.js
That's the only dependency you need.
2. Authentication
In the browser, Puter.js handles authentication automatically through a popup login. In Node.js, there's no browser window, so you need to provide credentials explicitly. There are two ways to do this.
Option A: Auth Token
This is the best approach for backend services, automation scripts, and CI/CD pipelines. You pass your Puter API token directly using the token you copied from the dashboard in the prerequisites.
Create an index.js file:
import { init } from "@heyputer/puter.js/src/init.cjs";

const puter = init(process.env.PUTER_AUTH_TOKEN);

const response = await puter.ai.chat("What is Node.js?");
console.log(response.message.content.toString());
Run it with your token:
PUTER_AUTH_TOKEN=your-token-here node index.js
You should see an AI-generated response about Node.js.
Option B: Browser Auth
This is the best approach for CLI tools and local development. It opens your default browser to log in, then passes the token back to your script automatically.
import { init, getAuthToken } from "@heyputer/puter.js/src/init.cjs";

const authToken = await getAuthToken();
const puter = init(authToken);

const response = await puter.ai.chat("What is Node.js?");
console.log(response.message.content.toString());
When you run this, your browser will open a Puter login page. After you sign in, the token is returned to your script and it continues running. This is great for tools where you don't want to manually manage tokens.
3. Add AI to Your Script
Let's build a simple interactive script that takes a prompt and returns an AI response. Create index.js:
import { init } from "@heyputer/puter.js/src/init.cjs";
import readline from "readline";

const puter = init(process.env.PUTER_AUTH_TOKEN);

const rl = readline.createInterface({
  input: process.stdin,
  output: process.stdout,
});

function ask(question) {
  return new Promise((resolve) => rl.question(question, resolve));
}

async function main() {
import { init } from "@heyputer/puter.js/src/init.cjs";
import readline from "readline";

const puter = init(process.env.PUTER_AUTH_TOKEN);

const rl = readline.createInterface({
  input: process.stdin,
  output: process.stdout,
});

function ask(question) {
  return new Promise((resolve) => rl.question(question, resolve));
}

async function main() {import { init } from "@heyputer/puter.js/src/init.cjs";
import readline from "readline";
const puter = init(process.env.PUTER_AUTH_TOKEN);
const rl = readline.createInterface({
input: process.stdin,
output: process.stdout,
});
function ask(question) {
return new Promise((resolve) => rl.question(question, resolve));
}
async function main() {
console.log("Puter AI Chat (type 'exit' to quit)\n");
while (true) {
const prompt = await ask("You: ");
if (prompt.toLowerCase() === "exit") break;
try {
const reply = await puter.ai.chat(prompt);
console.log(`AI: ${reply.message.content.toString()}\n`);
} catch (err) {
console.error("Error:", err.message);
}
}
rl.close();
}
main();
Run it:
PUTER_AUTH_TOKEN=your-token-here node index.js
You now have an interactive AI chatbot running entirely in your terminal. No API keys to manage, no OpenAI account needed.
Tip: You can specify a model by passing an options object:
puter.ai.chat("your prompt", { model: "gpt-5.4" }). Puter.js supports hundreds of AI models including GPT, Claude, Gemini, and more.
4. Persist Data with Key-Value Storage
Let's add persistent storage to save chat history across sessions. The KV store works the same as in the browser: puter.kv.set(key, value) to write, puter.kv.get(key) to read.
Update index.js:
import { init } from "@heyputer/puter.js/src/init.cjs";
import readline from "readline";
const puter = init(process.env.PUTER_AUTH_TOKEN);
const rl = readline.createInterface({
input: process.stdin,
output: process.stdout,
});
function ask(question) {
return new Promise((resolve) => rl.question(question, resolve));
}
async function main() {
import { init } from "@heyputer/puter.js/src/init.cjs";
import readline from "readline";
const puter = init(process.env.PUTER_AUTH_TOKEN);
const rl = readline.createInterface({
input: process.stdin,
output: process.stdout,
});
function ask(question) {
return new Promise((resolve) => rl.question(question, resolve));
}
async function main() {import { init } from "@heyputer/puter.js/src/init.cjs";
import readline from "readline";
const puter = init(process.env.PUTER_AUTH_TOKEN);
const rl = readline.createInterface({
input: process.stdin,
output: process.stdout,
});
function ask(question) {
return new Promise((resolve) => rl.question(question, resolve));
}
async function main() {
// Load existing history
let history = (await puter.kv.get("chat_history")) || [];
console.log(`Puter AI Chat (${history.length} previous messages)\n`);
if (history.length > 0) {
console.log("Recent history:");
history.slice(-5).forEach((entry) => {
console.log(` You: ${entry.prompt}`);
console.log(` AI: ${entry.response.substring(0, 80)}...\n`);
});
}
while (true) {
const prompt = await ask("You: ");
if (prompt.toLowerCase() === "exit") break;
try {
const reply = await puter.ai.chat(prompt);
const text = reply.message.content.toString();
console.log(`AI: ${text}\n`);
// Save to history
history.push({ prompt, response: text });
await puter.kv.set("chat_history", history);
} catch (err) {
console.error("Error:", err.message);
}
}
rl.close();
}
main();
Run the script, ask a few questions, then stop and run it again. Your chat history will still be there. The data is stored in your Puter account and follows the User-Pays Model, meaning each user covers their own resource usage.
5. Where to Go from Here
You've now used two of Puter's core features (AI and Key-Value Storage) from Node.js, but there's a lot more available through the same library:
- Cloud Storage (
puter.fs) -- read, write, and manage files in the cloud. - Hosting (
puter.hosting) -- deploy static sites to a*.puter.sitesubdomain, directly from your code. - Serverless Workers (
puter.workers) -- run backend logic without managing servers.
Each of these follows the same pattern: initialize Puter.js with init(), call a function, get results.
Conclusion
In this tutorial, you learned how to use Puter.js in Node.js with two authentication methods: API tokens for backend services and browser auth for CLI tools. With Puter.js, you can add AI, cloud storage, key-value databases, and more to your Node.js scripts, all without separate API keys or services.
For a deeper dive into everything Puter.js can do, check out the full documentation. And if you get stuck or want to share what you're building, join the Puter Discord community.
Related
Free, Serverless AI and Cloud
Start creating powerful web applications with Puter.js in seconds!
Get Started Now