How to Get Your Puter Auth Token
On this page
In this guide, you'll learn how to get your Puter auth token from the dashboard and use it to authenticate from a backend service, CLI tool, or any environment where the usual browser-based login isn't an option.
Puter.js normally handles authentication for you in the browser automatically, so you don't need to manage any keys. But when you're running code outside the browser, like in a Node.js backend, a CLI tool, or a server-to-server script, that automatic flow has nothing to hook into, so you need to authenticate with a token instead.
That's what the auth token is for. It's a credential tied to your Puter account that you can drop into any non-browser environment to make calls on your behalf.
Getting Your Puter Auth Token
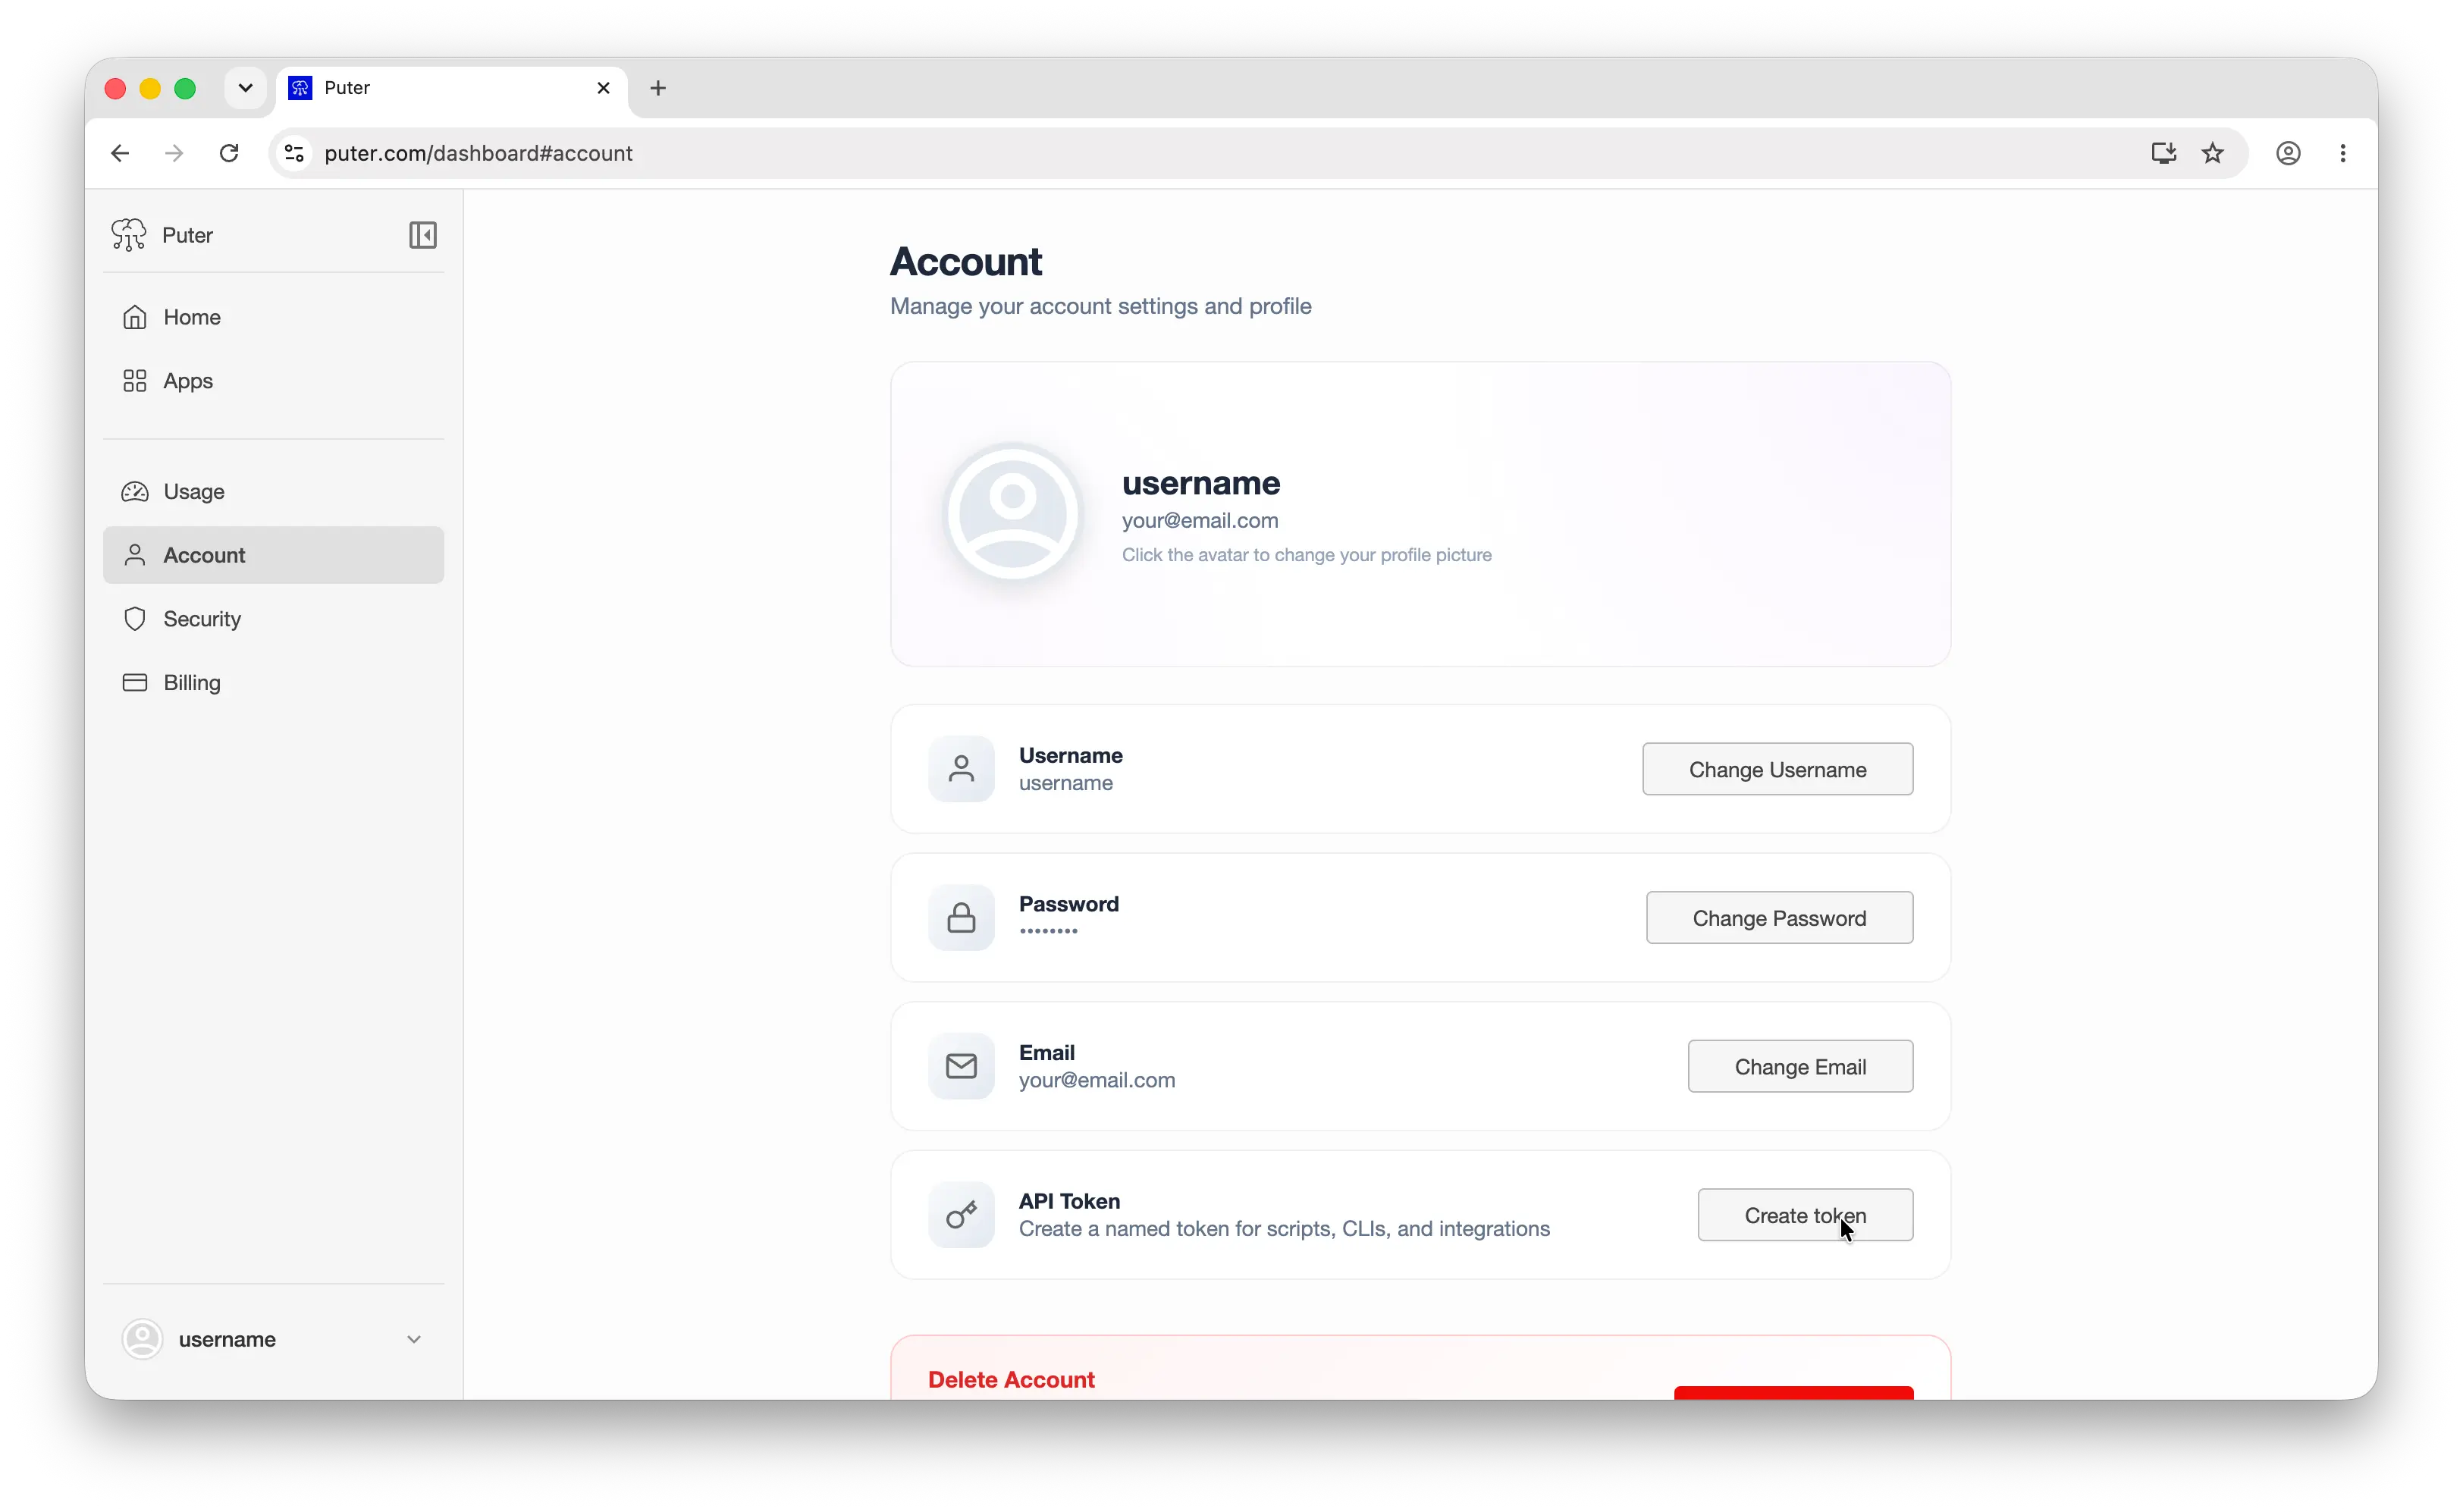
Go to puter.com/dashboard#account. If you're not signed in, log in with your Puter account first. If you don't have one yet, you can create one for free.
On the Account page, find the API token section and click Create token.
That's it. Your token is now on your clipboard. Store it somewhere safe like a password manager, an .env file, or your platform's secrets manager. Treat it like a password: anyone with this token can act as you on Puter, so never commit it to a public repository.
FAQ
I thought Puter.js doesn't require an API key?
You're right. In the browser, Puter.js handles authentication automatically. Users sign in with their own Puter account, and your app gets the credentials it needs without you ever touching a key. That's the whole User-Pays model: no keys, no billing, your users cover their own usage.
The auth token only comes into play when you're running code somewhere that automatic flow can't run, like a Node.js backend, a CI job, a CLI script, or a WebDAV client. In those environments, you authenticate as yourself by passing your own token.
How do I use my auth token?
The most common use is initializing Puter.js in Node.js:
import { init } from "@heyputer/puter.js/src/init.cjs";

const puter = init(process.env.PUTER_AUTH_TOKEN);

const response = await puter.ai.chat("Hello, world!");
console.log(response.message.content.toString());
You can also use it as the API key against Puter's OpenAI-compatible endpoint, which lets you point any OpenAI SDK at Puter and access hundreds of models:
import OpenAI from "openai";

const client = new OpenAI({
  baseURL: "https://api.puter.com/puterai/openai/v1/",
  apiKey: process.env.PUTER_AUTH_TOKEN,
});

const response = await client.chat.completions.create({
  model: "gpt-5.4-nano",
  messages: [{ role: "user", content: "Hello, world!" }],
});
For a full walkthrough of the Node.js setup, see the Puter.js in Node.js guide.
Conclusion
To get your Puter auth token, sign in to puter.com/dashboard and click Create token in the API token section. Use it to authenticate Puter.js in Node.js, hit the OpenAI-compatible API from a server, or connect any non-browser client to your account.
Most of the time, you won't need this, since Puter.js handles auth for you in the browser. But when you're building something on the backend or anywhere browser-based auth isn't an option, the auth token is how you bridge the gap.
Related
Ship a Full-Stack App with One Prompt
Build an AI chat app using Puter.js
Coding manually? see the guide