Deploy Your SvelteKit App With Puter
On this page
In this guide, you'll learn how to use Puter to deploy your static SvelteKit app for free. Puter is a cloud operating system in your browser with a web hosting feature allowing you to host your website easily.
Deploying your SvelteKit App
Step 1: Prepare Your Site
First, make sure your SvelteKit project is configured for static site generation. Follow the official SvelteKit static adapter guide to set this up.
Once configured, run the build command inside your project folder to generate your website files:
npm run build
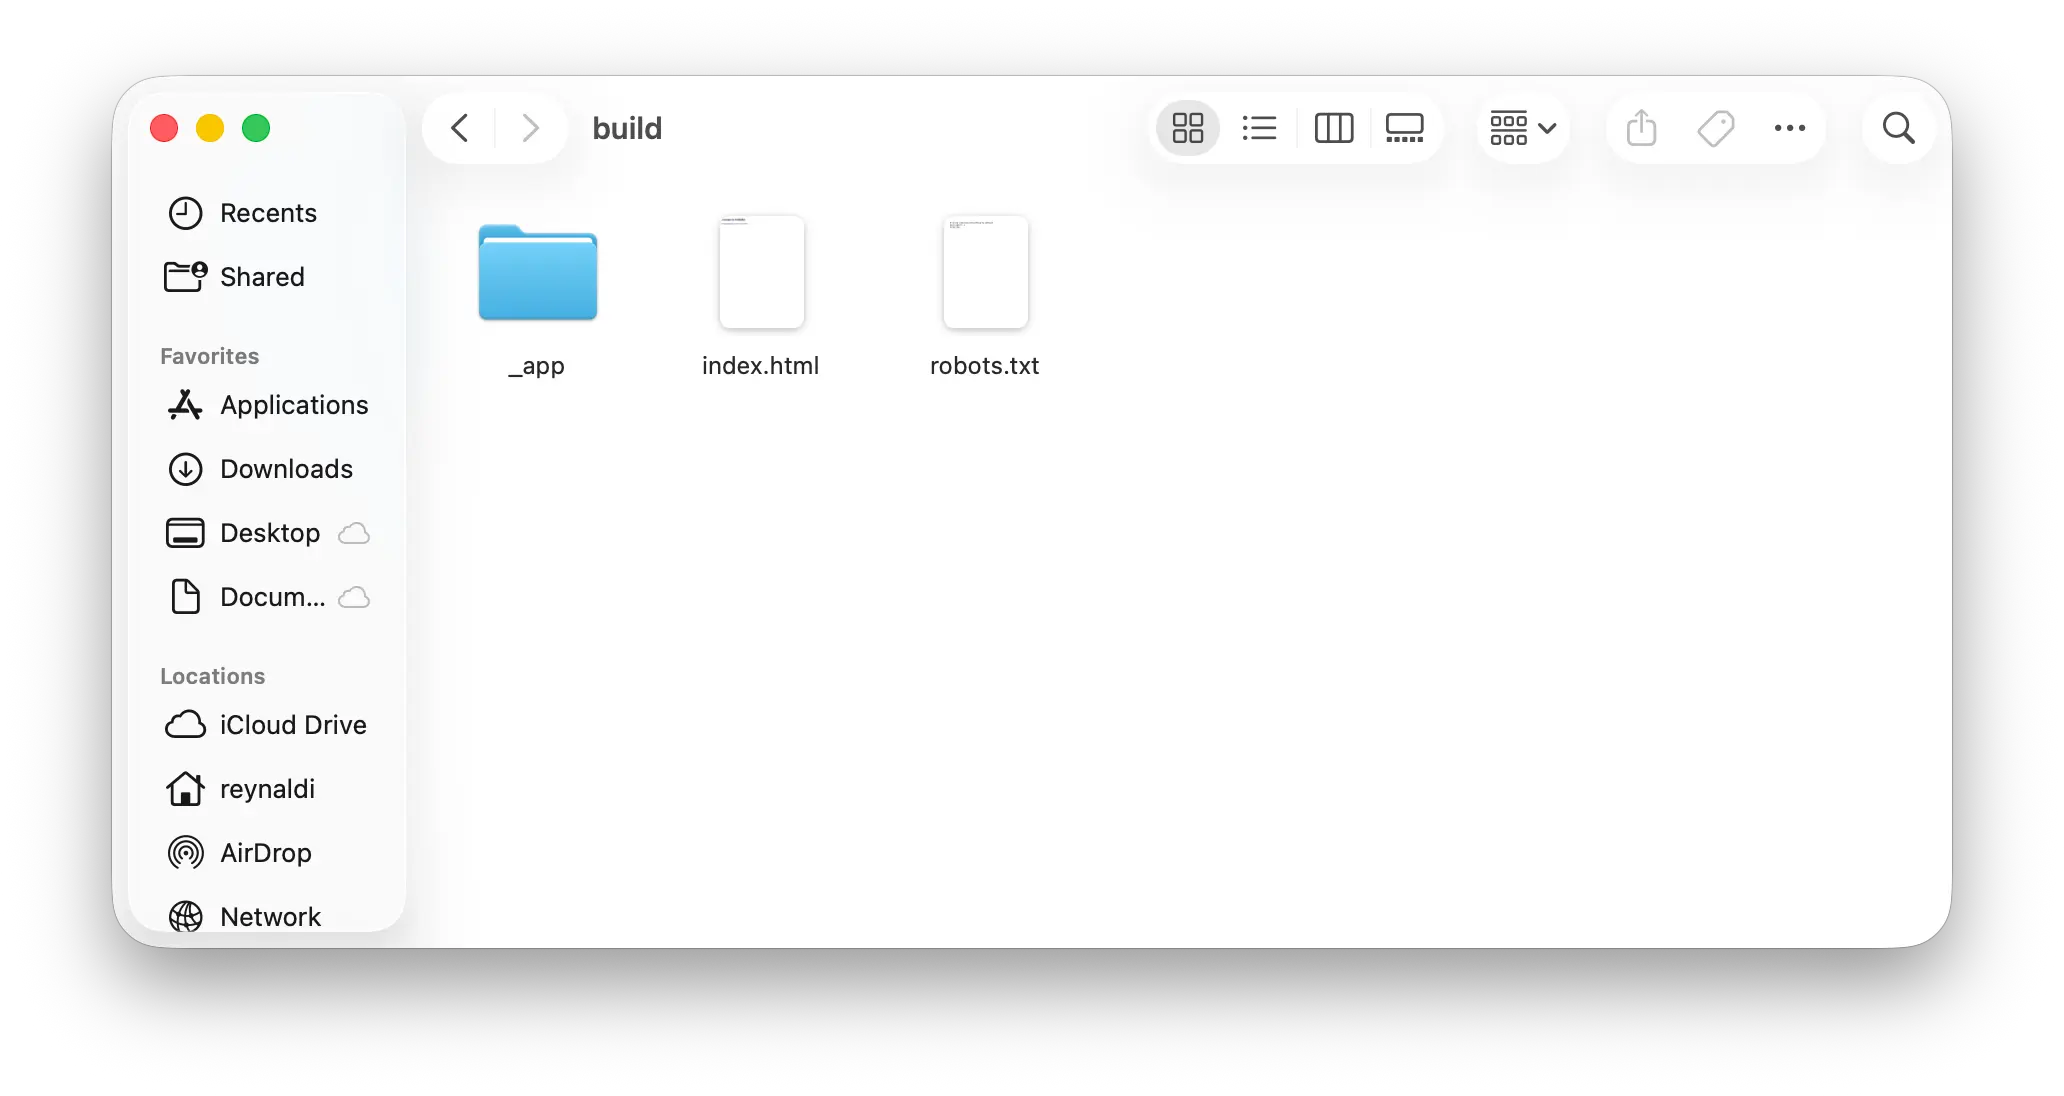
After the build completes, your website files will be in the build folder. This build folder is what you'll upload to Puter.
Step 2: Upload Your Site to Puter
Go to Puter.com
Drag the
buildfolder from your local machine into the Puter cloud desktop
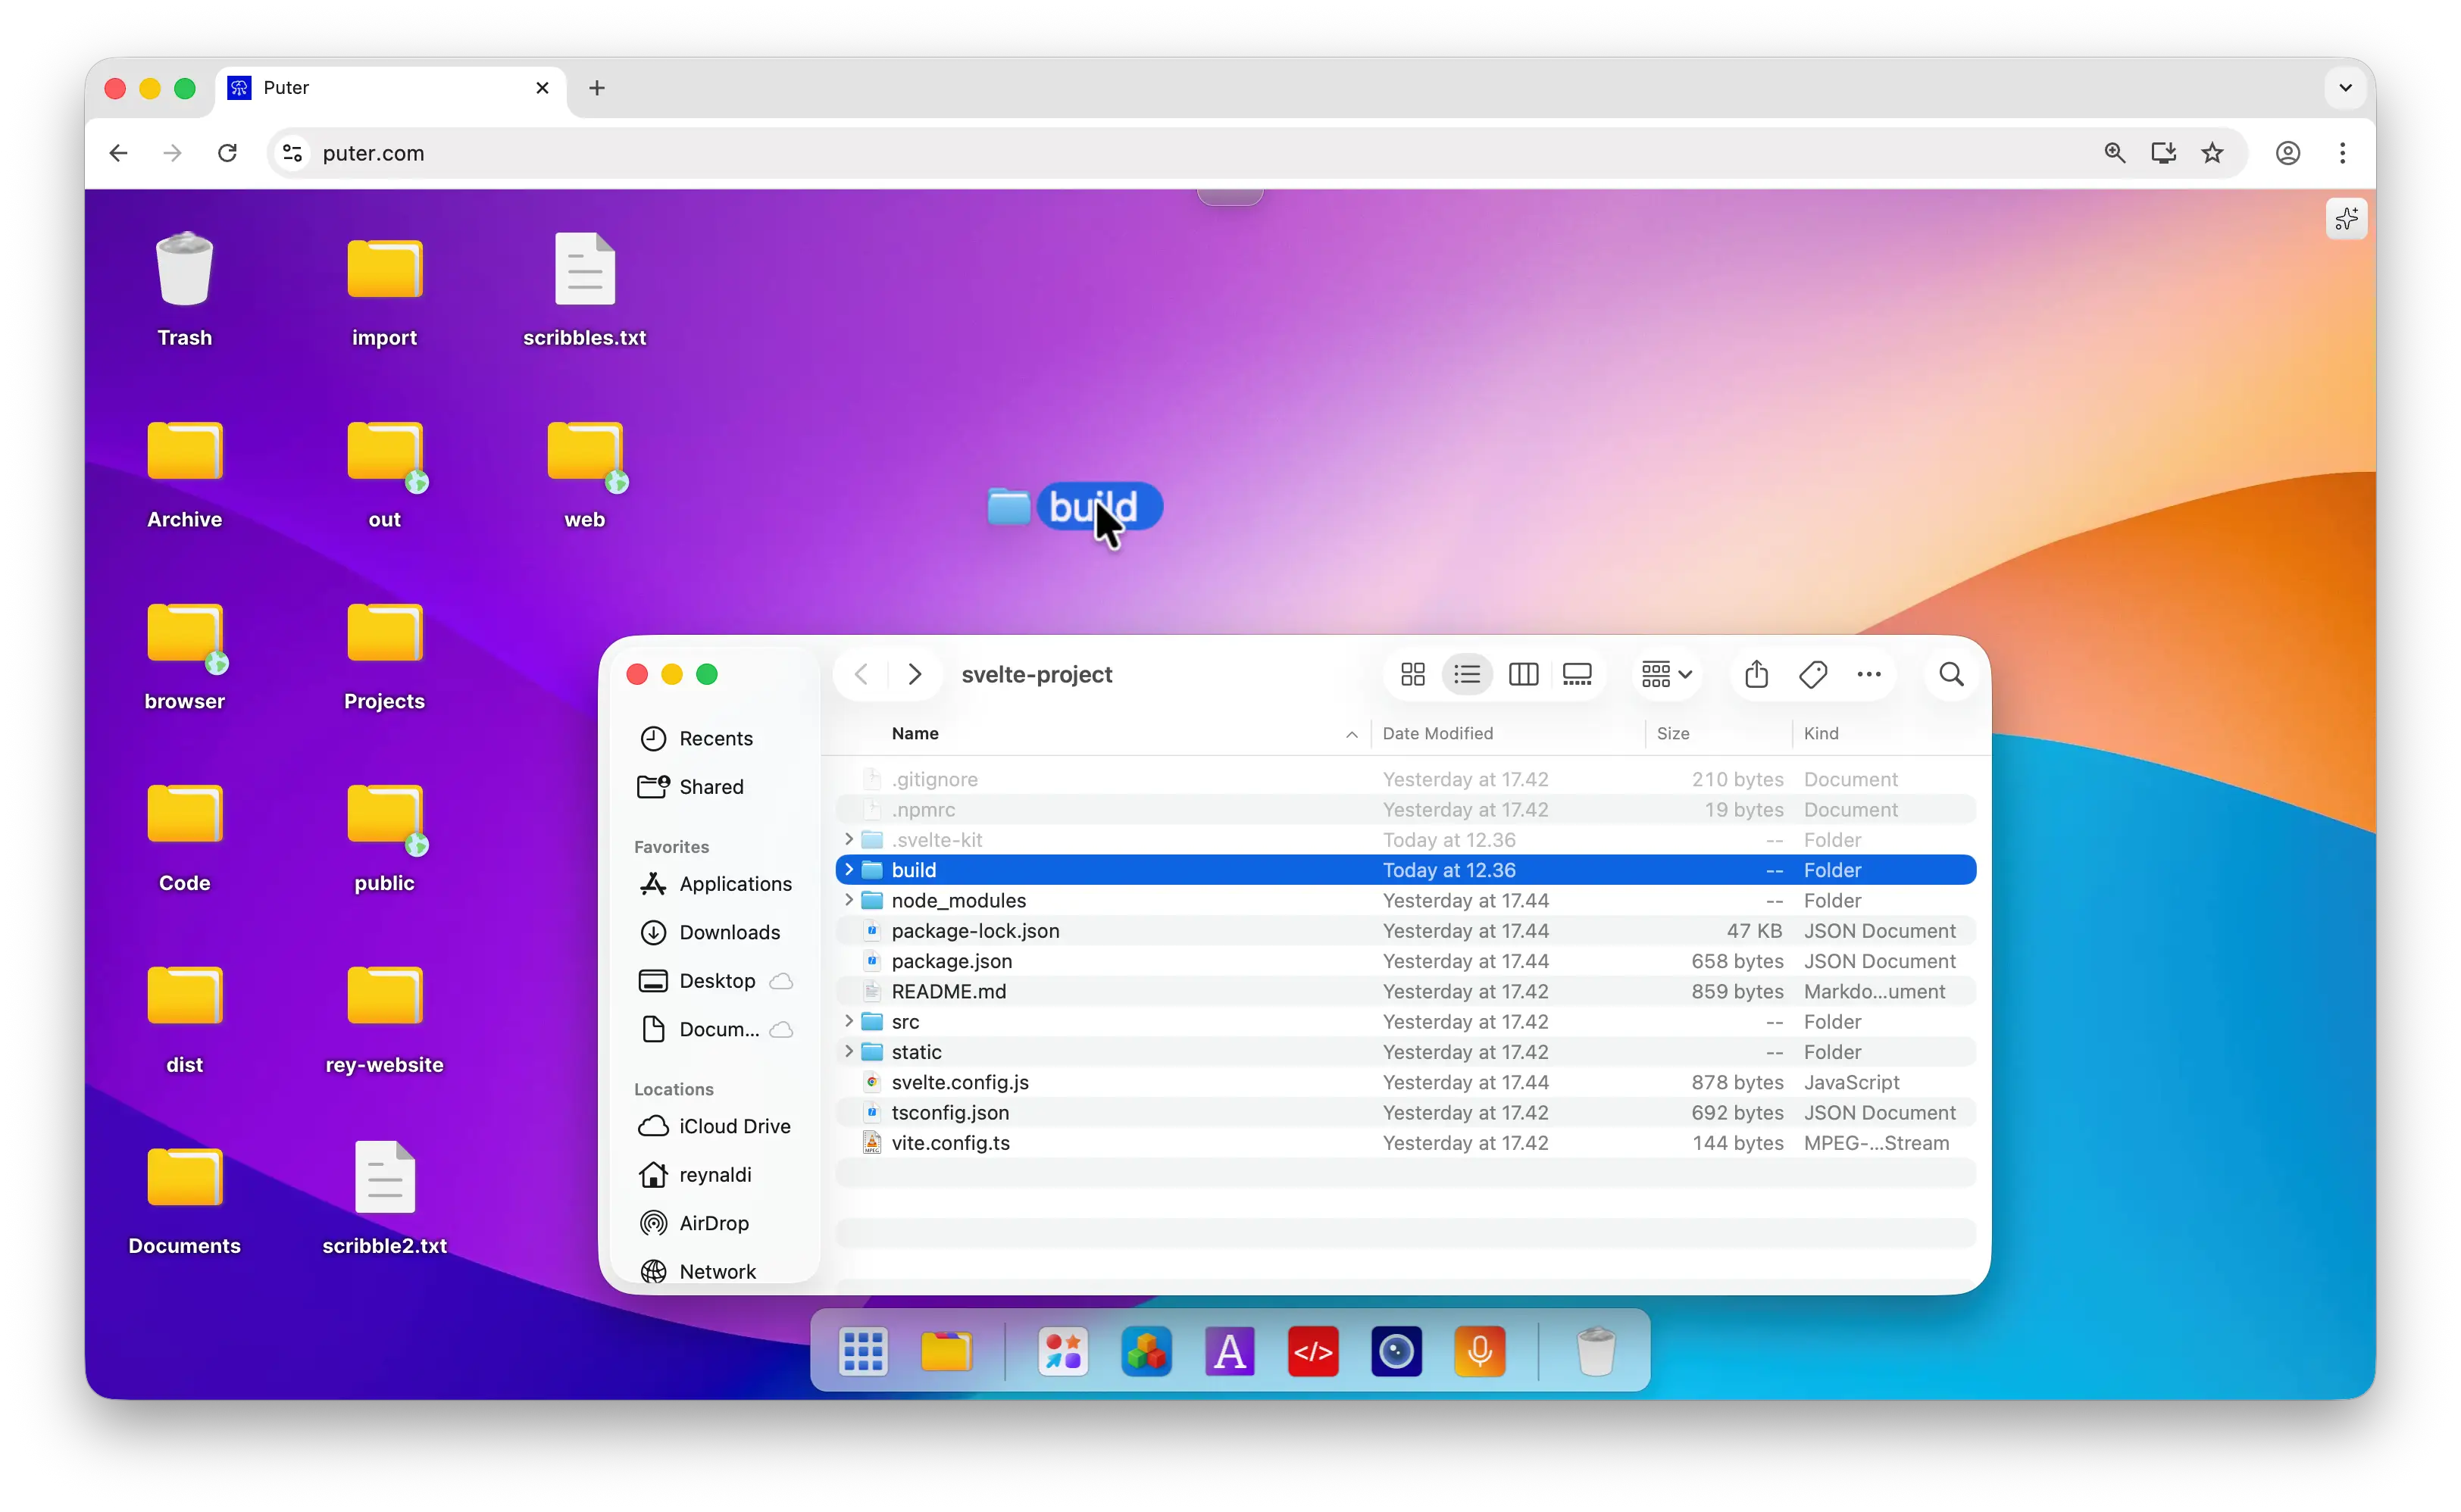
- Open the folder to verify that your SvelteKit app is uploaded

Step 3: Publish Your SvelteKit App
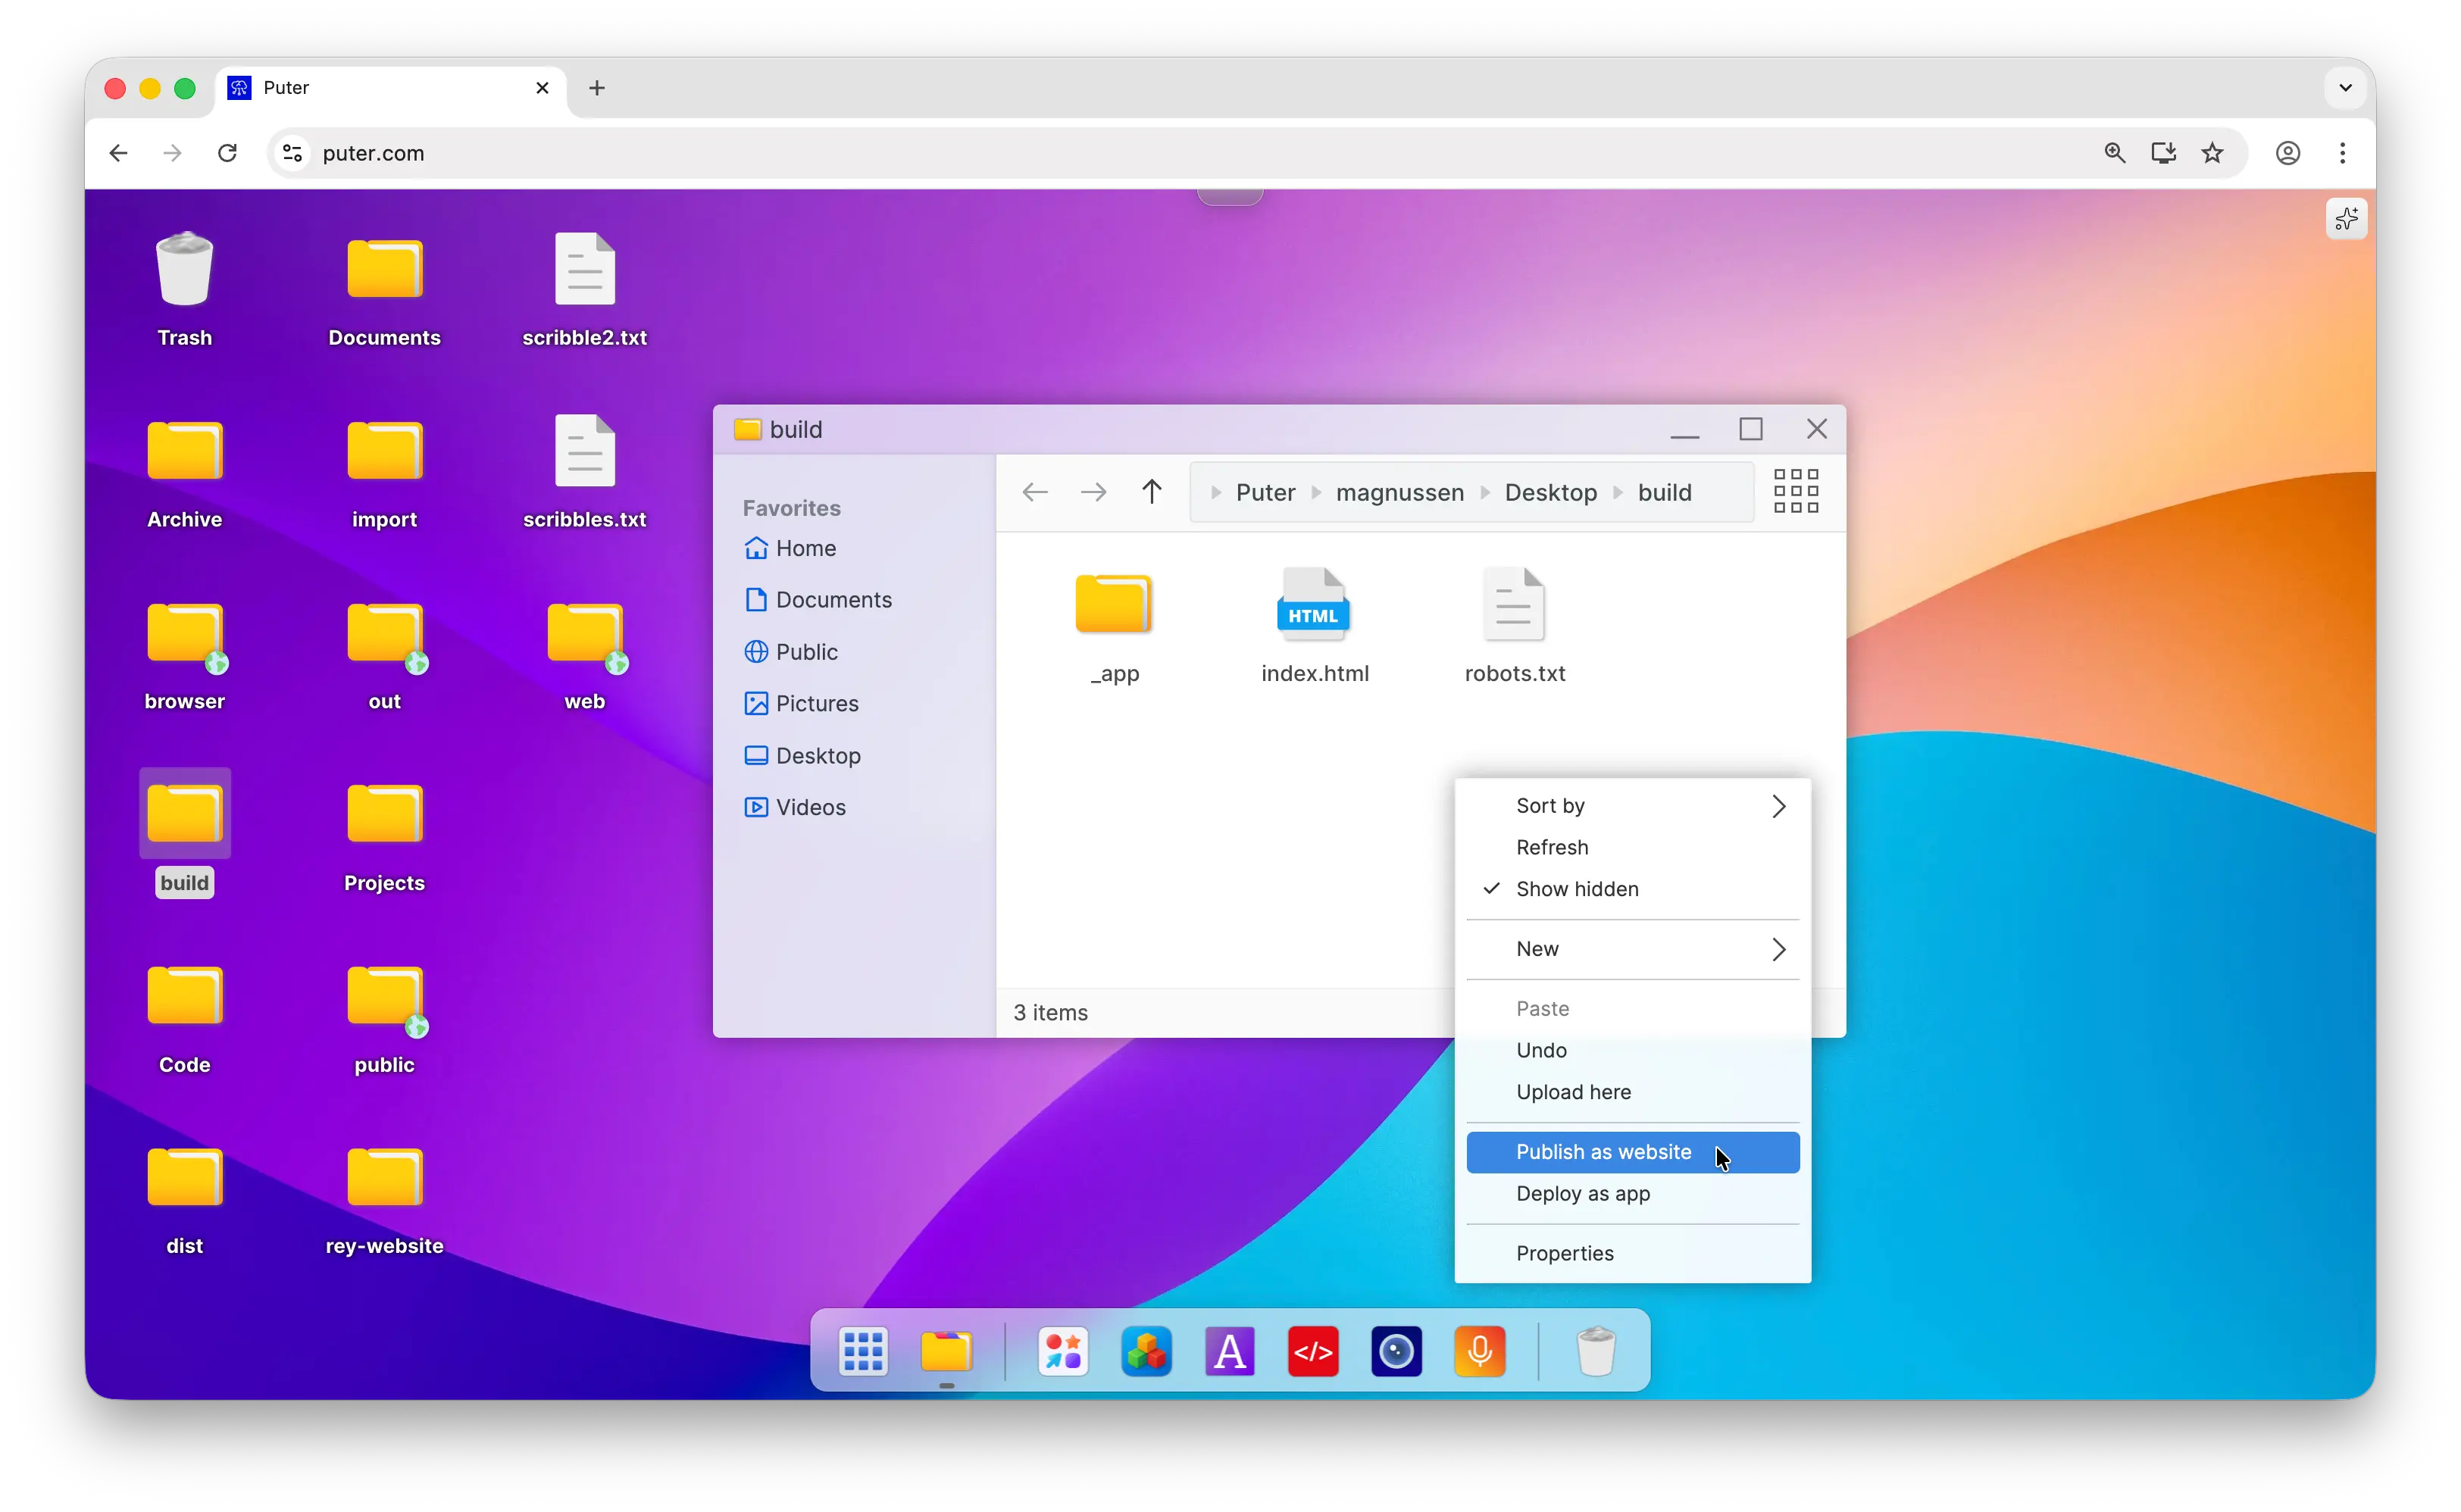
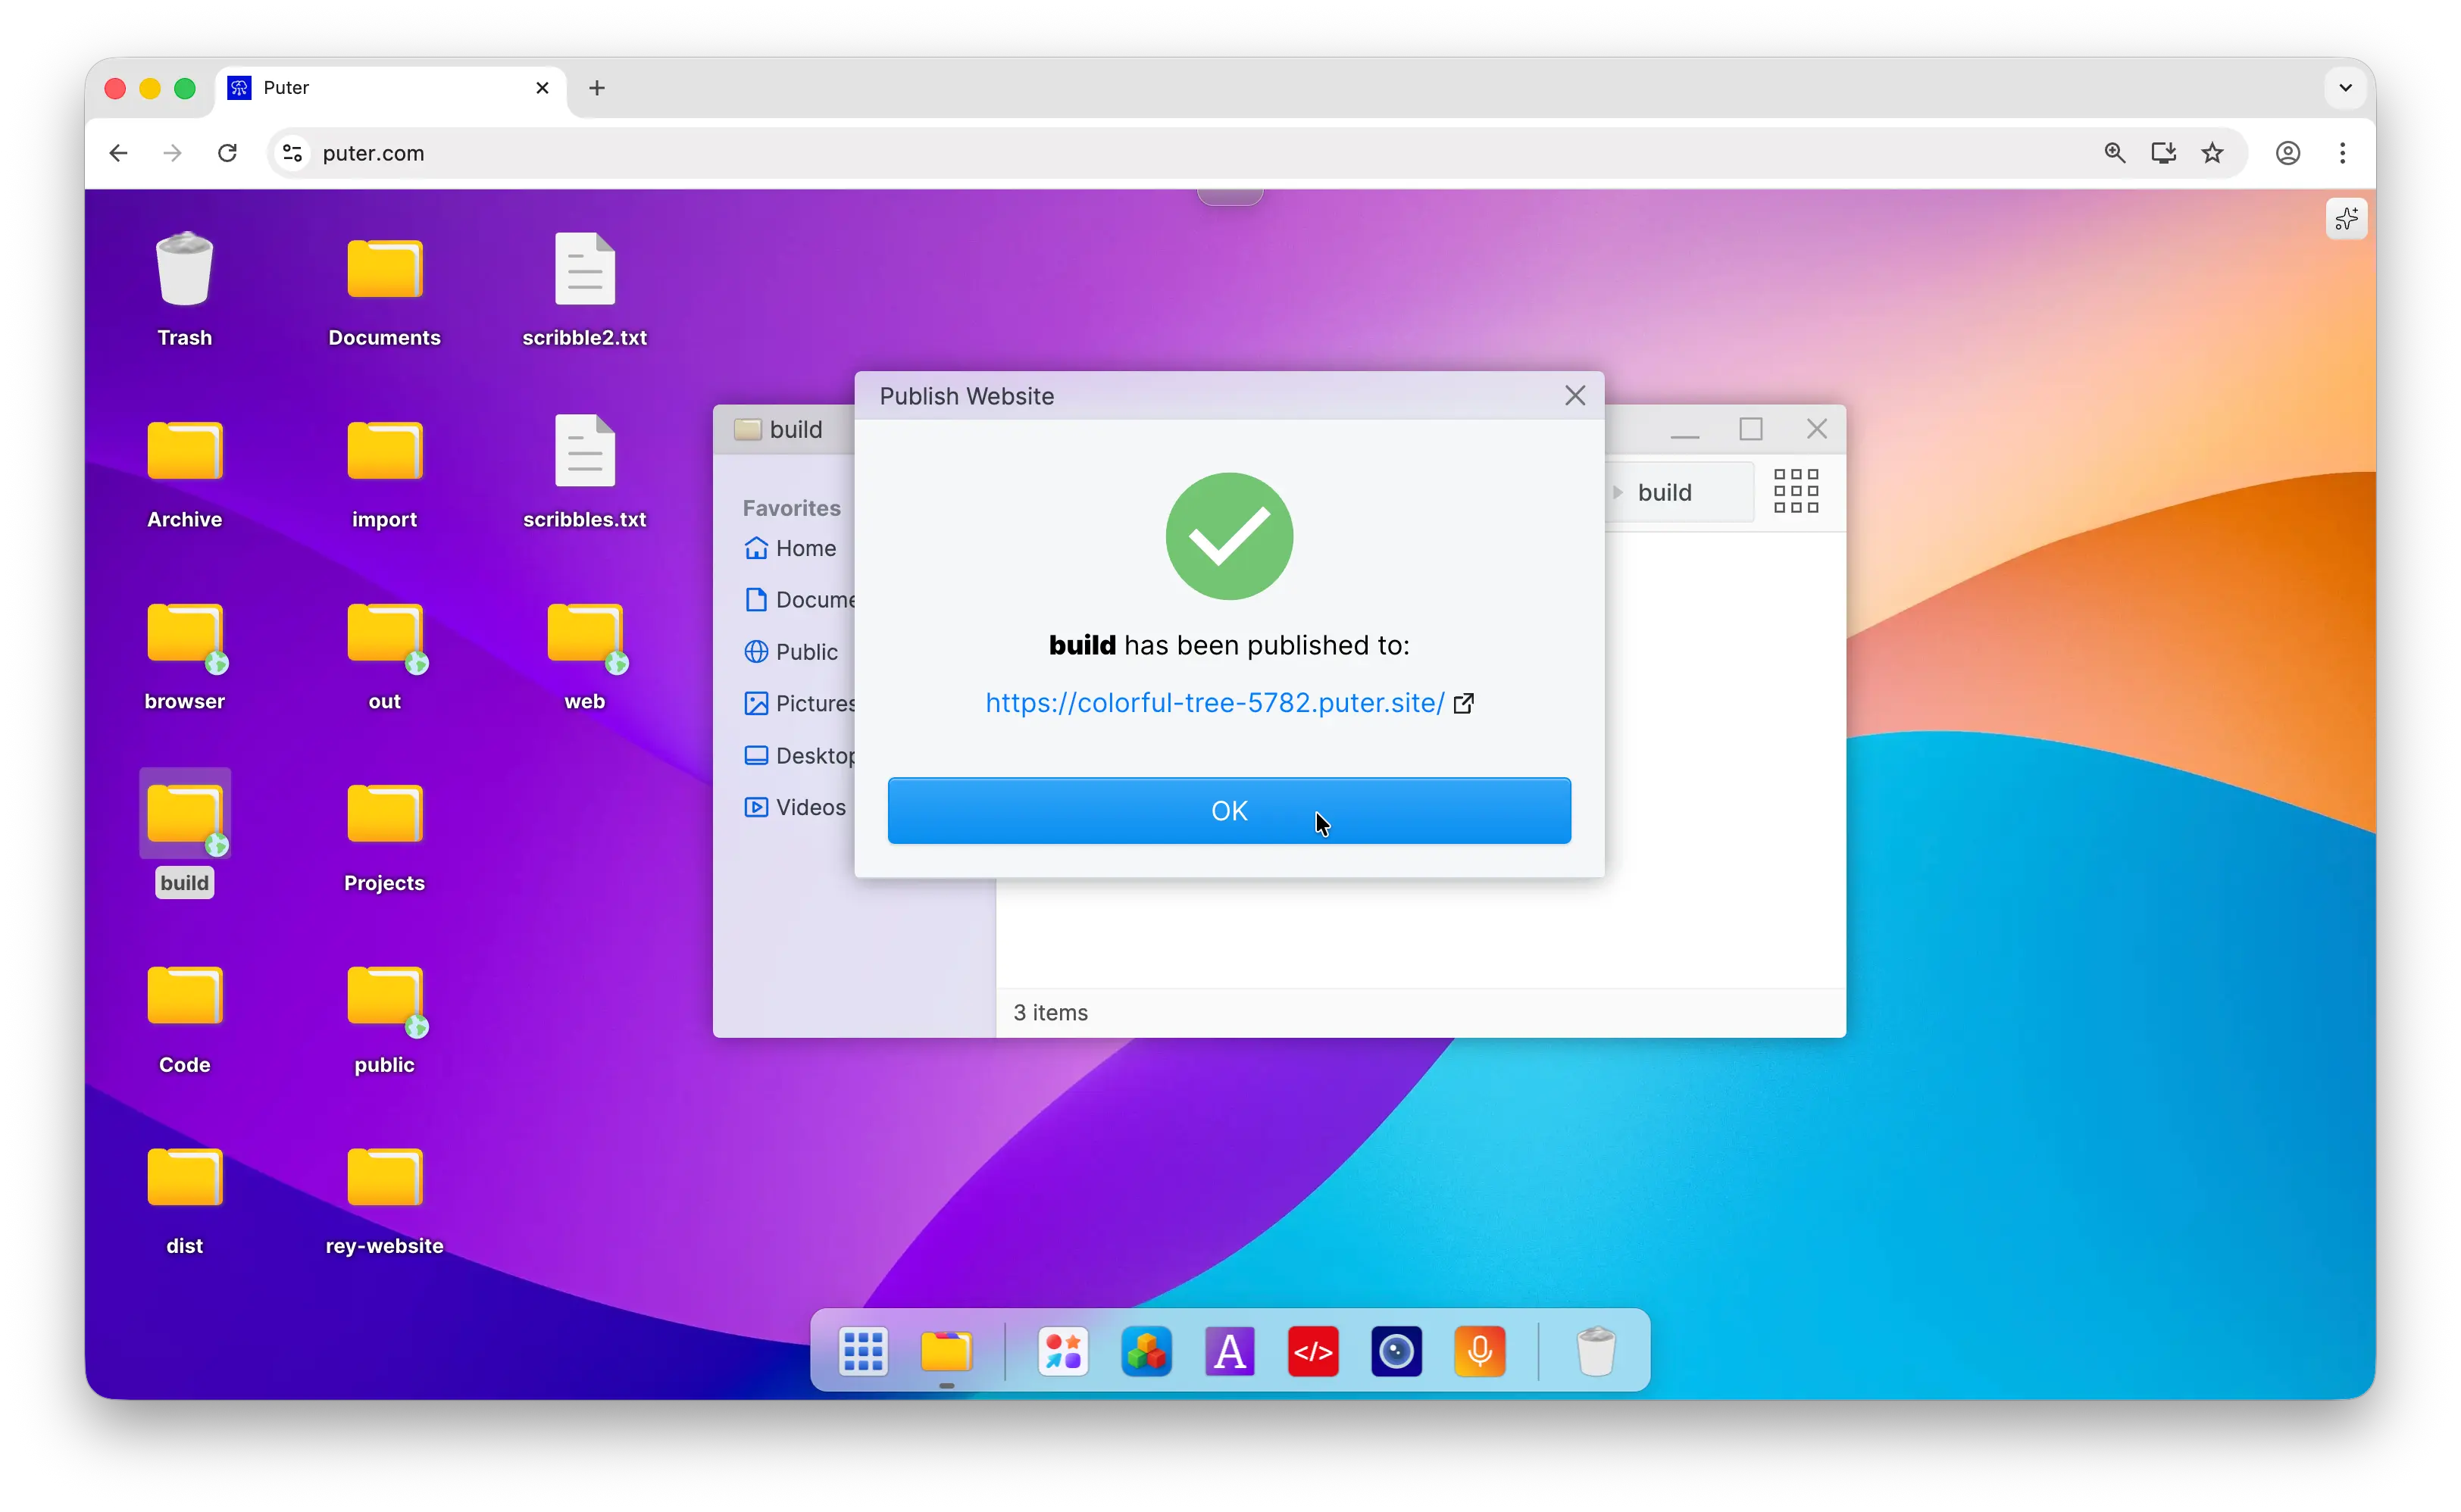
- In the same folder, right-click and select Publish as Website
- Choose your free subdomain (e.g.,
yoursite.puter.site) and click Publish
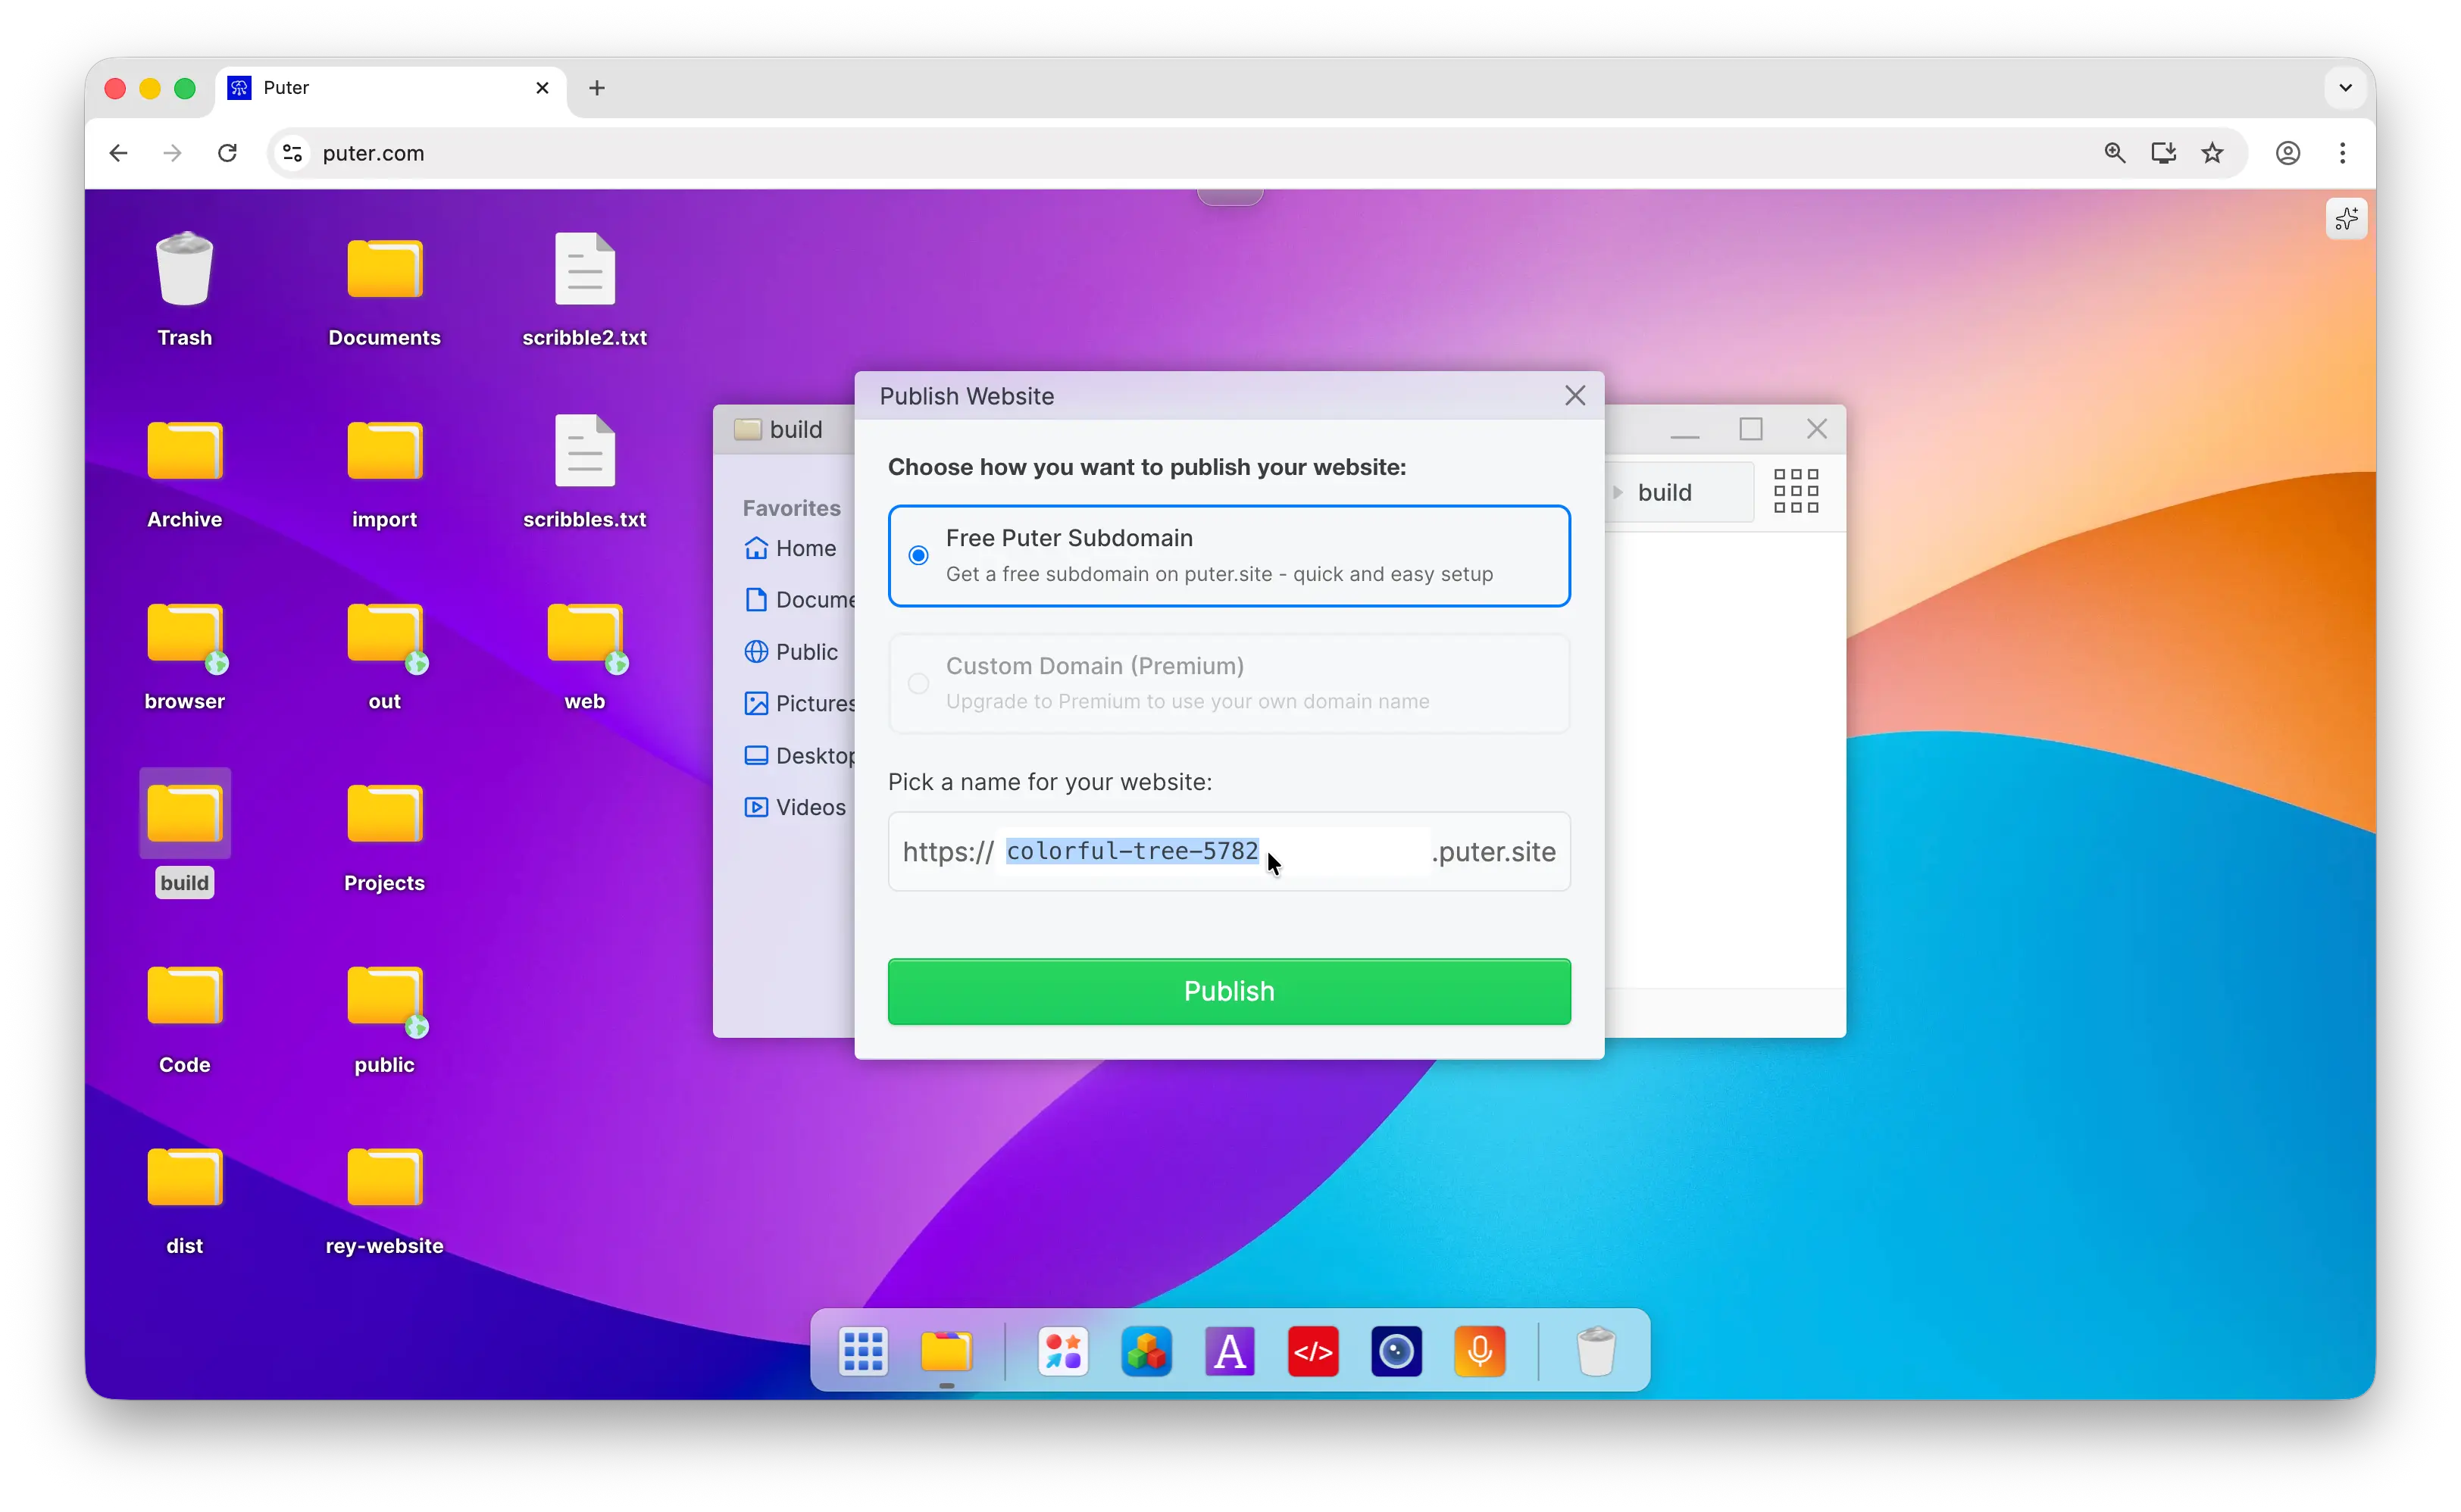
- Congratulations, you have successfully published your SvelteKit app!
Free SvelteKit Hosting with Puter
Puter makes hosting your SvelteKit app simple. Upload your build folder, publish it as a website, and you're done. No servers to configure, no credit cards needed, and no complicated dashboards to wrestle with. Your site goes live instantly, and updates are as easy as swapping out files.
Beyond hosting, Puter.js lets you add databases, AI features, cloud storage, and more to your app — all without setting up backend infrastructure.
Check out the Puter.js documentation to learn more.
Related
Free, Serverless AI and Cloud
Start creating powerful web applications with Puter.js in seconds!
Get Started Now