Deploy Your Next.js Application With Puter
On this page
In this guide, you'll learn how to use Puter to deploy your static Next.js app for free. Puter is a cloud operating system, with hosting, cloud storage, and much more built in, allowing you to easily deploy your Next.js app.
Deploying your Next.js App
Step 1: Prepare Your App
For static Next.js apps, you need to configure your app to output a static export. Open your next.config.js (or next.config.mjs) file and set the output to export:
const nextConfig = {
  output: 'export',
};

module.exports = nextConfig;
Then, run the build command to generate your static files:
npm run build
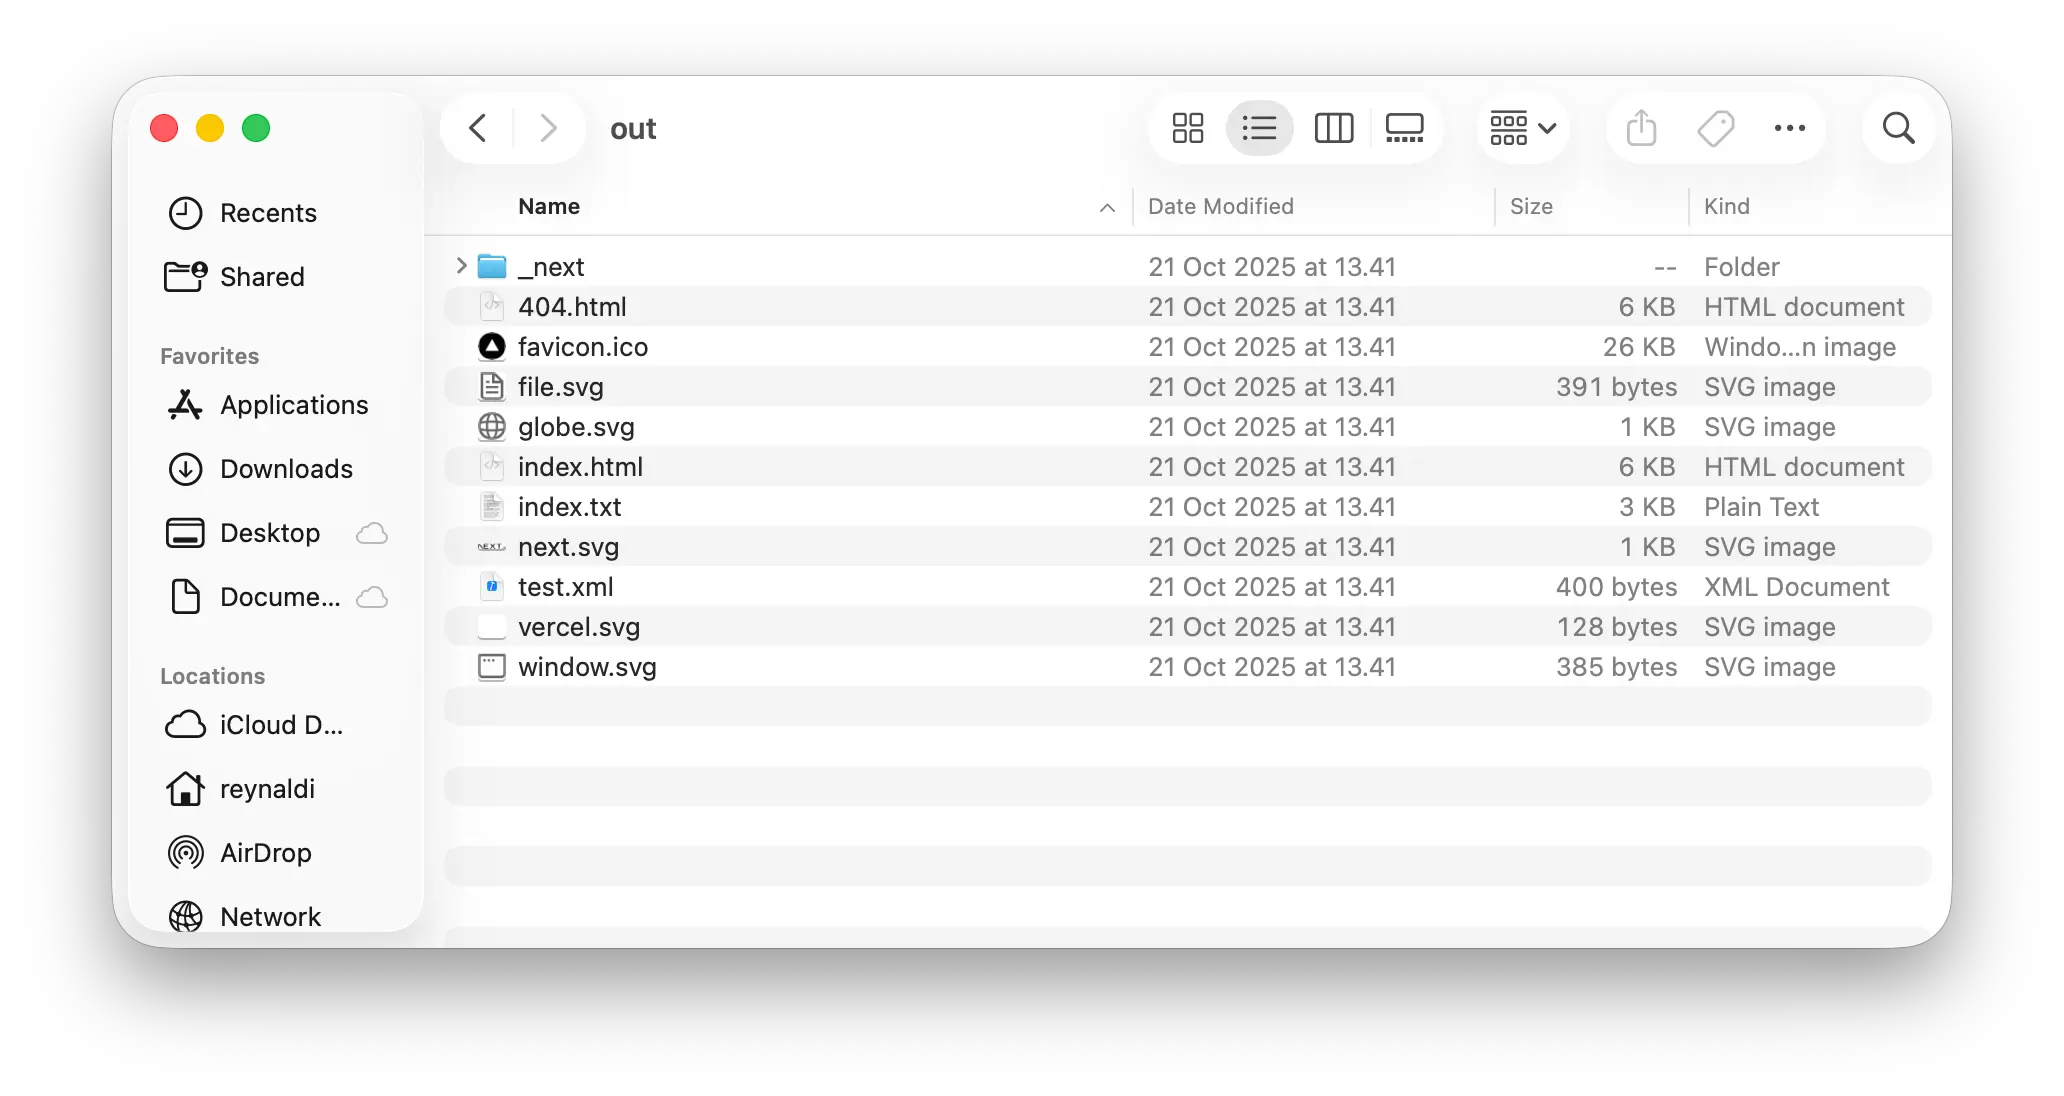
After the build completes, your static files will be in the out folder. This is the folder you'll upload to Puter.
Step 2: Upload Your App to Puter
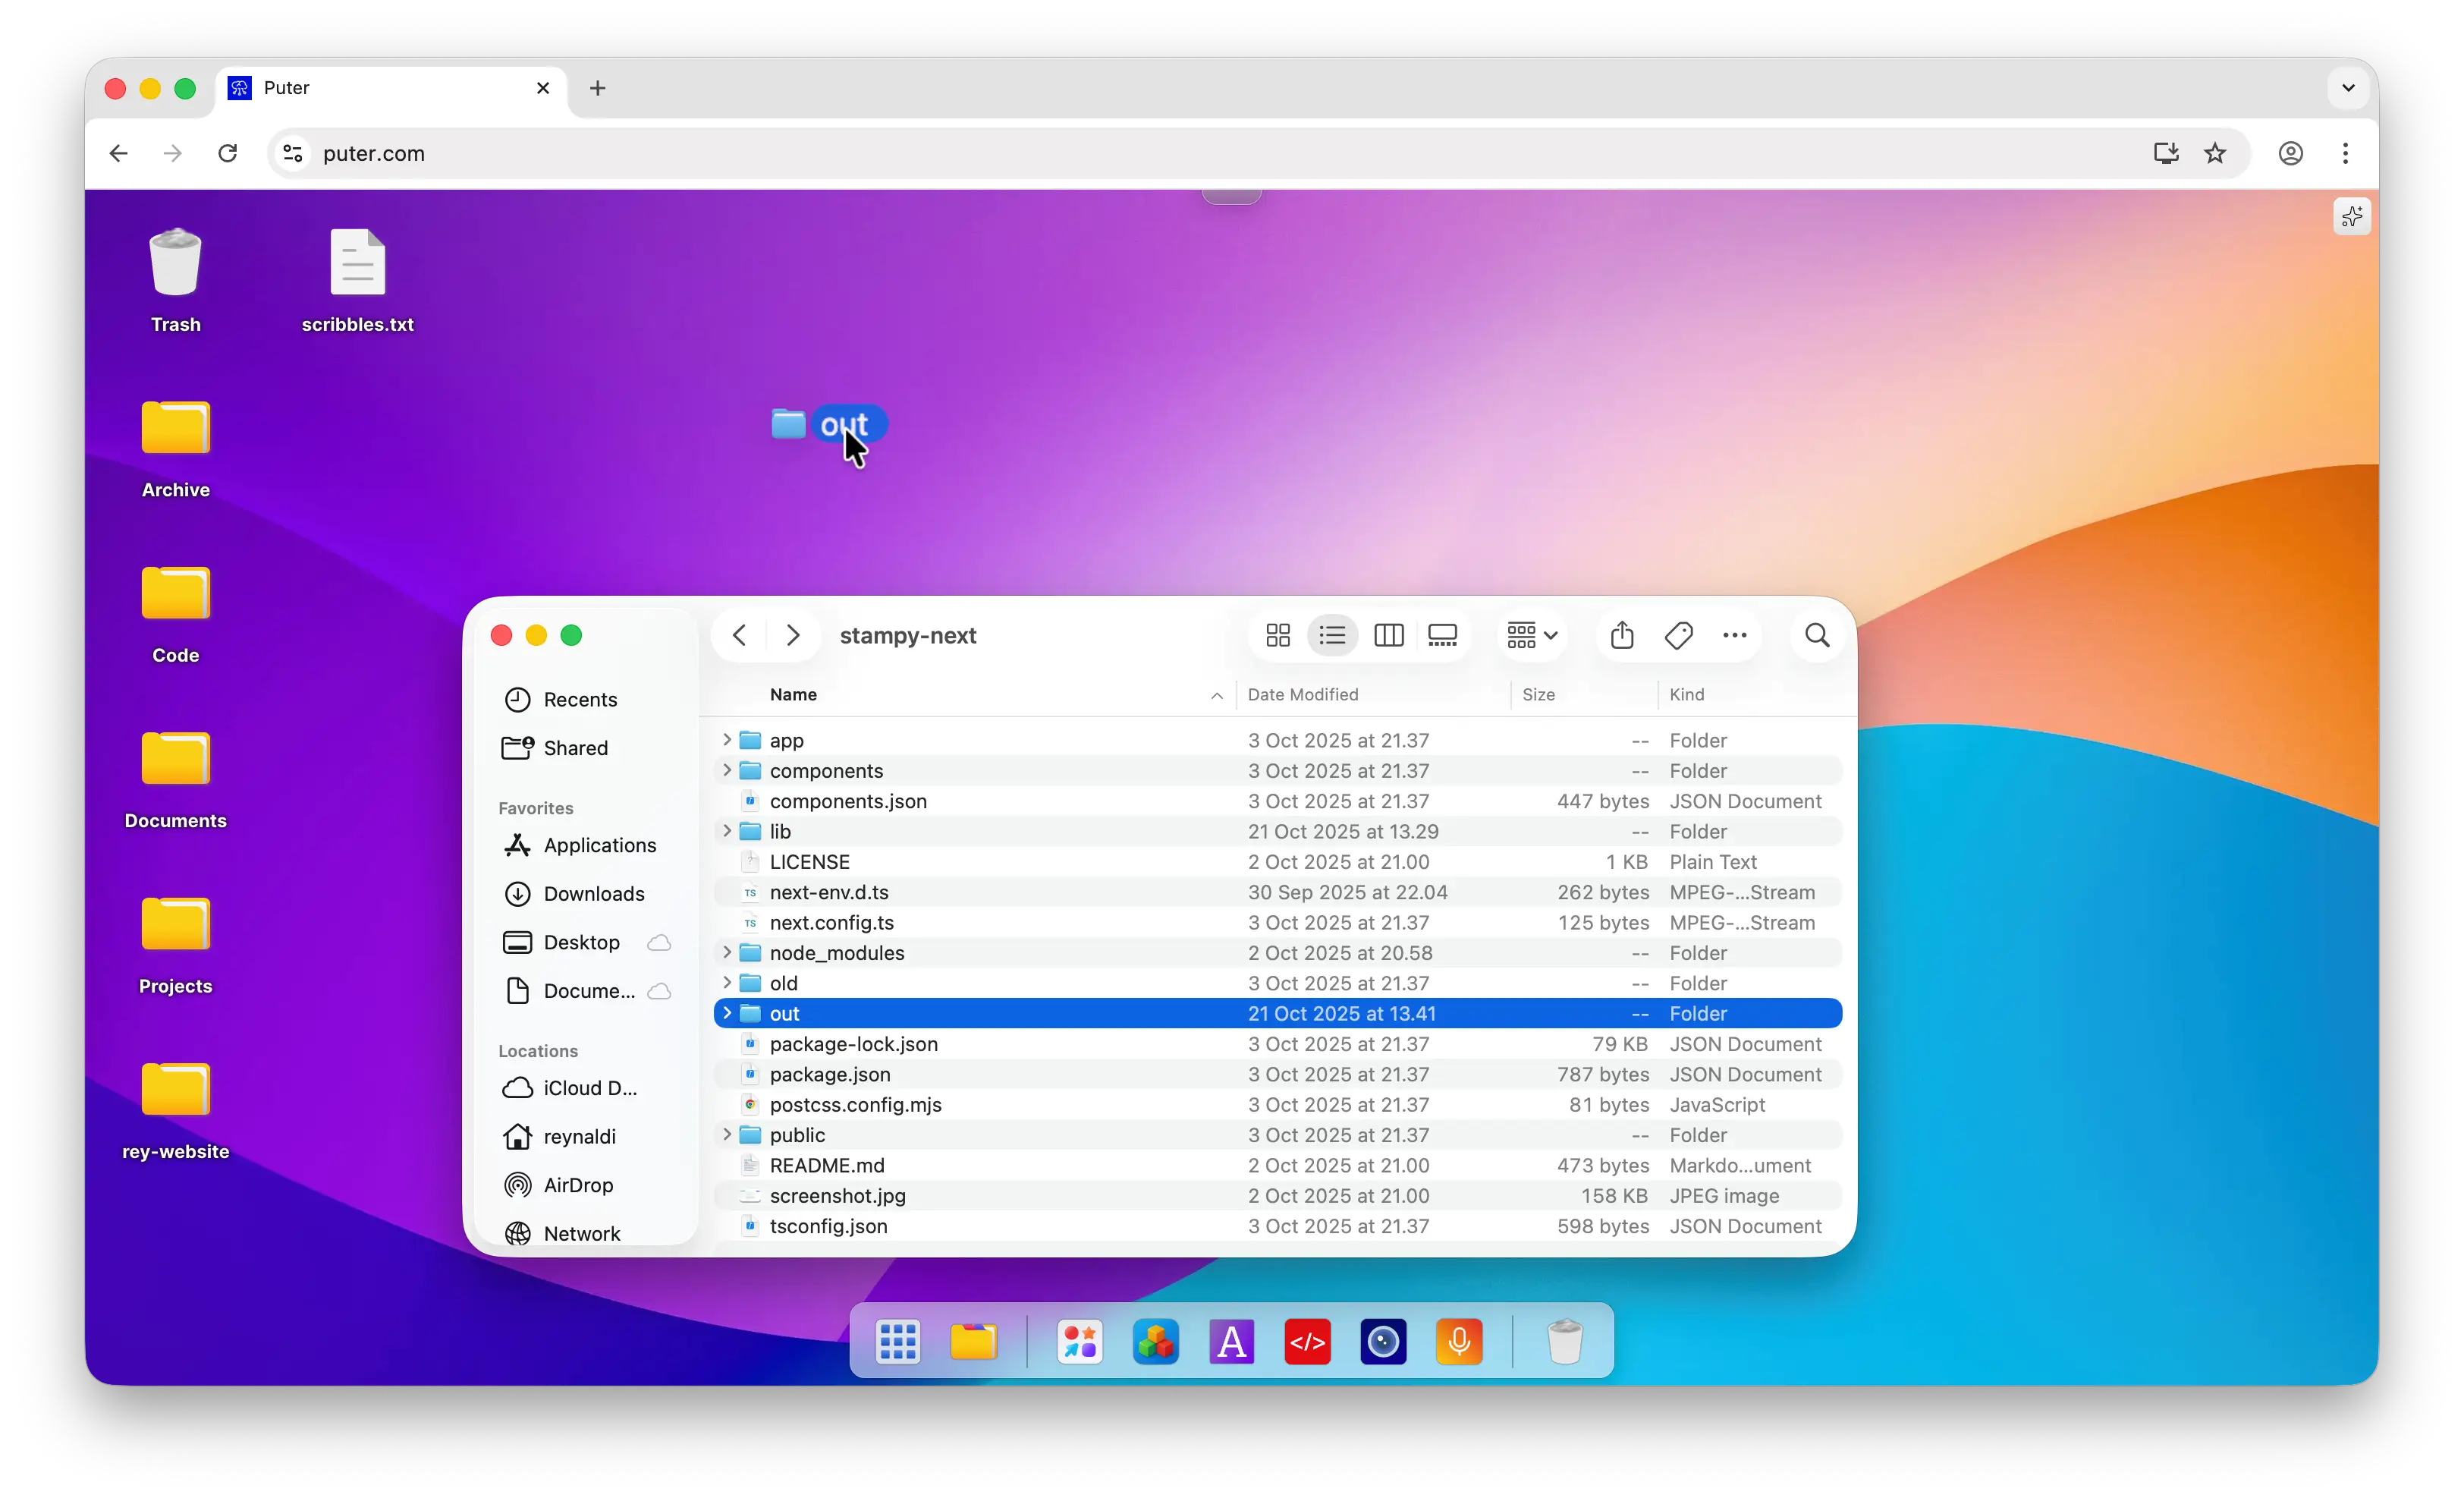
Go to Puter.com
Drag the
outfolder from your local machine into Puter cloud desktop
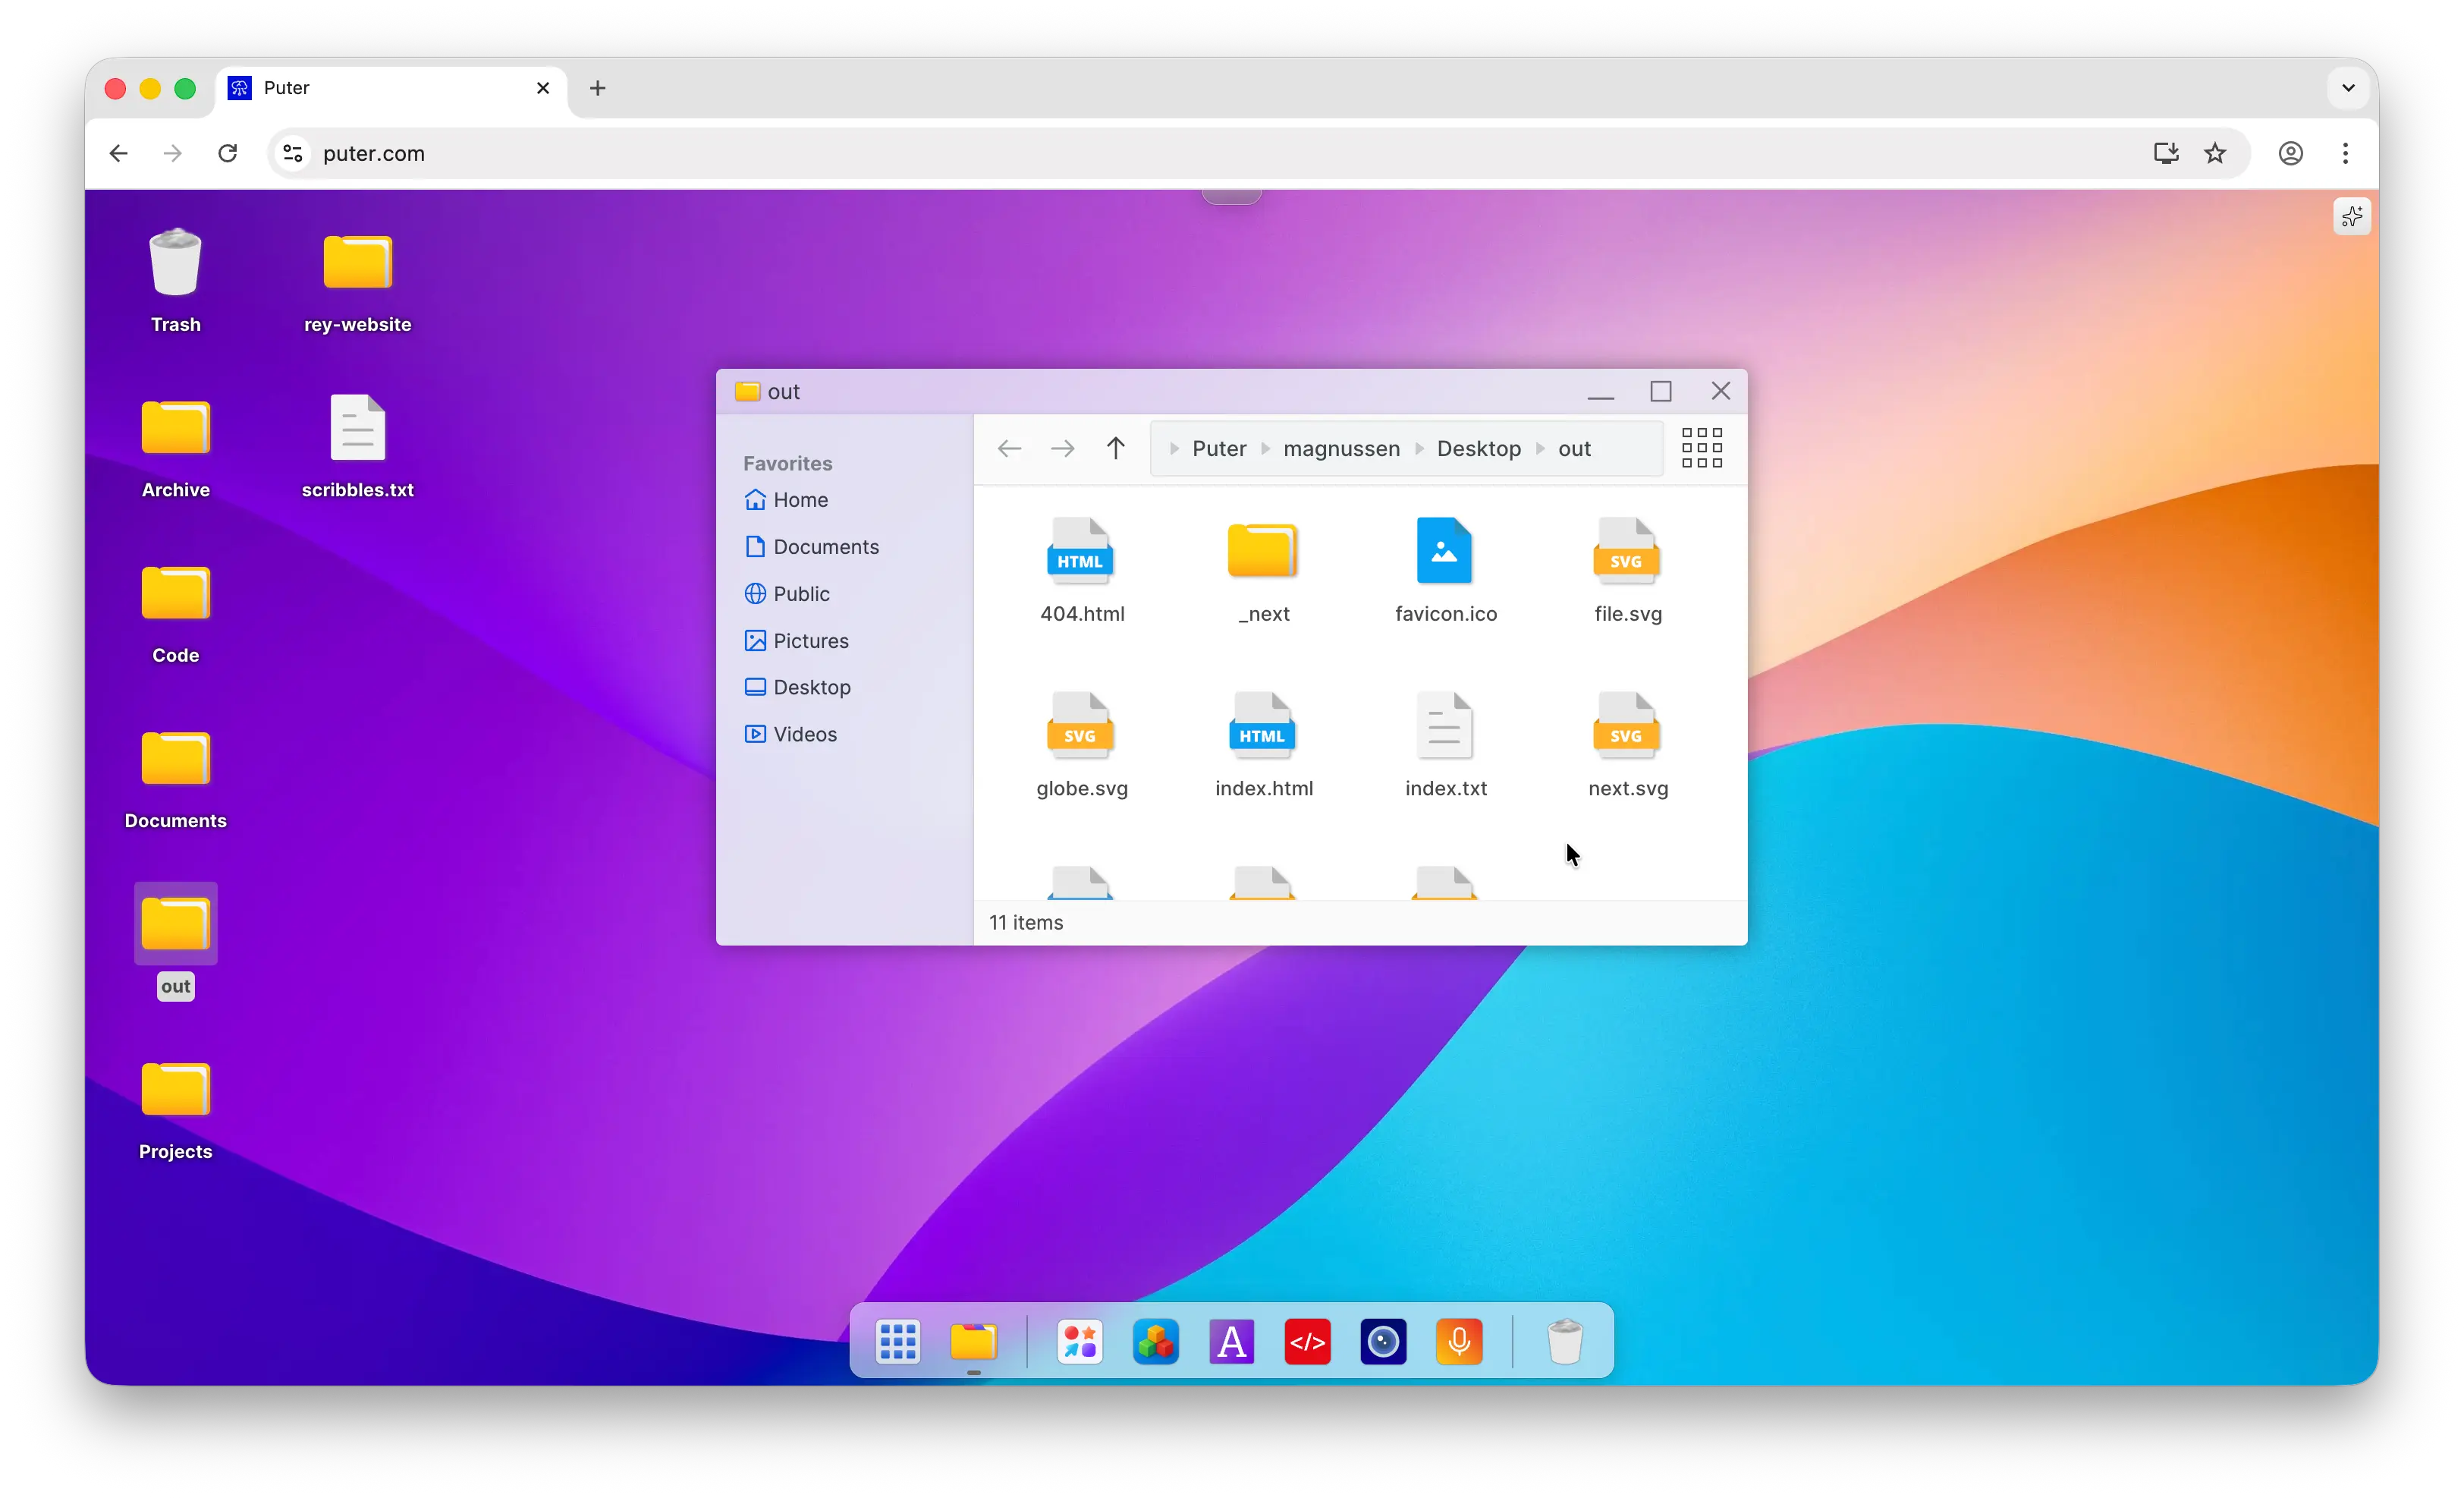
- Open to folder to verify that your Next.js app is uploaded
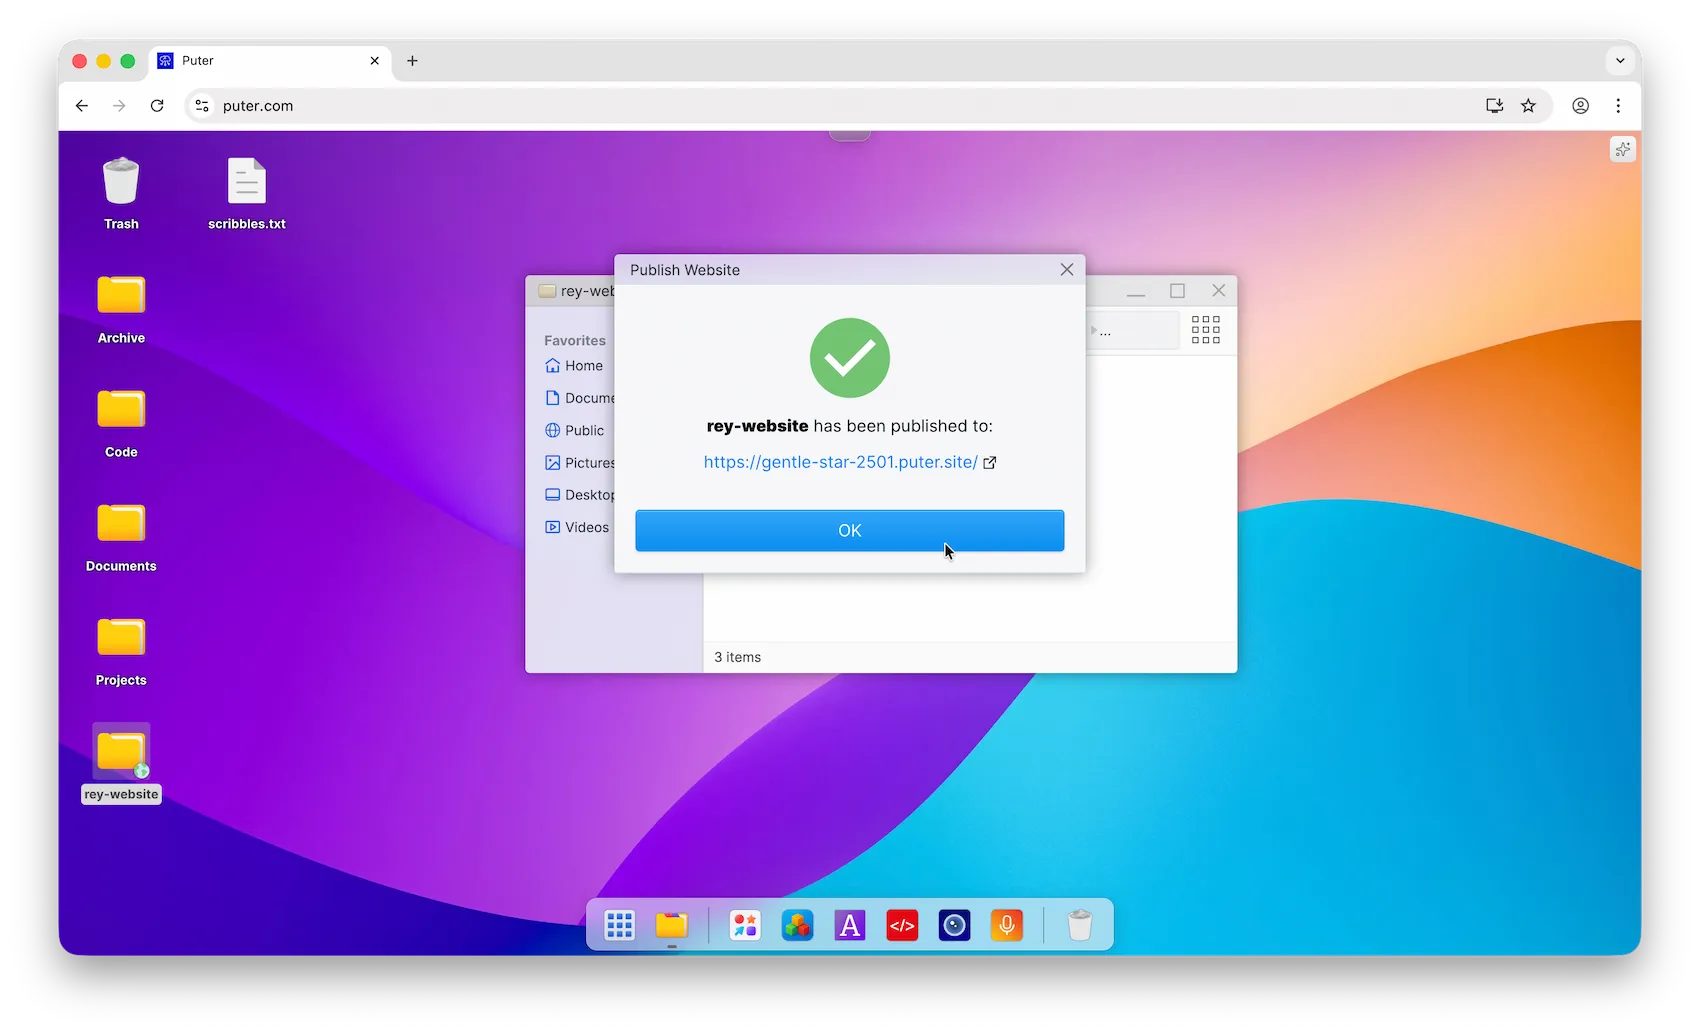
Step 3: Publish Your Next.js App
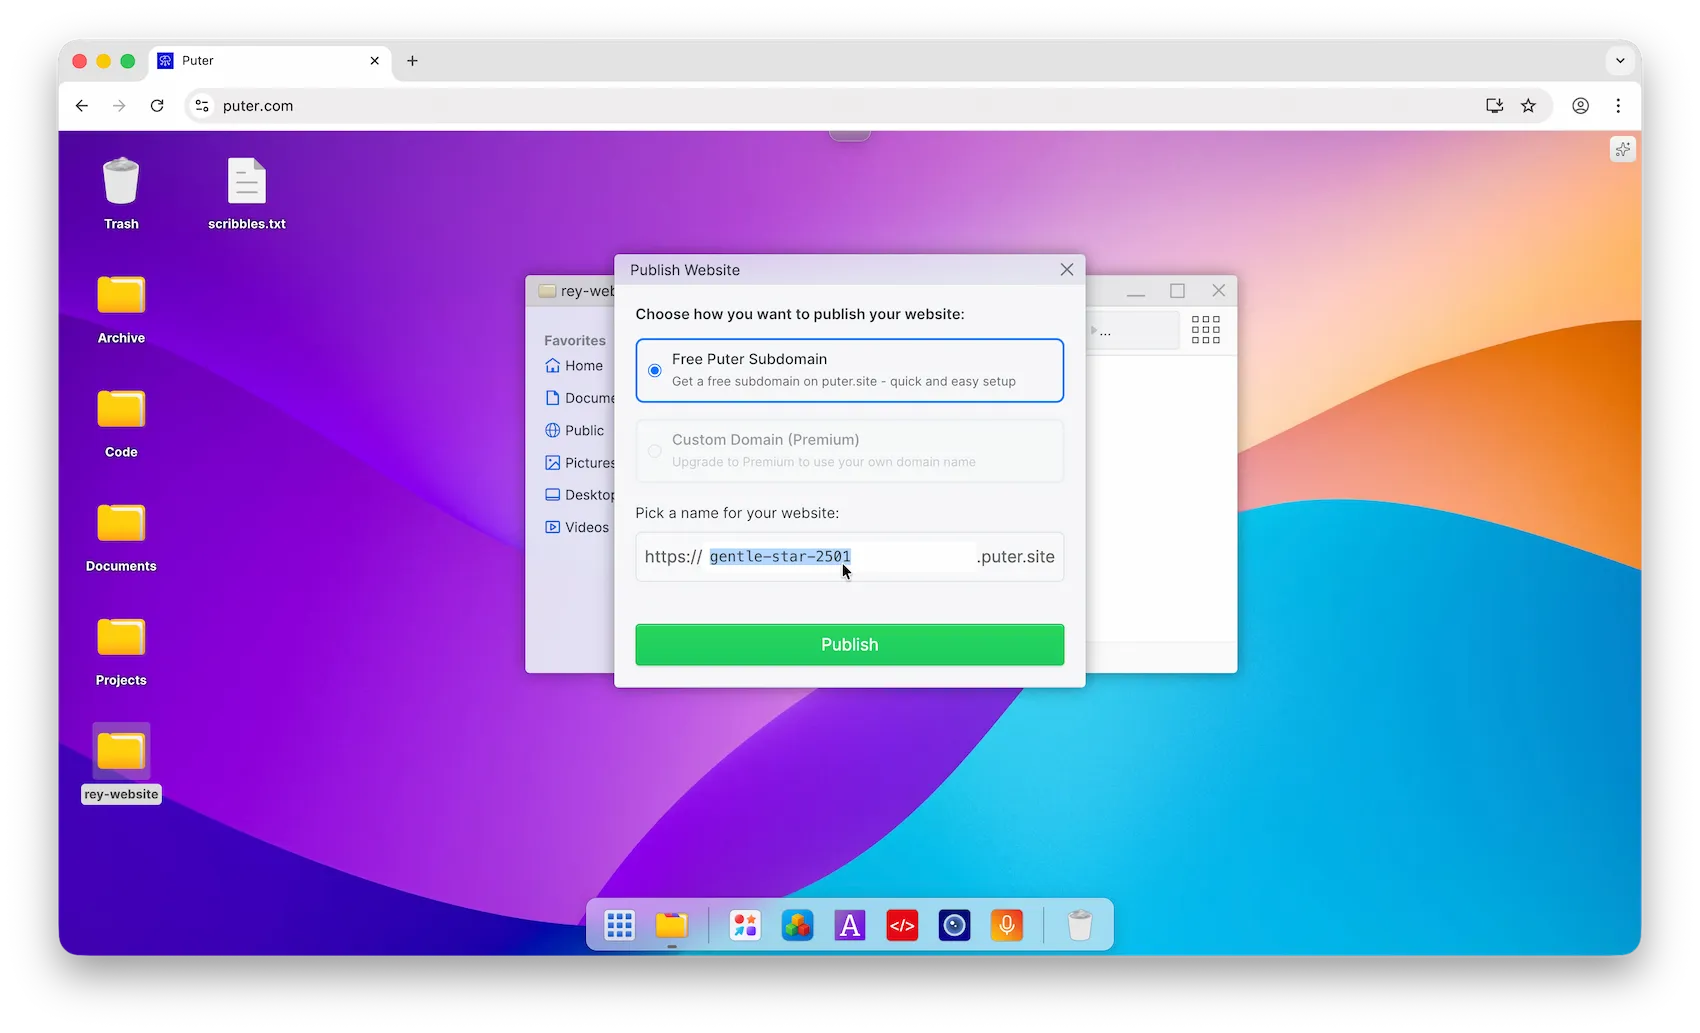
- In the same folder, right-click and select Publish as Website

- Choose your free subdomain (e.g.,
yoursite.puter.site) and click Publish
- Congratulations, you have successfully published your Next.js app!
Free Next.js Hosting with Puter
With Puter, you can easily host your Next.js project — simply upload your website files and publish. You don't need any complex configuration, servers, or credit cards. Your website is instantly accessible on the internet, and updating it is as simple as replacing your files. No dashboards to navigate, no technical setup required — just straightforward file management.
Beyond hosting, Puter makes it easy to add powerful features to your app. With Puter.js, you can integrate databases, AI capabilities, cloud storage, and more — all without managing backend infrastructure.
Related
- How to Host a Website for Free
- Deploy Your React App With Puter
- Deploy Your Astro Site With Puter
- Deploy Your Angular App With Puter
- Deploy Your Flutter Web App With Puter
- Deploy Your Nuxt Application With Puter
- Deploy Your Vue.js App With Puter
- Deploy Your SvelteKit App With Puter
- Deploy Your React Router (formerly Remix) App With Puter
- Free, Unlimited Website Hosting API
Free, Serverless AI and Cloud
Start creating powerful web applications with Puter.js in seconds!
Get Started Now